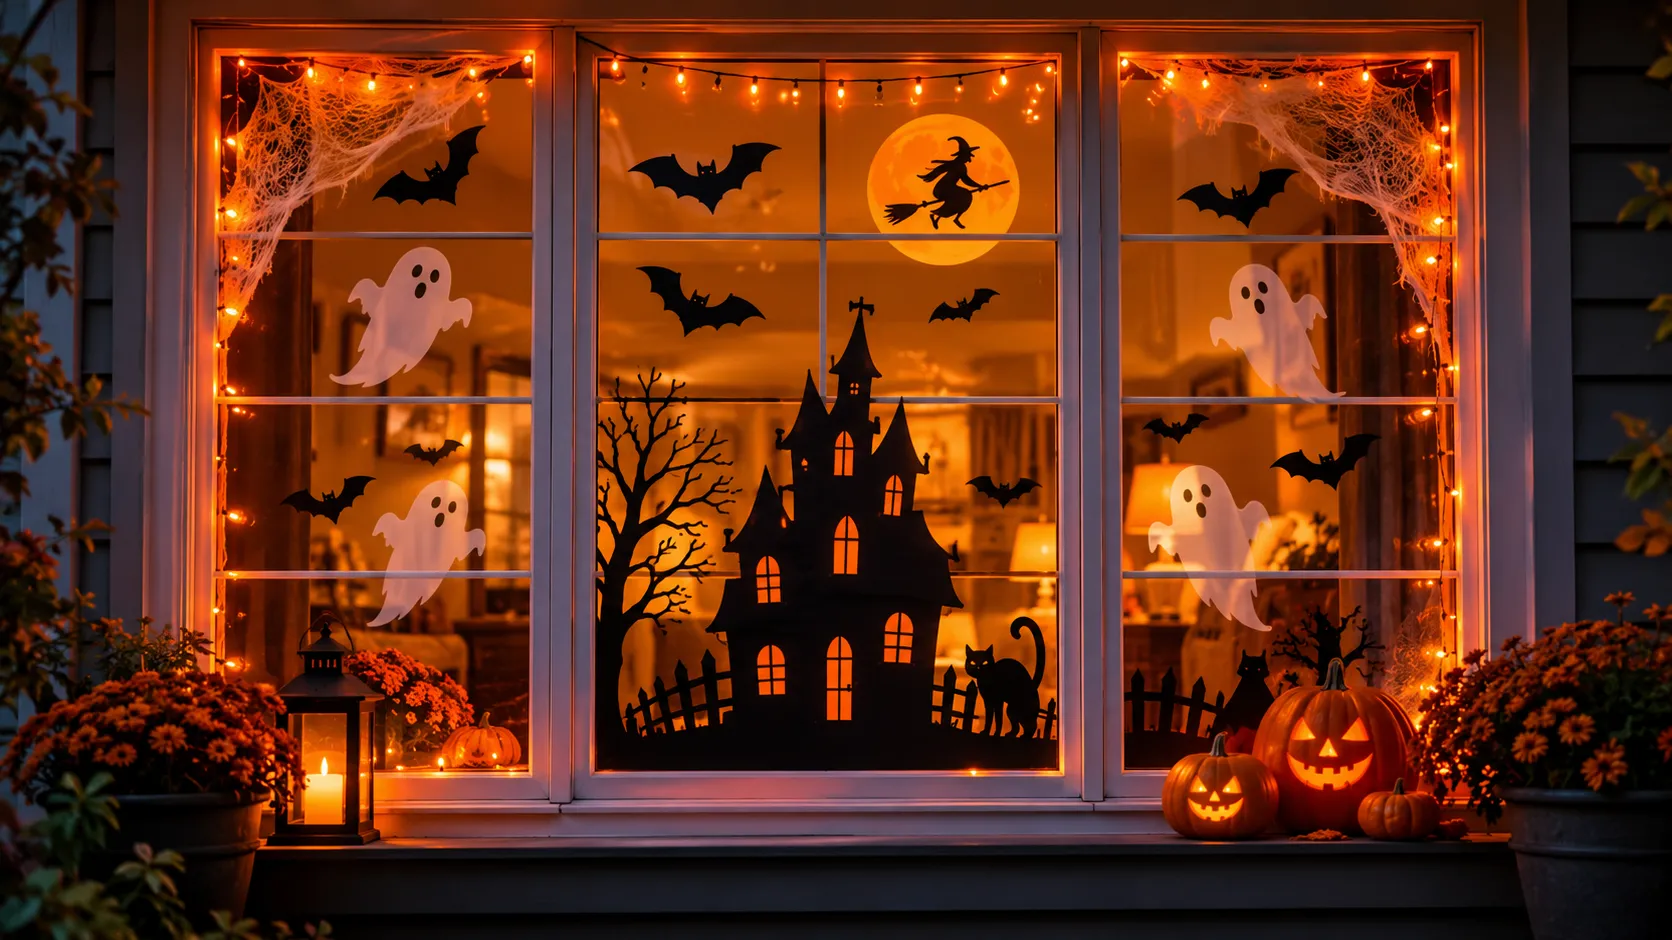
Creative Halloween Window Decorations for a Spooky View
Want spooky windows that make your home feel festive without spending too much or creating a decorating mess? The right Halloween window decorations can transform plain glass into a fun seasonal display with just a few simple supplies.
This guide walks you through choosing a style, preparing your windows, making silhouettes, adding lights and clings, and keeping everything secure. You’ll find ideas for different window sizes, budget-friendly DIY options, and practical ways to make your display stand out after dark. In my experience, a few well-placed details often look better than covering every inch of glass. By the end, you’ll have a clear plan for creating a spooky view that suits your space and skill level.
1. Why Halloween Window Decorations Make Your Home More Festive
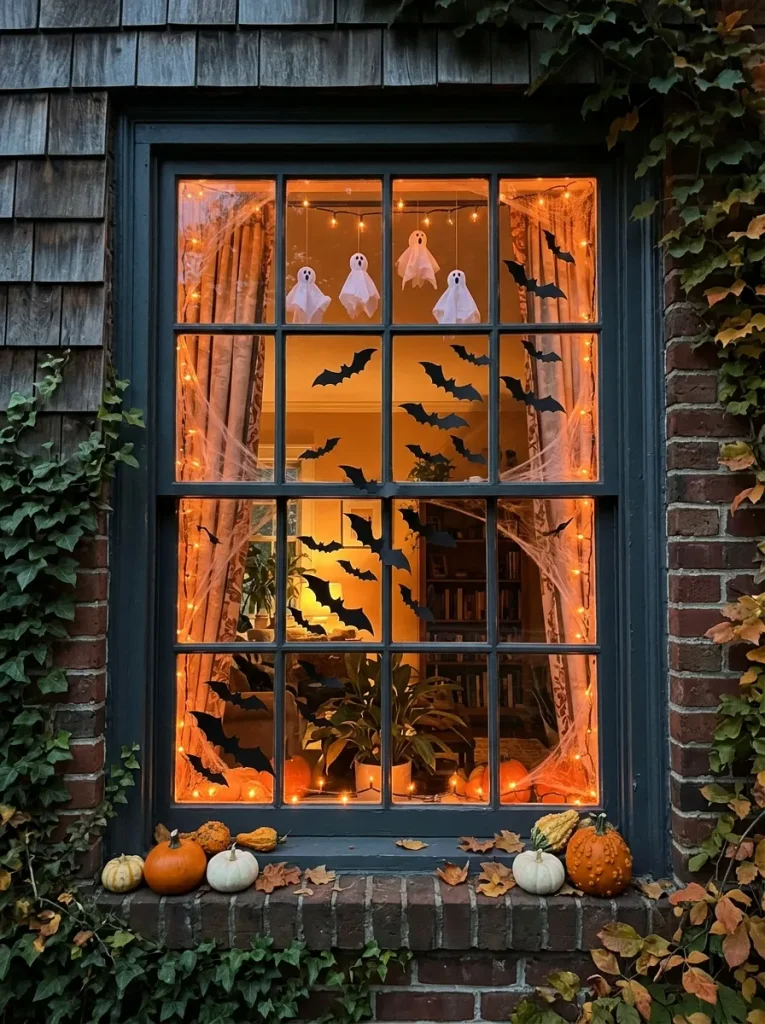
Halloween window decorations are an easy way to bring seasonal charm to your home without spending a lot of money. A few spooky silhouettes, glowing lights, or playful ghosts can turn an ordinary window into a festive display that looks inviting during the day and mysterious after sunset.
Decorated windows also help connect your indoor Halloween theme with your home’s exterior. Whether you live in a house or an apartment, you can create an eye-catching display using simple materials. The best part is that you can adjust the look to match your style, from cute and family-friendly to dark and spooky.
2. Choosing a Halloween Window Decorating Style

Choosing a clear theme before decorating helps your window look coordinated rather than cluttered. Think about the atmosphere you want to create, the space you have available, and whether you prefer playful decorations or a more dramatic Halloween display.
- Cute Halloween: Use smiling ghosts, colorful pumpkins, friendly bats, and cheerful window stickers. This style works especially well for family homes.
- Spooky Silhouettes: Choose black bats, witches, haunted houses, and crooked trees against clear glass for a classic haunted look.
- Gothic Elegance: Combine black branches, dark paper shapes, and soft white lighting for a mysterious, sophisticated appearance.
- Autumn Halloween: Mix pumpkins, orange leaves, warm lights, and a few subtle ghosts for a seasonal display that feels welcoming.
3. Gathering Supplies for Halloween Window Decorations

Quick Tip: Gather your materials before starting so you can complete your window display without unnecessary trips to the store. Choose removable adhesives and lightweight decorations to make installation and cleanup easier.
You do not need expensive supplies to create an attractive Halloween window. Start with black paper for silhouettes, white paper for ghosts, and scissors for cutting simple shapes. Add reusable window clings, battery-operated LED lights, and removable adhesive if your design needs extra detail. Artificial cobwebs can provide texture, while orange or purple lights add color. Before using any adhesive, test it on a small, inconspicuous area of the glass or frame and follow the manufacturer’s instructions to avoid residue or surface damage.
Also Visit : Elegant Halloween Window Decor for a Festive Glow
4. Measuring and Preparing Your Windows

Common Mistake: Many beginners start attaching decorations before cleaning the glass or checking the available space. Dust and fingerprints can prevent window clings from sticking properly, while poorly measured designs may look crowded or uneven.
The Fix: Clean the glass with a suitable glass cleaner and let it dry completely before decorating. Measure the width and height of each window pane, then plan where the main decorations will go.
Start by sketching a simple layout or arranging paper templates against the glass before attaching anything. Keep window handles, locks, and frequently opened sections accessible. If you rent your home, check whether your chosen adhesive is safe for the window finish. A few minutes of preparation can prevent frustrating adjustments later and help your display look neat from both inside and outside.
5. Creating Spooky Halloween Window Silhouettes

What You Need:
- Black construction paper: Creates bold silhouettes that stand out against glass.
- Printed templates or a pencil: Helps you trace bats, ghosts, witches, and haunted houses.
- Sharp scissors: Makes it easier to cut clean shapes and small details.
- Removable adhesive: Holds the finished decorations in place without requiring permanent fixtures.
- Measuring tape: Helps you size each silhouette to fit your window.
To make your silhouettes, trace your chosen shapes onto black paper and cut them out carefully. Arrange larger designs near the bottom or center of the window, then add smaller bats or stars around them. Press the shapes onto clean, dry glass using suitable removable adhesive. For a striking nighttime effect, position a soft light inside the room so the silhouettes remain visible from outside.
6. Decorating Windows With Halloween Lights

Before: A window decorated with paper cutouts may look attractive during daylight but become difficult to see after sunset. Without suitable lighting, small details can disappear against the dark glass, leaving the display less noticeable from the street.
After: Carefully placed LED lights create a gentle glow that highlights the silhouettes and brings the entire arrangement to life. Orange lighting creates a traditional Halloween mood, while purple or cool white lights offer a more mysterious appearance.
Start by outlining part of the window frame with battery-operated LED string lights or placing them around the main decorations. Avoid using too many colors at once, as this can distract from the design. Keep lights, cords, and battery packs away from moving window parts, and follow the manufacturer’s safety instructions. Never leave candles or other open flames near paper decorations, artificial cobwebs, or fabric ghosts.
7. Using Halloween Window Clings and Stickers

Do This:
- Clean and dry the glass before applying window clings so they adhere properly.
- Place larger designs near the center or lower corners, then arrange smaller stickers around them.
- Combine two or three complementary colors, such as black, orange, and white, for a coordinated appearance.
- Follow the product instructions to remove and store reusable clings after Halloween.
Avoid This:
- Do not cover every inch of glass with stickers, as the display can look crowded.
- Avoid placing decorations where they block important views or interfere with window handles.
- Do not apply clings to dusty or damp surfaces.
- Avoid scraping stickers off with sharp tools that could scratch the glass.
Window clings are especially useful for renters and anyone who wants a quick decorating project without cutting paper shapes. Try arranging the designs on a table first, then transfer the layout to the window. This simple planning step helps create a balanced display that looks attractive from indoors and outdoors.
8. Adding Cobwebs, Ghosts, and Other Spooky Details

Quick Facts:
Time Needed: 20 to 40 minutes, depending on the number of decorations.
Difficulty: Easy for beginners.
Cost: Low to moderate, depending on the materials already available.
Tools Required: Lightweight decorations, removable adhesive, scissors, and battery-operated LED lights.
Small decorative details can make a Halloween window feel more complete without requiring an elaborate setup. Place artificial cobwebs in the upper corners, add a few paper bats across the glass, and position lightweight ghosts near the edges. Keep the center relatively open so the main decorations remain easy to see.
For a more layered look, vary the size and height of your decorations rather than arranging everything in a straight line. Use only a small amount of artificial webbing, especially around window frames, and keep it away from lights and heat sources. If you add hanging ghosts, secure them firmly and make sure they cannot interfere with opening or closing the window.
9. Making DIY Halloween Window Decorations on a Budget
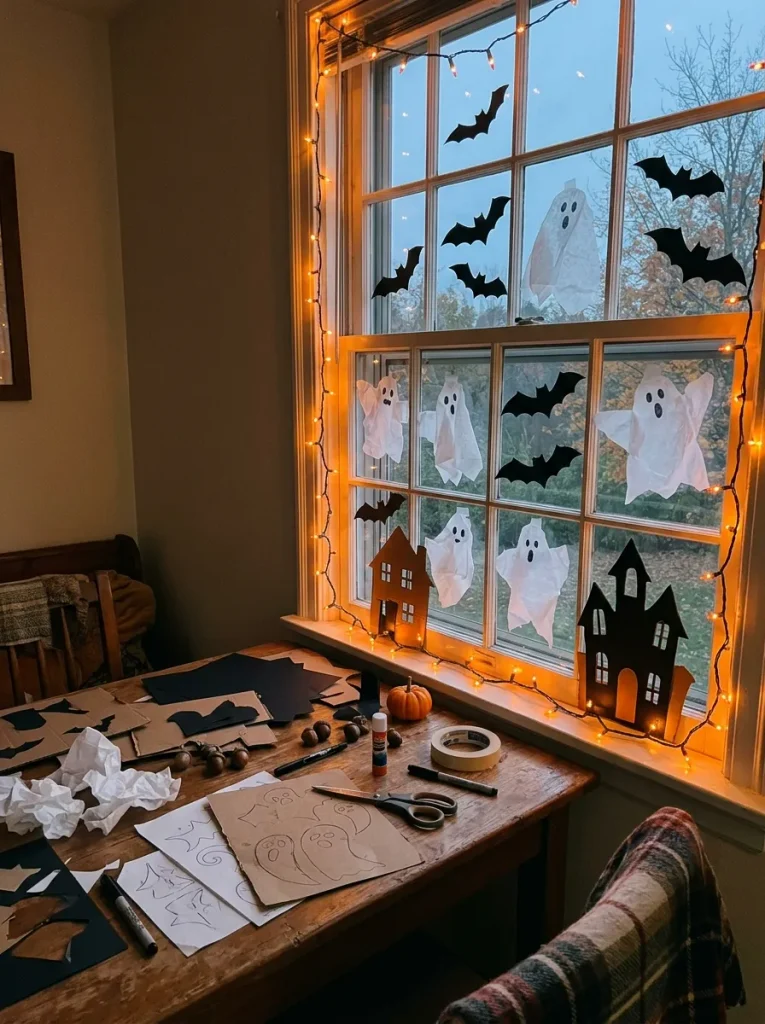
Halloween decorating does not have to be expensive to look creative. Everyday materials can become charming seasonal decorations with a little planning. Before buying new supplies, check your craft drawer for paper, cardboard, leftover ribbon, and reusable decorations from previous years.
- Make paper bats: Fold black paper, trace simple bat shapes, cut them out, and attach them to the glass with suitable removable adhesive.
- Create tissue paper ghosts: Shape white tissue paper into small ghosts and draw simple faces. Use lightweight designs that will not obstruct the window.
- Build a haunted house: Cut a haunted house outline from black cardstock, including windows and a crooked roof, then position it along the bottom of the glass.
- Reuse old decorations: Refresh existing window clings or combine last year’s paper shapes with new LED lights to create a different arrangement.
The key to inexpensive Halloween decor is choosing a few strong visual elements instead of buying lots of small accessories. Black silhouettes, white ghosts, and a soft orange glow work well together. Store reusable pieces flat in labeled envelopes after the season so you can use them again next year.
10. Decorating Different Types of Windows for Halloween

Introductory Tip: Every window has different decorating needs. Consider its size, location, and how often it opens before choosing decorations. A simple design that fits the available space usually looks better than trying to squeeze too many spooky details into a small area.
- Large picture windows: Create a focal point with a haunted house silhouette, flying bats, and a border of warm LED lights.
- Small bathroom windows: Use a few ghost clings, tiny bats, or simple Halloween stickers that fit the limited glass area.
- Bay windows: Decorate each section with a related design, such as pumpkins on one pane and bats on another, to maintain a consistent theme.
- Apartment windows: Choose removable clings and lightweight paper decorations that are easy to install and remove without permanent changes.
- Sliding glass doors: Keep the central viewing area clear and place silhouettes or stickers around the edges so people can move through safely.
Before attaching anything, check that decorations will not interfere with window locks, handles, or sliding mechanisms. If the window faces a busy walkway, avoid placing large decorations where they could obstruct your view of people approaching the home.
11. Making Halloween Window Decorations Visible at Night
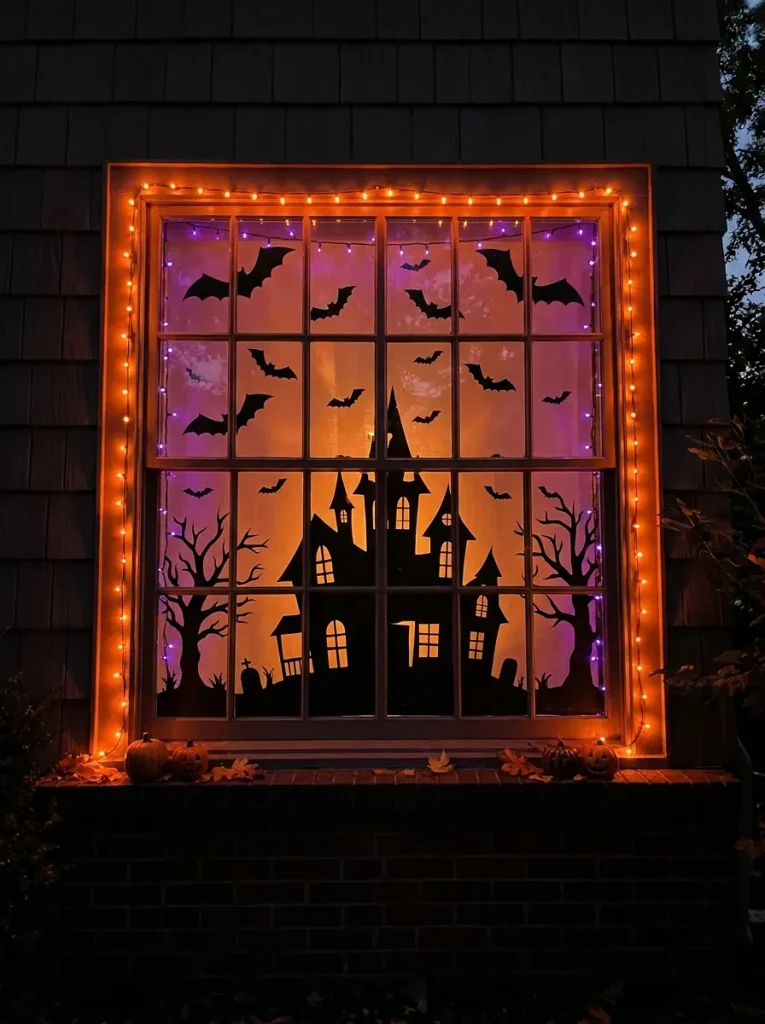
Quick Tip: Test your window display after sunset before considering it finished. Decorations that look balanced in daylight may disappear against dark glass at night, so adjust the lighting and placement until the main shapes are easy to see.
For a stronger nighttime display, place a soft LED light inside the room where it can illuminate the silhouettes without creating excessive glare. Black paper shapes often stand out well when the background is lighter than the decorations. Orange lights add a traditional Halloween feeling, while cool white lighting creates a ghostly effect.
Step outside and look at the window from the distance where visitors or passersby will see it. If the design looks too dim, reposition the lights or simplify the arrangement. Avoid using bright lights that shine directly into neighbors’ windows, and keep cords secured away from walking areas and moving window parts.
12. Avoiding Common Halloween Window Decorating Mistakes

Common Mistake: Covering the entire window with stickers, paper cutouts, and cobwebs can make the display look messy. Using strong adhesive without checking its compatibility with the surface can also leave residue or damage paint and window finishes.
The Fix: Choose one main design, such as a haunted house or a group of flying bats, and use smaller decorations to support it. Leave enough open glass to create visual balance and maintain a clear view where needed.
Another common problem is attaching decorations before the glass is completely dry. Dust and moisture can cause window clings to peel away or adhesive to lose its grip. Clean the surface first, follow product instructions, and test adhesives in a small area. Check the finished display from both sides of the window to catch uneven spacing, loose corners, or lighting that hides the main design.
13. Keeping Halloween Window Decorations Safe and Secure
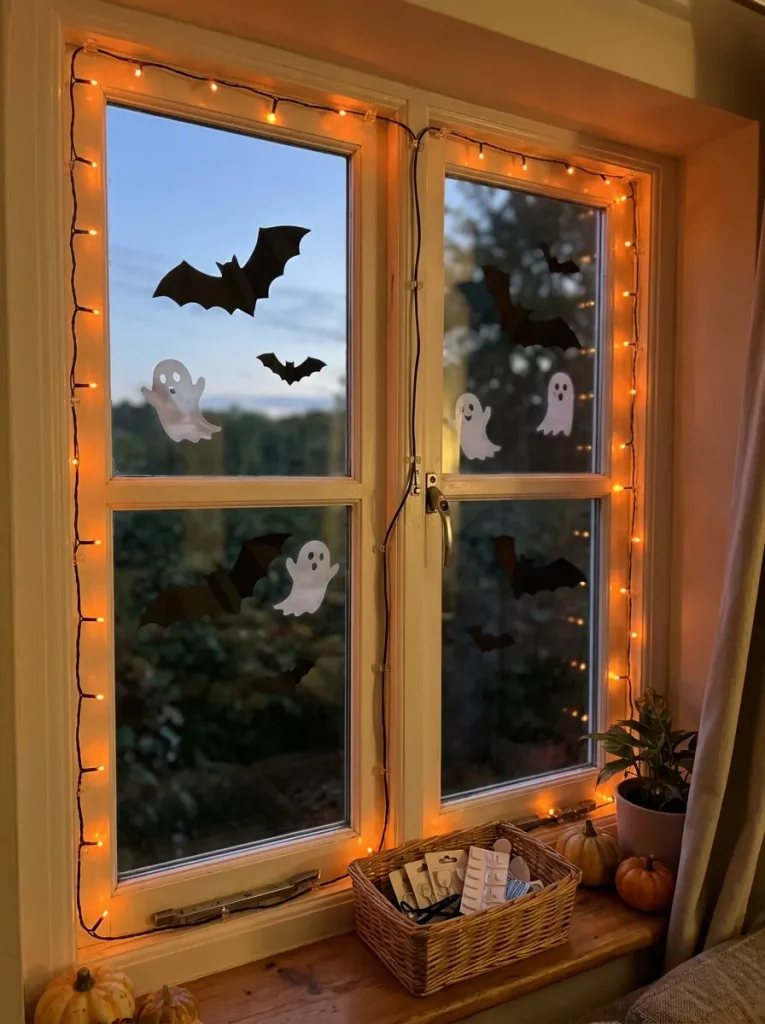
What You Need:
- Removable adhesive hooks: Help secure lightweight decorations without permanent changes to the window frame.
- Clear window clings: Stick to smooth glass and are generally easy to remove when Halloween is over.
- Battery-operated LED lights: Add a festive glow without needing an electrical cord stretched across a walkway.
- Lightweight paper cutouts: Create spooky shapes without placing excessive weight on glass or frames.
- Microfiber cloth: Removes dust and fingerprints before you attach decorations.
Secure every decoration before displaying it, especially if the window is near a frequently used doorway or exposed to drafts. Follow the instructions supplied with adhesives and lights, and avoid hanging heavy objects directly from glass. Keep electrical connections away from moisture, never leave damaged light strings in use, and make sure window locks remain accessible. If you decorate a bedroom window, keep emergency exit routes clear so the display does not interfere with opening the window when needed.
14. Pro Tips for Creating a Cohesive Halloween Window Display
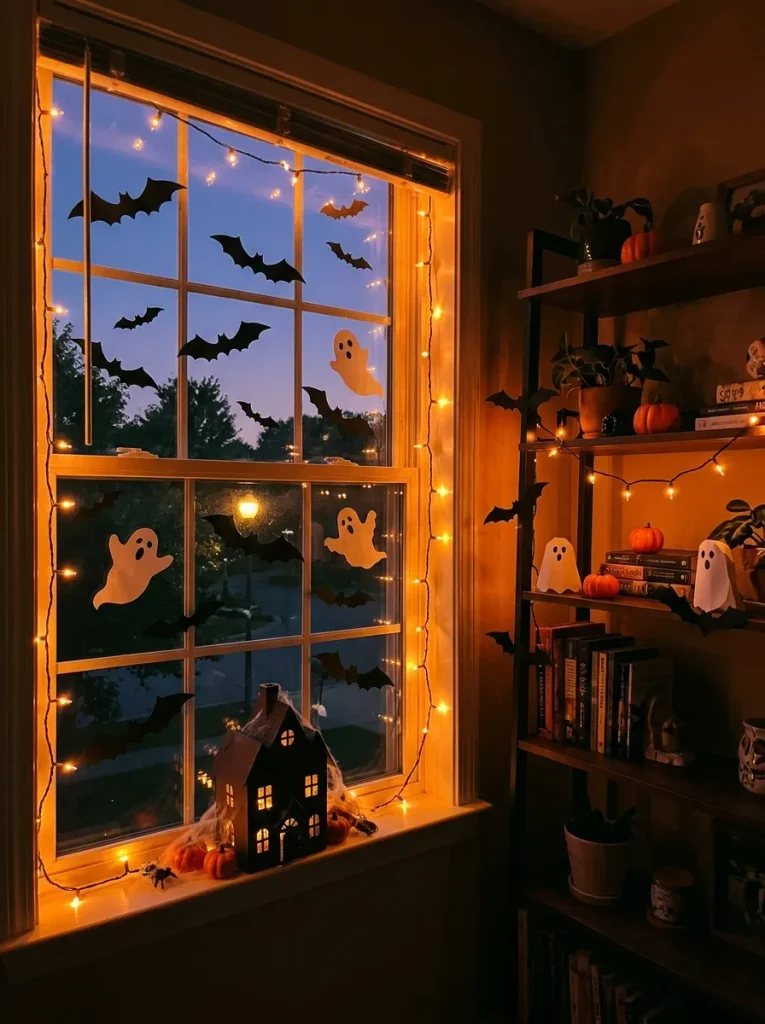
Time Needed: Approximately 30 to 60 minutes, depending on the number of windows.
Difficulty: Beginner-friendly.
Cost: Low to moderate, depending on whether you use homemade decorations or purchased accessories.
Best For: Homeowners, renters, and DIY decorators who want a coordinated Halloween look.
Pro Tip: Choose two or three main colors and repeat them throughout your display.
A cohesive arrangement looks intentional because its shapes, colors, and lighting work together. Start with one main feature, such as a haunted house silhouette, then add smaller bats, ghosts, or stars around it. Repeat orange and black accents across nearby windows to connect the displays without making every window identical. Vary the size of your decorations to create depth, and leave a little empty glass so the main shapes remain noticeable. Before adding more items, step back and check the overall balance from outside your home.
15. Enjoying and Maintaining Your Halloween Window Decorations

Before: Check your decorations every few days for loose corners, tangled light strings, or stickers that have started to peel. Dust and fingerprints can also make a carefully arranged window look less polished.
After: Make small adjustments as needed, replace damaged items, and switch off lights when they are not required. At the end of the season, remove each decoration carefully and store reusable pieces together.
Keeping your display tidy helps it look attractive throughout October. Use a soft cloth to clean accessible areas, and follow the manufacturer’s instructions when removing adhesive products. Place paper silhouettes in a flat folder, wind light strings loosely, and keep reusable clings on their original backing when possible. Label a storage box so next year’s decorations are easy to find. Once Halloween has passed, inspect the glass for residue and clean it gently before returning your windows to their everyday look.
CONCLUSION
You don’t need expensive supplies or complicated crafts to create a memorable Halloween display. With a clear theme, simple silhouettes, carefully placed lights, and secure attachments, your Halloween window decorations can feel spooky, welcoming, and suited to your home. I’ve seen how making one small change, such as improving the lighting or removing clutter, can completely shift the result.
Save this guide on Pinterest so you can return to your favorite ideas when decorating, then try the tips that fit your windows and budget. Share it with a friend or family member who’s planning a festive display, and make this Halloween glow with creativity!


One Comment