
Gorgeous Halloween String Lights for a Cozy Glow
Want a Halloween display that feels spooky, cozy, and beautiful without spending a fortune? The right Halloween string lights can transform ordinary rooms, porches, and garden spaces into a festive seasonal retreat.
Whether you love soft orange lighting, mysterious purple glows, or classic warm white bulbs, choosing the right setup can feel overwhelming. You also need to consider placement, weather protection, and electrical safety. This guide walks you through simple decorating ideas, affordable DIY projects, and practical tips for creating a balanced display indoors and outdoors.
In my experience, a few thoughtfully placed lights can make a bigger impact than covering every corner. By the end, you’ll know how to create a welcoming Halloween atmosphere that suits your home and budget.
1. Why Halloween String Lights Create a Cozy, Spooky Atmosphere
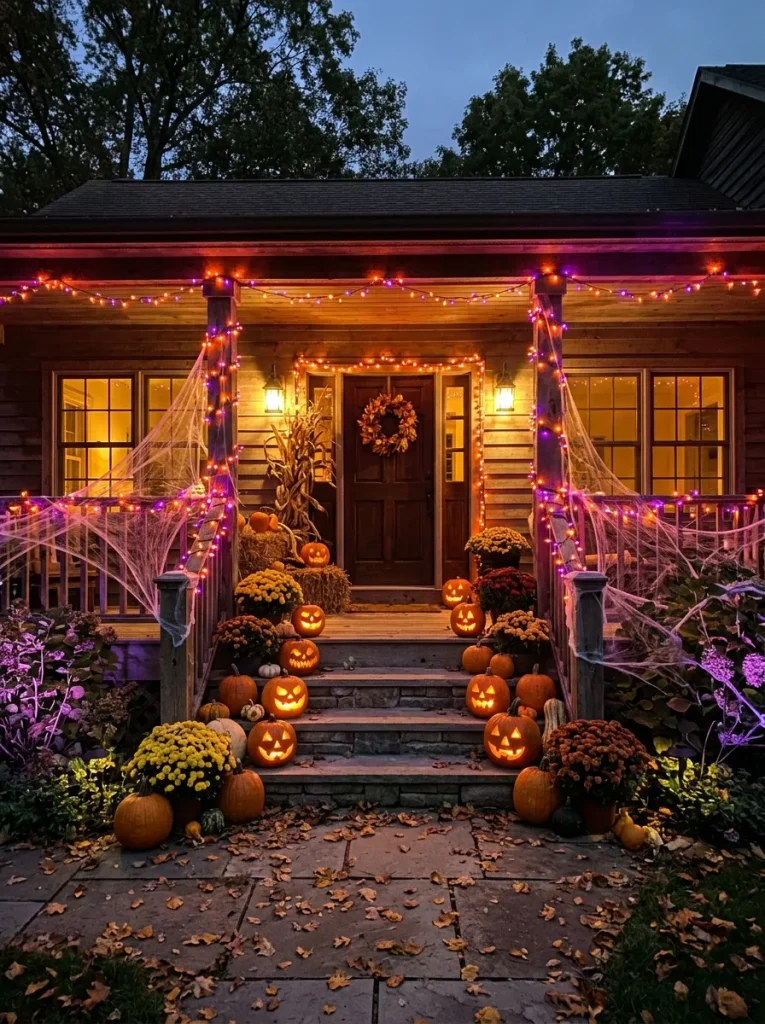
Halloween string lights can transform an ordinary room, porch, or garden into a cozy, spooky space without requiring expensive decorations. Their gentle glow adds atmosphere while highlighting pumpkins, doorways, windows, and seasonal displays.
The best part is their versatility. Warm orange bulbs create a welcoming autumn feeling, while purple and green lights add a mysterious Halloween touch. In my experience, spreading lights across a few carefully chosen areas often looks better than decorating every corner. Start with one focal point, such as your front door or living room mantel, then add smaller lighting details around it. This approach keeps your display attractive, balanced, and easy to manage.
2. Choosing the Best Halloween String Lights for Your Home

Choosing the right lights makes decorating easier and helps you achieve the look you want. Before buying anything, consider where the lights will go, how bright they should be, and whether you prefer a cute, cozy, or spooky atmosphere.
- Choose your colors: Orange creates a classic Halloween look, purple adds mystery, and warm white provides a softer glow.
- Pick your bulb style: Select pumpkin-shaped bulbs, tiny fairy lights, ghost designs, or traditional string bulbs to match your decorations.
- Check the intended location: Use indoor-rated lights inside and products specifically rated for outdoor use outside.
- Decide on the lighting effect: Steady lights create a relaxed atmosphere, while flashing effects produce a more dramatic display.
- Check the power source: Compare plug-in, battery-operated, and rechargeable options based on outlet access and placement.
Before purchasing, measure the area you want to decorate and check the product’s length, connection limits, and instructions. A well-chosen strand can highlight a doorway or shelf without overwhelming the space. Select lights that complement your existing decorations rather than competing with them.
Also Discover : Magical Halloween Lights Decor for a Glowing Display
3. Gathering Supplies for Halloween String Light Decorations
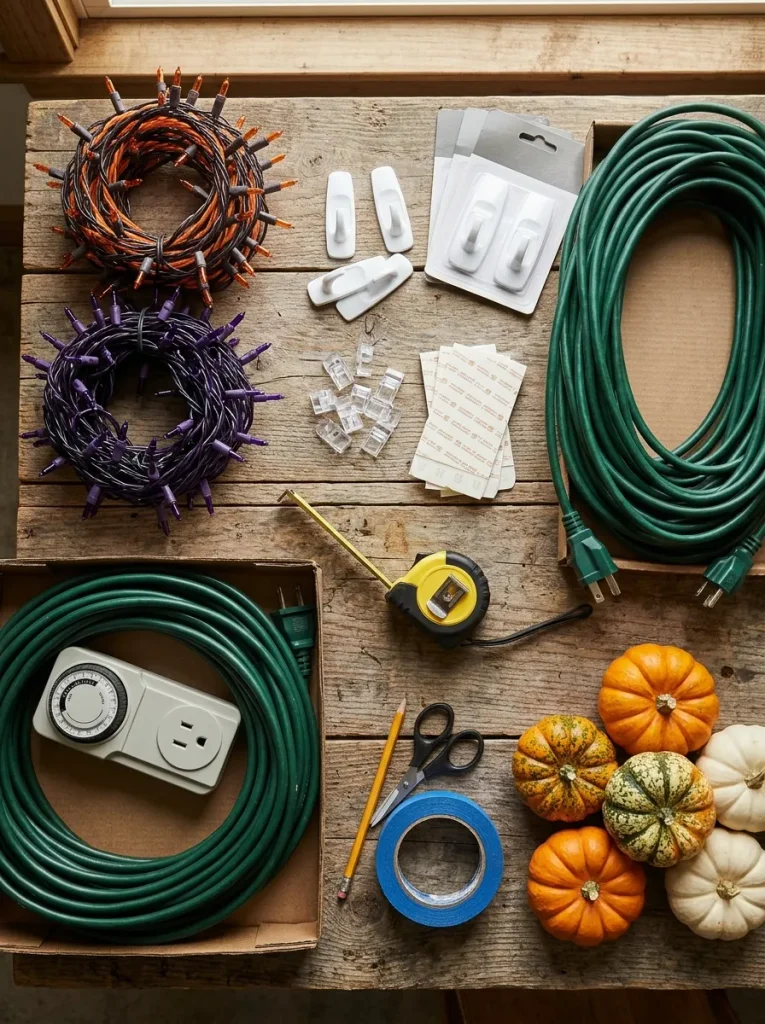
Quick Tip: Gather your supplies before hanging anything so you can work without repeatedly stopping to find missing items. Check each light strand for damage and confirm that its rating matches the intended location.
What to gather:
- String lights: Choose suitable colors, lengths, and bulb styles for your display.
- Removable hooks or clips: Secure lights neatly while helping protect suitable surfaces.
- Measuring tape: Measure doorframes, railings, shelves, and windows before installation.
- Extension cords: Use appropriately rated cords when the nearest outlet is too far away.
- Timer or smart plug: Automate the display if your lighting setup supports it.
- Storage container: Keep spare clips, instructions, and accessories together for future use.
Keep your supplies organized in one basket or box. If you plan to decorate outdoors, check that the lights, cords, and connections are suitable for those conditions. With everything ready, you can move on to planning the layout and deciding where each strand will have the greatest visual impact.
4. Planning Your Halloween Lighting Layout

Common Mistake: Hanging lights without measuring the area can leave gaps, create uneven spacing, or result in strands that are too short. Placing every light in one spot can also make the rest of your decorations look unfinished.
The Fix: Measure each area before installation and decide which features deserve the most attention. Plan your light placement around doorframes, windows, railings, or a favorite decorative feature, then check the total length you need.
Start by choosing one main focal point, such as your front entrance or living room window. Sketch a simple layout and mark nearby outlets so you can position the lights without stretching cords across walkways. Test your arrangement after dark and adjust the spacing before securing everything permanently.
5. Decorating Your Front Porch With Halloween String Lights
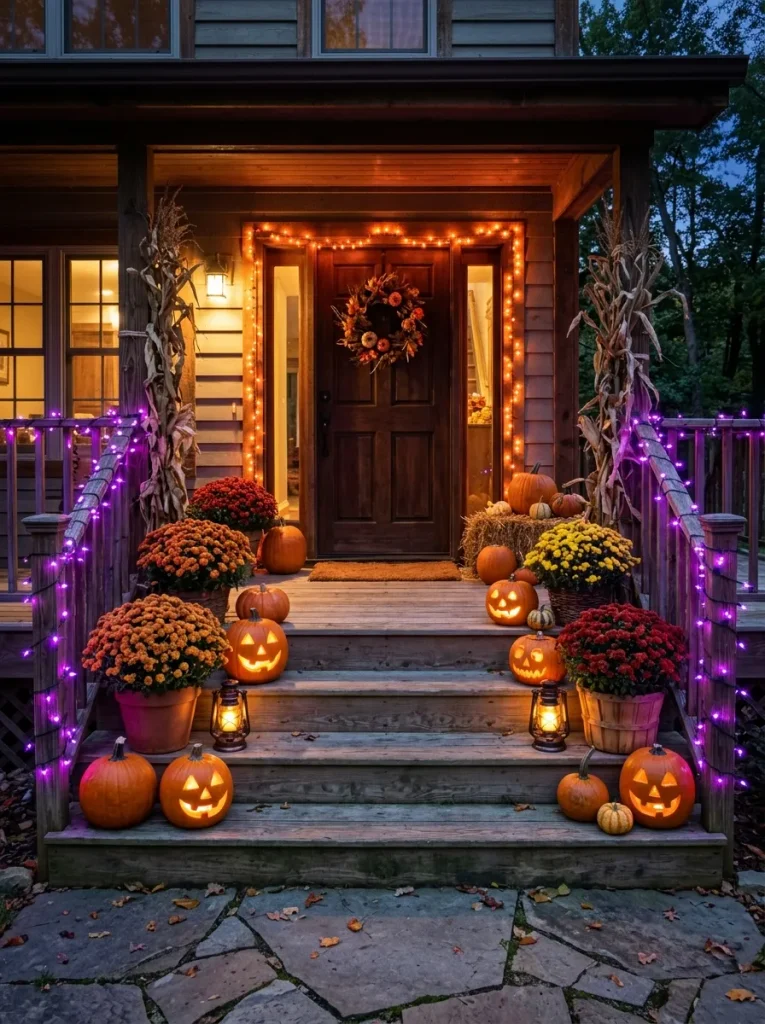
What You Need:
- Orange or purple string lights: Frame the doorway or railings with your preferred Halloween colors.
- Removable outdoor-suitable clips: Attach strands neatly without damaging compatible surfaces.
- Glowing pumpkins: Add a recognizable Halloween focal point near the entrance.
- Outdoor-rated extension cord: Reach a suitable power source without using indoor-only equipment outside.
- Weather-resistant lanterns: Add soft accent lighting beside steps or planters.
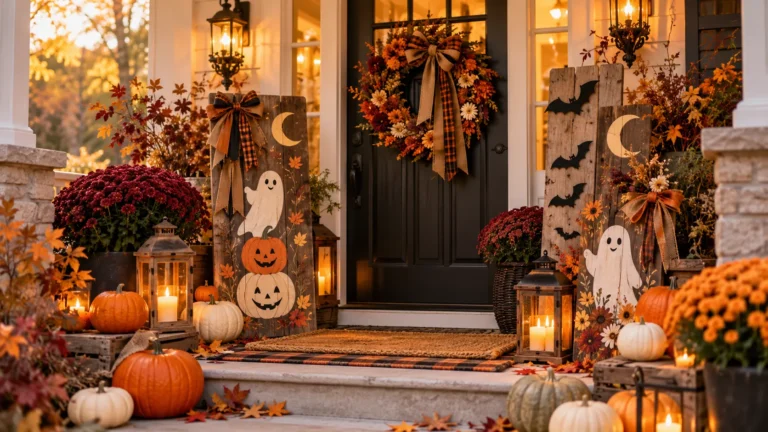
Begin with the porch doorway, attaching lights along the frame with suitable clips. Continue along the railing, keeping the spacing consistent and the cords clear of walking areas. Place glowing pumpkins near the steps or beside planters to create layers of light. Step back from the street or walkway to check the overall balance. Keep plugs and connections protected according to the manufacturer’s instructions, especially if rain is expected.
6. Creating a Cozy Glow With Indoor Halloween String Lights
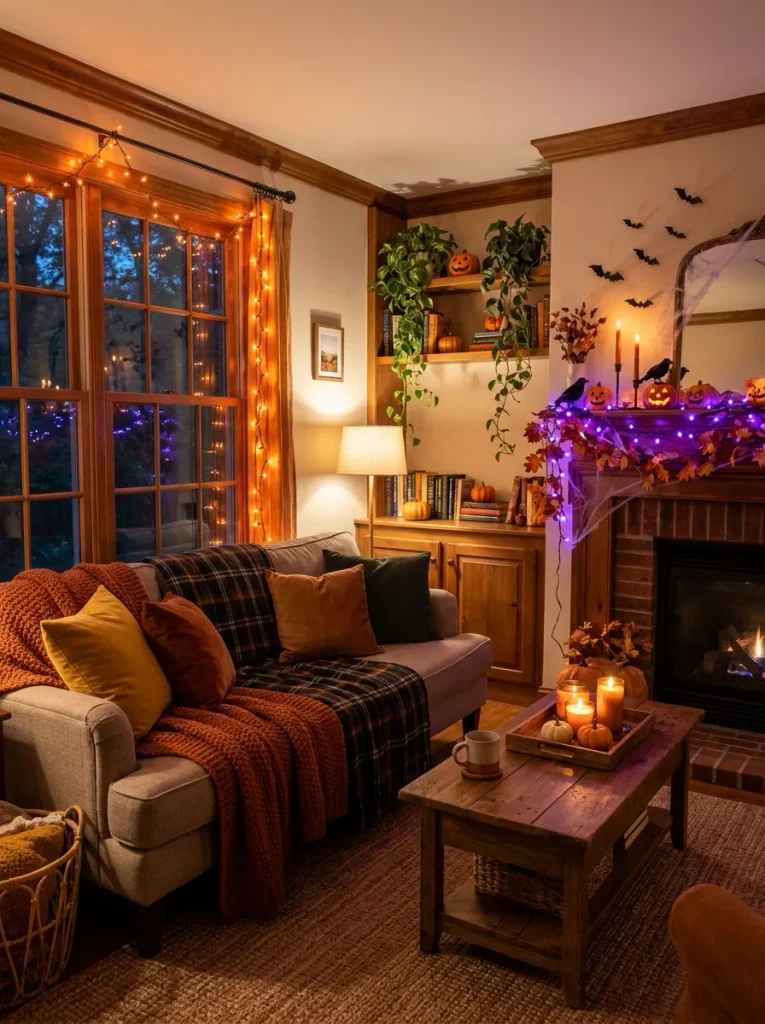
Before: An indoor Halloween display can feel flat when decorations rely only on overhead lighting or a few scattered ornaments. Bright bulbs and too many competing colors may also make a relaxing room feel harsh.
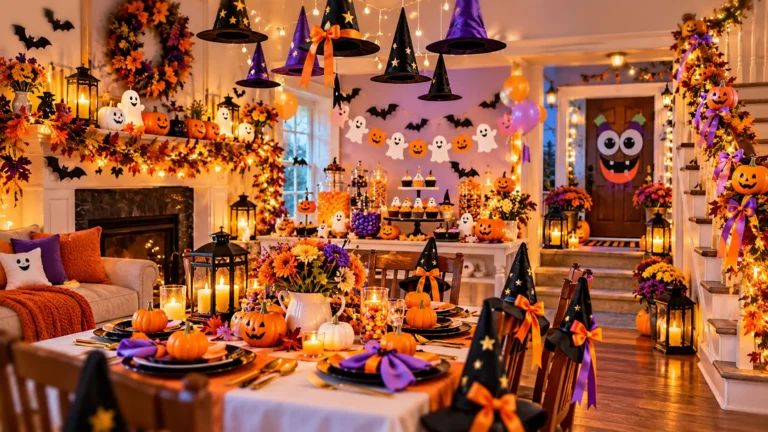
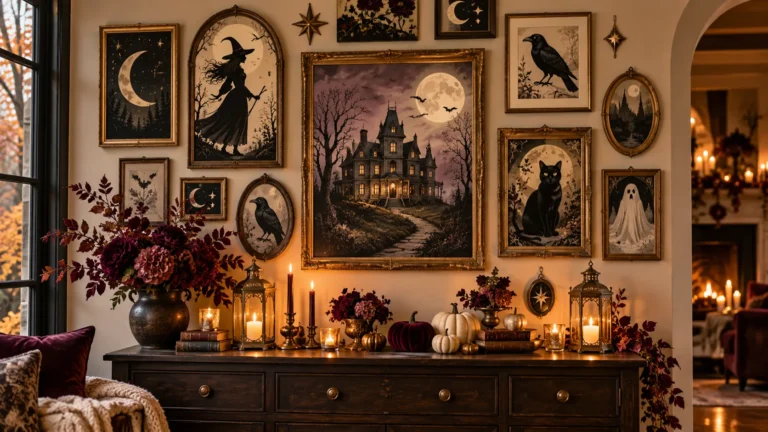
After: Soft string lights around windows, shelves, and mantels create a warmer atmosphere while drawing attention to seasonal details. A limited color palette keeps the room festive without making it feel cluttered.
Start with one area, such as a living room mantel or bedroom headboard, and arrange the lights around existing decorations. Battery-operated strands can work well where outlets are inconvenient, provided they are used according to their instructions. For windows, secure the lights neatly around the frame and keep cords away from moving parts. Avoid placing lights near curtains, bedding, or other materials that could pose a fire risk.
7. Using Orange, Purple, and White Lights for Different Halloween Looks

Do This:
- Choose orange lights for a traditional Halloween look with pumpkins, autumn leaves, and rustic decorations.
- Add purple lights to create a mysterious atmosphere around dark walls, spooky props, or garden shrubs.
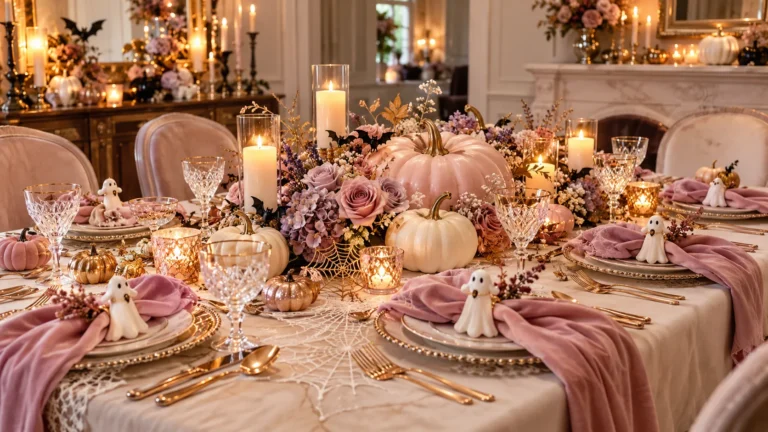
- Use warm white lights for a softer glow around windows, shelves, and elegant Halloween displays.
- Combine two colors to create contrast while keeping your overall decorating scheme consistent.
Avoid This:
- Mixing too many bright colors in one small area.
- Using flashing effects everywhere when you want a relaxing atmosphere.
- Choosing bulbs that overpower nearby decorations.
- Ignoring how your colors look against your walls, furniture, or outdoor surroundings.
For a balanced display, choose one main color and use a second shade for accents. Orange and purple create a classic spooky combination, while warm white softens the look. Test your lights after sunset because colors can appear different in daylight. Repeat your chosen shades in several areas to make the entire display feel connected.
8. Making DIY Halloween String Light Decorations on a Budget

Time Needed: 20 to 45 minutes for a simple project.
Difficulty: Easy, suitable for beginners.
Cost: Low, especially when reusing jars and decorations.
Tools Required: Clean glass jars, battery-operated fairy lights, craft materials, and scissors for paper decorations.
Create glowing decorations with items you already have at home. Place battery-operated fairy lights inside clean glass jars and arrange them on shelves or tables. You can also decorate the outside of the jars with removable Halloween stickers or position paper bats nearby. Keep materials away from hot bulbs, use lights according to their instructions, and avoid placing paper or fabric inside jars with lights that produce heat. These small projects add personality without requiring a large decorating budget.
9. Decorating Trees, Bushes, and Outdoor Spaces With String Lights
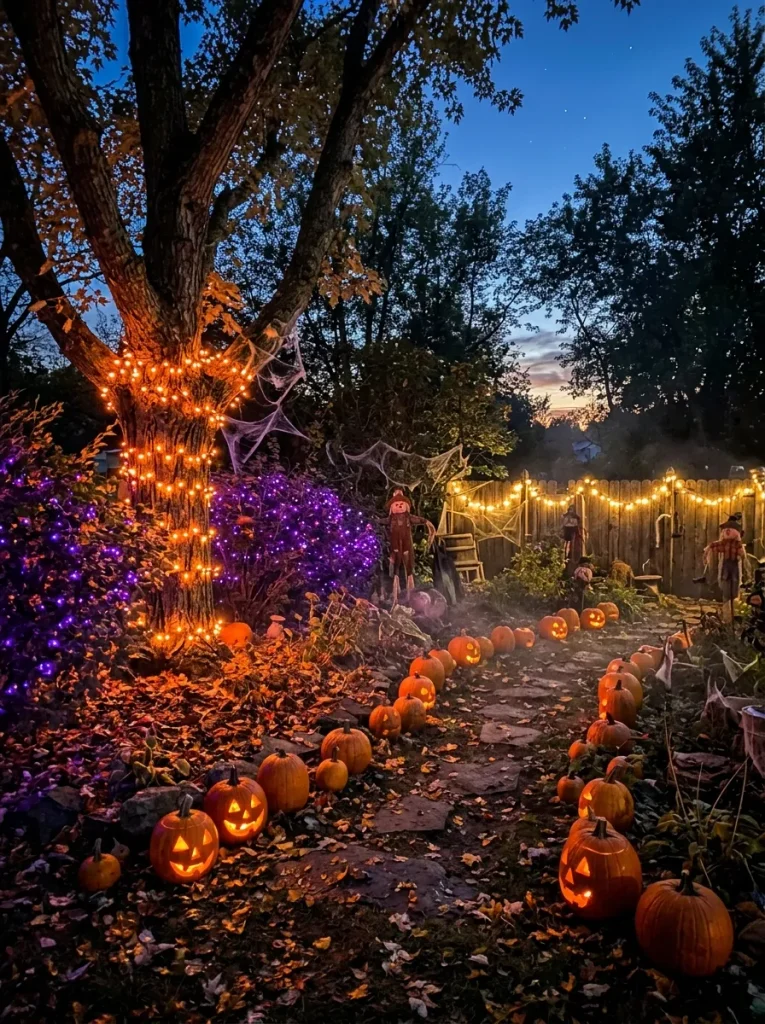
Outdoor lighting can make your Halloween decorations visible from the street while adding depth to your garden. Trees, shrubs, fences, and pathways offer natural places to display lights, even if your yard is small.
Start by wrapping suitable outdoor-rated lights loosely around a tree trunk, keeping the strands clear of branches that could damage the wiring. Add purple lights to shrubs or outline a fence with orange bulbs for a coordinated effect. Use appropriate clips instead of nails or staples, and keep cords away from footpaths. Before switching everything on, check the manufacturer’s outdoor-use instructions and make sure all connections are protected from moisture. A few well-lit features can create a striking display without covering the entire garden.
10. Making Your Halloween String Lights Stand Out at Night
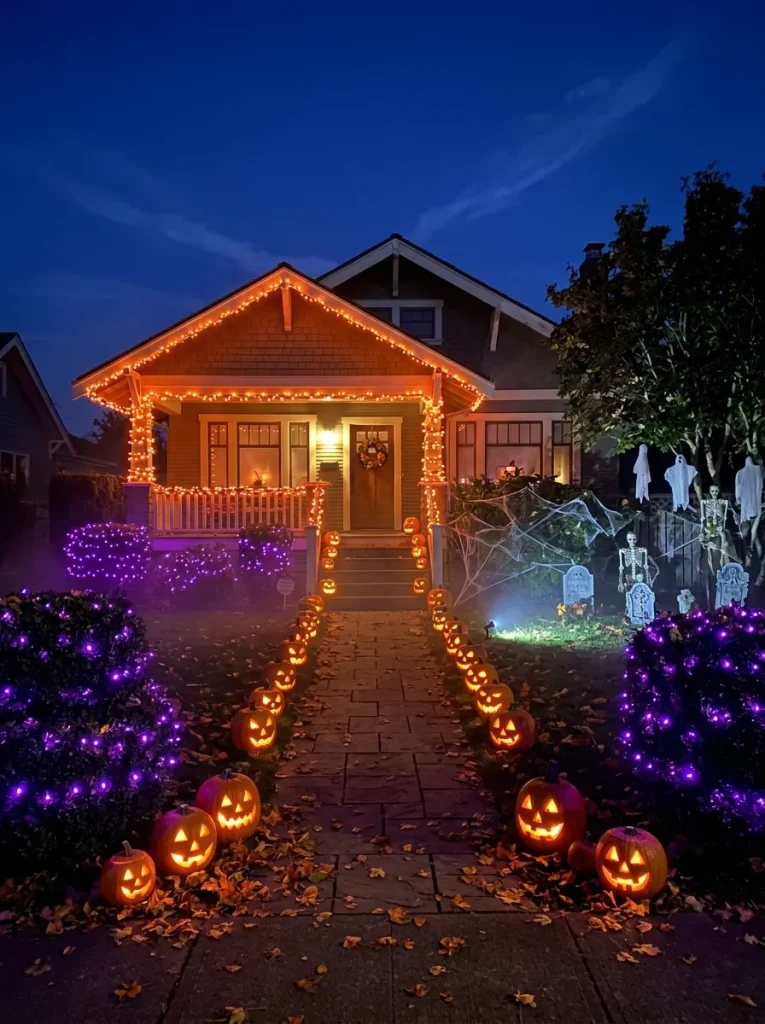
A lighting display looks its best after dark when each strand has a clear purpose. Instead of making every corner equally bright, use your lights to highlight important features and create depth throughout your Halloween decorations.
- Choose a focal point: Frame your front door, a large pumpkin arrangement, or a decorated window with brighter lights.
- Layer different lighting levels: Combine string lights with glowing lanterns or battery-operated candles for added depth.
- Keep spacing consistent: Arrange bulbs evenly around railings, windows, and doorframes to create a tidy appearance.
- Reduce competing light: Turn off nearby decorative lights temporarily to see whether your Halloween display stands out.
- Check the view from outside: Walk to the street or garden entrance and adjust any areas that look too crowded or too dim.
Try switching on your display after sunset and viewing it from several angles. A simple arrangement of orange bulbs around a doorway can become more striking when paired with purple-lit shrubs and a few glowing pumpkins. Keep the brightest lights near your focal point so the entire display feels balanced rather than overwhelming.
11. Using Timers and Smart Plugs for Halloween Lighting

Quick Tip: Set your lights to switch on around sunset and turn off before bedtime to avoid leaving them running unnecessarily. Choose a timer or smart plug that is compatible with your lights and suitable for the location where it will be used.
Automatic controls are especially useful if you decorate your porch, windows, or garden and want a consistent evening display. Check the product instructions before connecting multiple strands, and confirm that the total electrical load stays within the device’s rating. If you use a smart plug, test its schedule before relying on it. For outdoor setups, use equipment specifically rated for exterior conditions and keep electrical connections protected from moisture.
12. Avoiding Common Halloween String Light Decorating Mistakes

Common Mistake: Buying lights before measuring the area can leave you with strands that are too short or much longer than needed. Another common problem is mixing too many colors or placing lights without considering nearby furniture, decorations, and power outlets.
The Fix: Measure first, choose a simple color scheme, and test the arrangement before attaching the lights permanently. Keep the installation tidy and select products designed for their intended location.
Before switching everything on, inspect the full display for tangled strands, loose bulbs, exposed wires, and cords crossing walkways. Avoid using damaged lights or forcing incompatible connectors together. I’ve noticed that a quick test in the evening can reveal uneven spacing that is difficult to spot during daylight. A few small adjustments can make your decorations look more polished and easier to maintain.
13. Keeping Halloween String Lights Safe and Weather-Ready
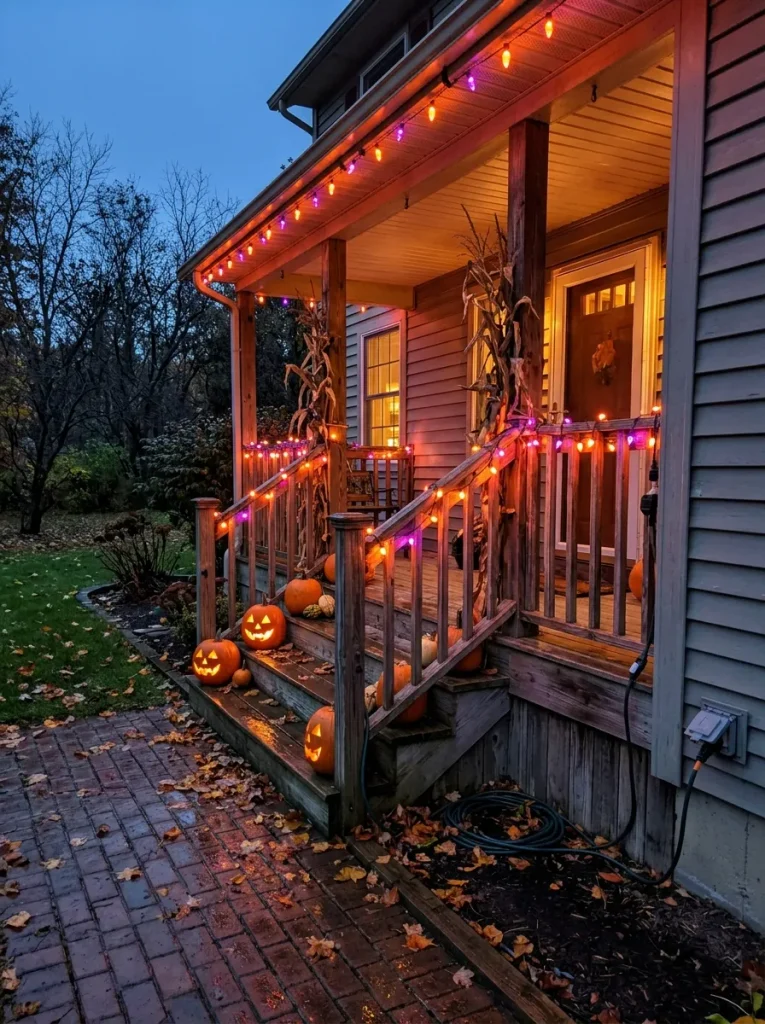
Do This:
- Choose outdoor-rated lights: Check the product label to confirm that the lights are suitable for exterior use.
- Inspect every strand: Look for frayed wires, cracked sockets, loose bulbs, and damaged plugs before installation.
- Protect electrical connections: Follow the manufacturer’s instructions for keeping outdoor plugs and connections dry.
- Use suitable outlets: Choose GFCI-protected outlets for outdoor electrical decorations and follow local electrical safety guidance.
- Secure loose cords: Keep cables away from walkways, doorways, and areas where people could trip.
Avoid This:
- Using indoor-only lights outside.
- Connecting damaged strands or overloaded extension cords.
- Placing electrical connections in standing water.
- Stapling or nailing through wires to secure them.
A safe display can still look beautiful and festive. Before switching on your decorations, check the weather, inspect the connections, and confirm that every component is suitable for its location. If rain or strong winds are expected, follow the manufacturer’s guidance for removing or protecting the lights. Never handle electrical connections with wet hands.
14. Pro Tips for Creating a Beautiful, Cohesive Halloween Light Display

Before: A display can look disorganized if every area uses different colors, lighting effects, and decoration styles. Bright bulbs competing with flashing lights may also distract from your favorite Halloween features.
After: A consistent color palette, carefully chosen focal point, and layered lighting create a more polished display. Repeating the same colors across your porch, windows, and garden helps connect the entire arrangement.
Start with two main colors, such as orange and purple, then introduce warm white lights where you want a softer glow. Place brighter strands around your main feature and use smaller lights to highlight nearby decorations. Step back after sunset to check the overall balance. In my experience, adjusting a few lights is often more effective than adding another strand.
15. Maintaining and Storing Halloween String Lights After the Season

Do This:
- Unplug before removing: Disconnect all lights from their power source before handling or packing them.
- Inspect each strand: Check for damaged wires, cracked sockets, loose bulbs, and worn plugs.
- Coil lights loosely: Use reusable reels or cardboard holders to reduce tangles and strain.
- Label storage containers: Separate indoor lights, outdoor strands, clips, and accessories for easier access next season.
Avoid This:
- Packing lights while they are wet or damp.
- Pulling strands by their wires when removing them.
- Wrapping cords tightly around sharp objects.
- Storing damaged lights for future use without appropriate replacement or repair.
Once your Halloween decorations are removed, allow any damp items to dry completely according to the manufacturer’s instructions. Place the lights in a cool, dry storage area away from direct sunlight and moisture. Keep small accessories in labeled bags so everything stays organized. Before next Halloween, inspect the strands again and replace any damaged products rather than risking an electrical problem.
CONCLUSION
Creating a cozy Halloween atmosphere doesn’t require expensive decorations or complicated projects. With thoughtful placement, coordinated colors, simple DIY touches, and safe installation, you can turn your porch, living room, or garden into a welcoming seasonal display. I’ve seen how making one small lighting change can completely shift the look and feel of a space.
Try these ideas with the lights and decorations you already have, then add details that match your style. Save this article on Pinterest so you can revisit your favorite tips, and share it with someone planning their Halloween decor. Start small, get creative, and let your home glow with festive charm!

One Comment