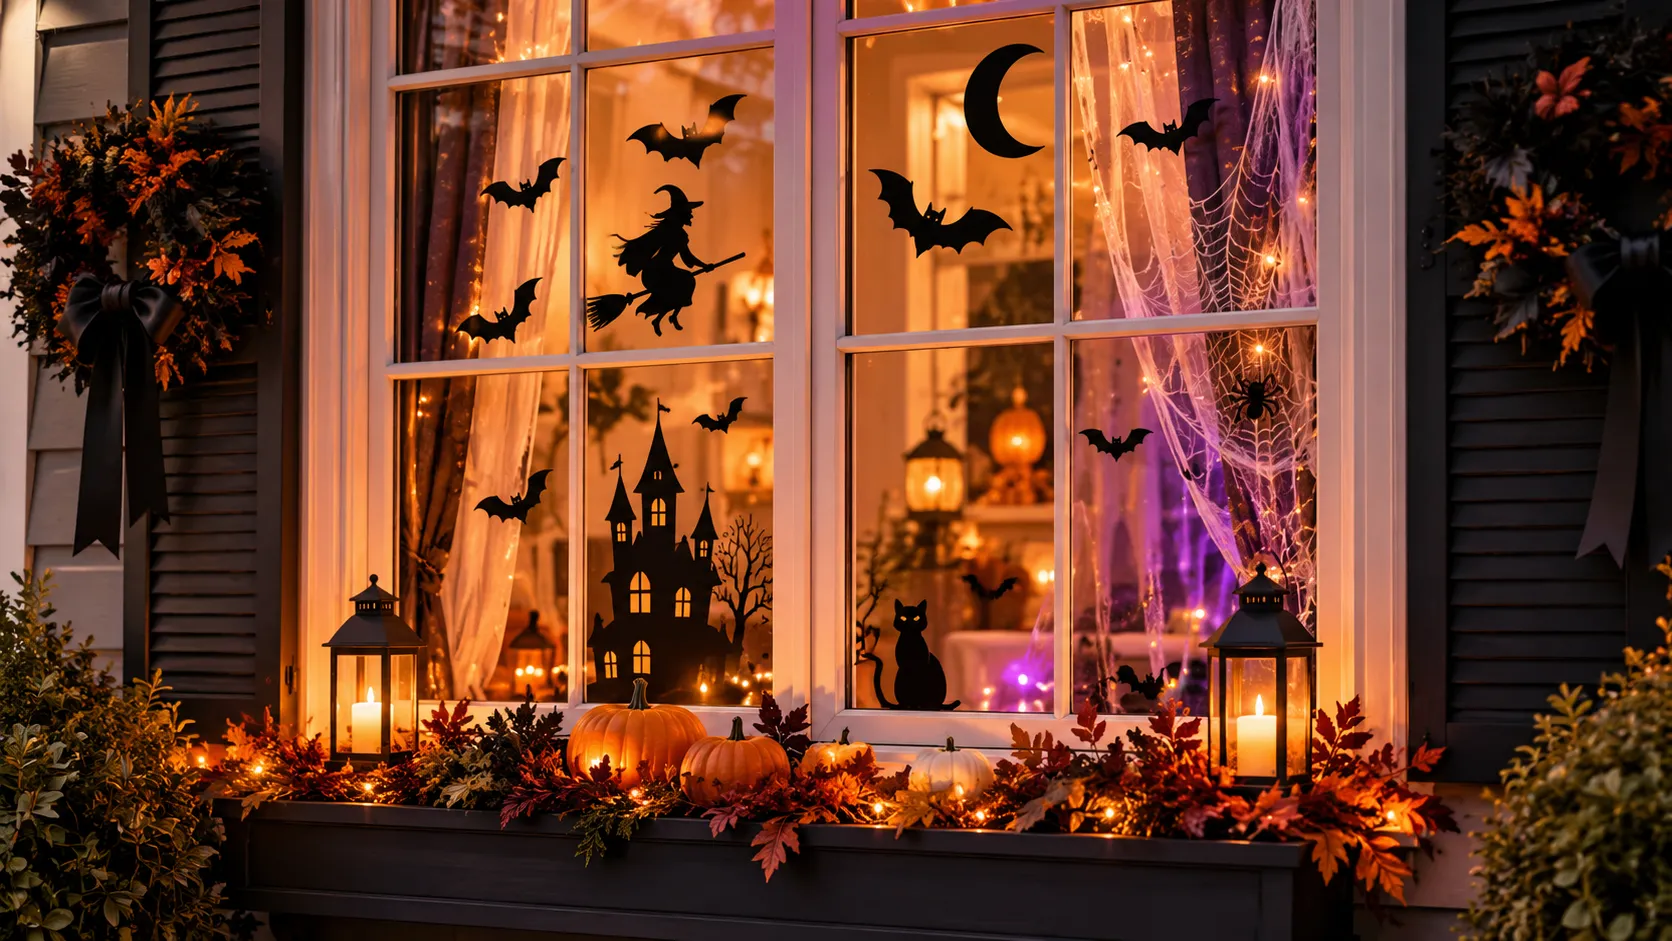
Elegant Halloween Window Decor for a Festive Glow
Want your windows to look festive for Halloween without feeling cluttered or overly spooky? The right Halloween window decor can transform ordinary glass into a warm, eye-catching seasonal display.
From dramatic black silhouettes and glowing LED candles to charming pumpkin arrangements and elegant wreaths, you can create a beautiful look without spending a fortune. I’ve noticed that choosing a simple color palette and a clear focal point makes decorating much easier, especially when you’re short on time or working with limited space.
In this guide, you’ll discover beginner-friendly decorating ideas, affordable DIY projects, and practical tips for keeping your windows stylish, safe, and easy to maintain. Get ready to create a festive glow that complements your home.
Choosing an Elegant Halloween Window Theme

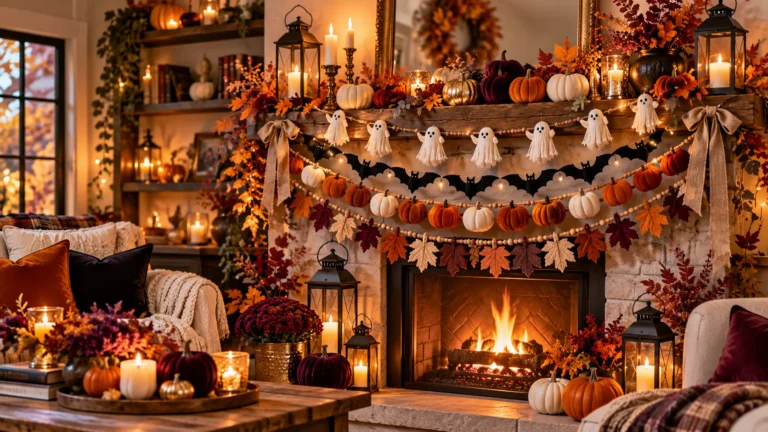
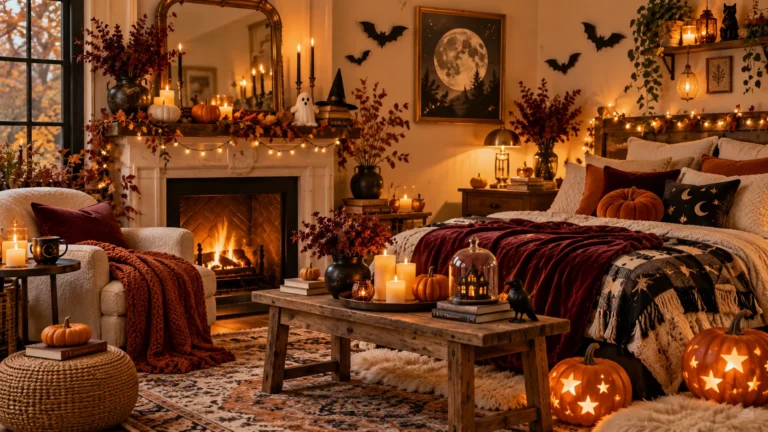
Choosing a theme first helps your decorations look coordinated rather than crowded. For an elegant Halloween window, consider gothic elegance with black roses and dark ribbons, cozy autumn charm with pumpkins and golden leaves, or minimalist styling with a few striking silhouettes. Playful designs featuring friendly ghosts can also suit family homes.
Keep your color palette simple by combining two or three shades, such as black, ivory, and burnt orange. Match the decorations to your existing furniture and curtains so the display feels like a natural extension of your home.
Measuring and Preparing Your Windows

Accurate measurements help you choose decorations that fit neatly without blocking natural light or interfering with window operation. Before shopping or crafting, check the dimensions of each pane and identify the areas where decorations will be most visible. Clean glass also helps removable stickers and lightweight decorations stay in place.
- Measure each pane: Record the height and width of the glass, including separate sections for divided windows.
- Check the surrounding space: Note the windowsill depth, curtain placement, and available room for lanterns or pumpkins.
- Clean the glass: Remove dust, fingerprints, and grease with a suitable glass cleaner, then let the surface dry completely.
- Plan the arrangement: Use painter’s tape on nearby surfaces to mark approximate decoration positions before attaching anything.
- Check window access: Keep handles, locks, and opening areas clear so decorations do not interfere with ventilation or everyday use.
Gathering Affordable Halloween Window Decorating Supplies

Quick Tip: Start with reusable basics instead of buying a complete themed set. Black cardstock, removable decals, battery-operated candles, and ribbon can create several different looks with minimal spending.
For a budget-friendly display, choose supplies based on your theme and window size. Paper bats and witch silhouettes create dramatic shapes, while sheer curtains soften the scene. Add faux spiderwebs for texture, warm LED fairy lights for a welcoming glow, and miniature pumpkins for an autumn touch. Removable adhesive strips or window-safe stickers help secure lightweight decorations without leaving marks when used according to their instructions. Store reusable pieces in labeled containers after Halloween so next year’s setup takes less time and money.
Also Explore : Easy Halloween Lawn Decor for a Delightfully Spooky Yard
Decorating Windows with Spooky Silhouettes

Common Mistake: Placing too many silhouettes close together can make the window look cluttered, especially when viewed from outside. Using shapes that are too small can also make the display difficult to recognize from a distance.
The Fix: Choose two or three silhouette styles and vary their sizes. Arrange smaller bats in a flowing trail toward a larger focal point, such as a witch or haunted house. Leave open spaces between shapes to keep the design balanced.
For clean results, trace your designs onto black cardstock and cut them out with sharp scissors. Attach the shapes using window-safe removable adhesive, checking that it will not damage the glass or leave residue. Step outside occasionally to see how the silhouettes look from the street.
Creating a Glowing Halloween Window Display

What You Need:
- Battery-operated LED candles: Create a candlelit effect without an open flame.
- Warm fairy lights: Add a soft glow around the window frame or along the sill.
- Purple LED lighting: Introduce a subtle spooky accent behind curtains or decorative silhouettes.
- Miniature pumpkins: Bring warmth and seasonal color to the arrangement.
- Light clips or removable hooks: Keep wires neatly positioned without damaging surrounding surfaces.
Layer your lighting rather than making every bulb equally bright. Place LED candles at different heights and use warm fairy lights as the main source of illumination. Add a small amount of purple light for contrast, keeping the overall effect soft and welcoming. Secure wires away from moving window parts, and use only lights rated for their intended location.
Styling Windows with Elegant Halloween Wreaths

Before: A decorated window can feel unfinished when the surrounding frame is bare or the decorations lack a clear focal point. Adding several unrelated ornaments may create visual clutter without making the arrangement feel complete.
After: A carefully styled wreath brings the different elements together and gives the window a polished seasonal centerpiece. Dark foliage, a coordinated ribbon, and a few autumn accents create interest without overwhelming the glass.
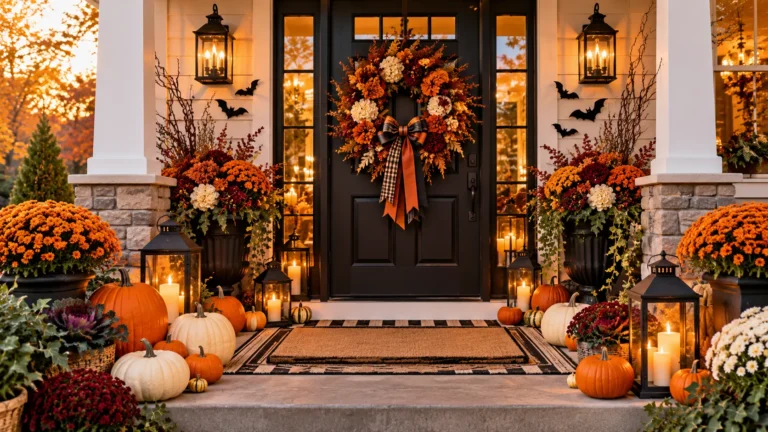
Choose a wreath that leaves plenty of visible space around its edges. Attach it with a suitable removable hook or window-safe hanging method, checking the weight limit before installation. For a cohesive look, repeat one or two wreath colors in nearby pumpkins, curtains, or lighting. If the window opens frequently, position the wreath where it will not obstruct the handle or movement.
Adding Faux Spiderwebs and Creepy Details

Do This:
- Stretch faux spiderweb material thinly across the upper corners for a delicate, wispy effect.
- Place a few artificial spiders along the web edges for realistic detail.
- Keep the center of the glass mostly clear so the arrangement remains visible from outside.
- Add a small black ribbon or bat silhouette to connect the web design with your other decorations.
Avoid This:
- Covering the entire window with thick web material that blocks natural light.
- Clustering too many spiders in one area.
- Using adhesives that may leave marks or damage painted frames.
- Placing web decorations near hot bulbs or other heat sources.
Less is often more with creepy accents. A few carefully positioned webs create texture without competing with silhouettes, wreaths, or lighting. Use lightweight materials that can be removed easily after Halloween, and keep all moving window parts clear. For a polished finish, check the arrangement from both sides of the glass before adding more details.
Decorating Windows with Halloween Curtains

Time Needed: 15 to 30 minutes
Difficulty: Easy
Cost: Low to moderate, depending on fabric
Tools Required: Measuring tape, curtain rod or existing hardware, and fabric ties
Best For: Living rooms, bedrooms, and rental-friendly seasonal updates
Halloween curtains can change the mood of a room without requiring permanent decorations. Sheer black panels create a dramatic effect while allowing some daylight through, whereas patterned curtains featuring bats or subtle spiderwebs add a playful touch. Layering dark fabric over light curtains gives you control over privacy and brightness.
Measure the window before purchasing panels, and make sure the fabric does not cover handles or interfere with opening the window. If you prefer a softer look, tie the curtains back with dark ribbon and add a small seasonal accent to each side.
Making Halloween Window Art with Removable Decals

Removable decals make it easy to add Halloween artwork without cutting individual shapes or covering the window with bulky decorations. Choose a coordinated set of ghosts, bats, moons, or frosted patterns, then plan the layout before applying anything to the glass.
Start with a clean, completely dry surface and follow the manufacturer’s application instructions. Smooth each decal gently to reduce air bubbles, arranging larger designs first and filling small gaps afterward. Check that the stickers are suitable for your window type and can be removed safely. For a balanced display, leave open areas between designs so natural light and outdoor views remain visible.
Creating a Charming Pumpkin Window Display
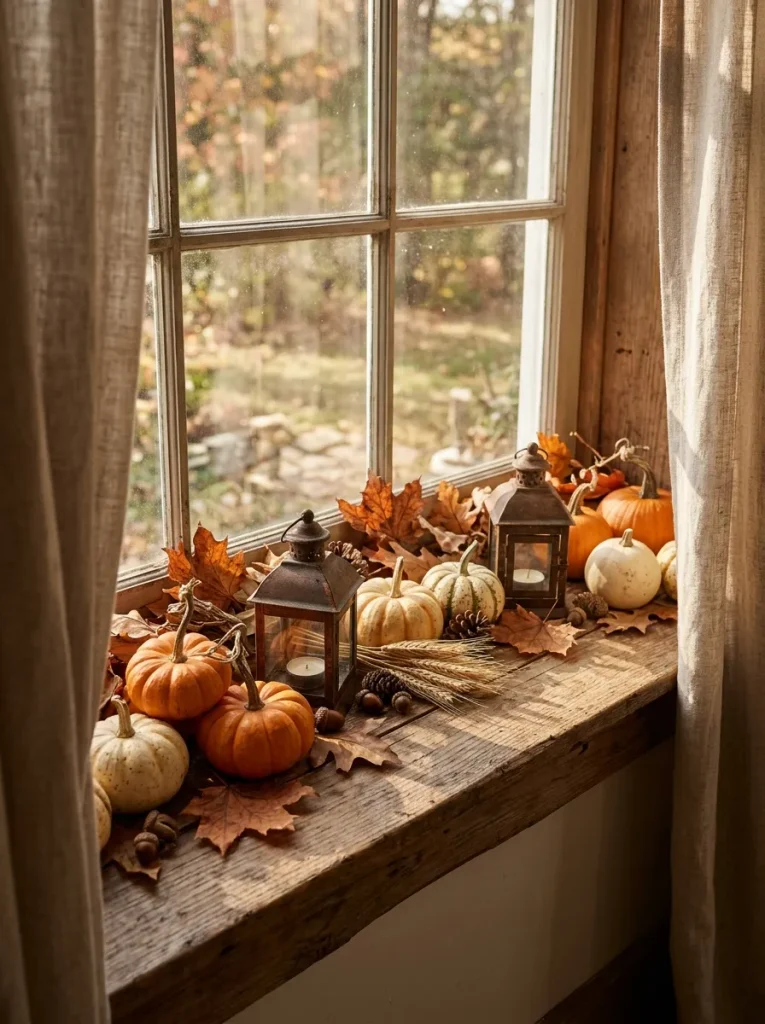
Pumpkins bring warmth and seasonal color to a Halloween window without making the arrangement feel overly spooky. Combine small orange pumpkins with ivory gourds and autumn foliage to create a layered display that complements your existing decor.
Start with the largest pieces at the back and place smaller pumpkins toward the front, leaving space between each item. Add a compact lantern or a few dried leaves for extra texture. Check the windowsill’s weight capacity before arranging heavier decorations, and keep handles, vents, and opening mechanisms unobstructed. For a cohesive look, repeat the pumpkin colors in nearby curtains or other seasonal accents.
Designing a Witchy Halloween Window Corner

Quick Tip: Choose one main feature, such as a hanging witch hat or crescent moon, and build the display around it. A limited palette of black, violet, and silver keeps the magical theme coordinated.
Hang lightweight ornaments near the upper window frame, then arrange potion bottle props and miniature pumpkins on a secure surface nearby. Use battery-operated purple lights to create a soft glow behind the decorations rather than relying on harsh overhead lighting. Keep glass areas open so the design remains visible from outdoors. If you are decorating a rental, removable hooks and reusable props make it easier to recreate the scene next year.
Using Outdoor Lighting to Highlight Window Decor
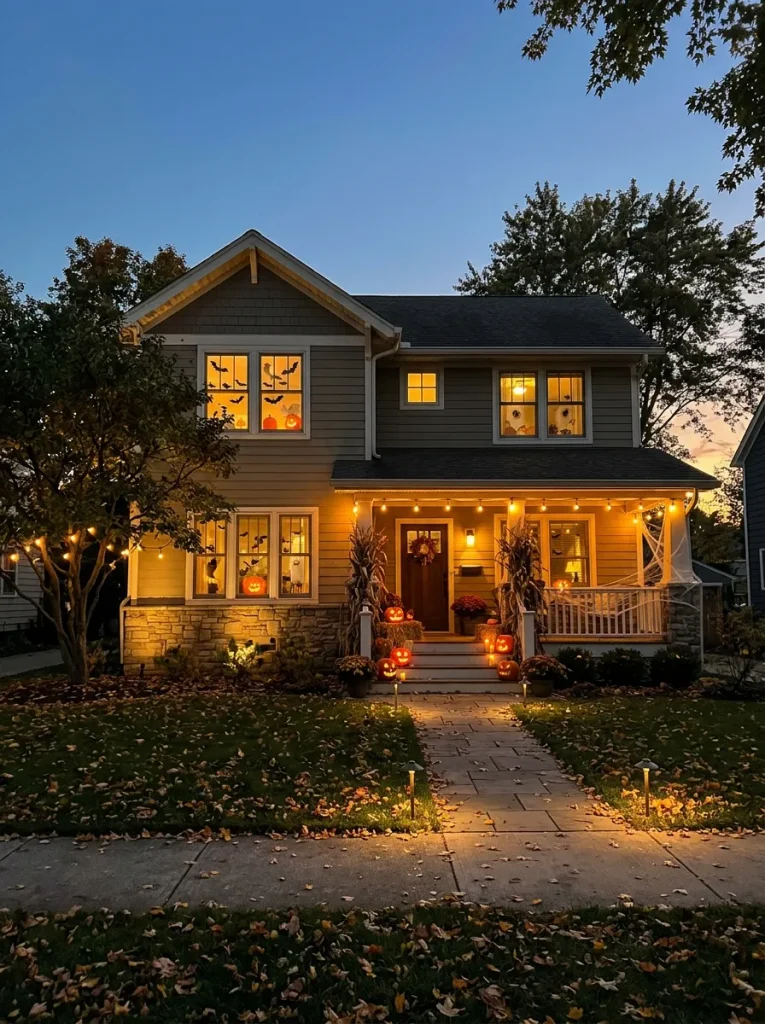
Common Mistake: Using indoor-only lights outside can expose electrical components to moisture, while overly bright exterior lighting may overpower the decorations behind the glass. Mismatched colors can also make the overall display look disconnected.
The Fix: Select outdoor-rated lights for exterior use and follow the manufacturer’s placement and weather guidance. Coordinate warm white or amber lighting with the glow inside the window, using colored accents sparingly. Keep cords away from walkways, moving window parts, and areas where water collects.
Before switching everything on, view the display from the sidewalk or driveway after sunset. Adjust light positions to reduce glare and make the silhouettes, wreaths, and pumpkins easier to see. A few well-placed lights can connect the window display with your home’s exterior without requiring a large or expensive setup.
Making Budget-Friendly DIY Halloween Window Decorations
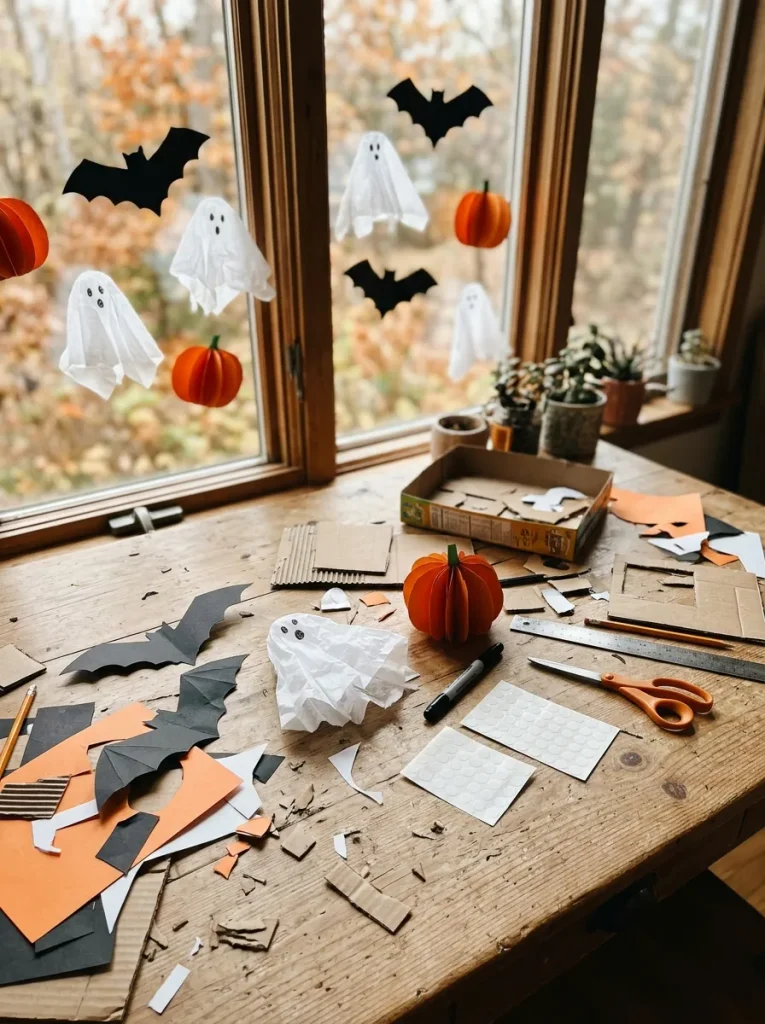
Quick Tip: Use materials you already have at home before buying new decorations. Black paper, leftover ribbon, tissue paper, and cardboard can become stylish Halloween accents with just a few basic craft tools.
To make paper bats, fold black cardstock, draw half a bat shape, and cut along the outline before unfolding it. Create friendly ghosts from white tissue paper or cut pumpkin shapes from orange paper. Attach lightweight designs with window-safe removable adhesive, testing a small area first. You can also reuse clean cardboard packaging for haunted house silhouettes. Keep the shapes simple and repeat a few designs across the glass for a coordinated display that costs very little.
Avoiding Common Halloween Window Decorating Mistakes

Common Mistake: Filling every empty space with bats, webs, stickers, and lights can make a window look messy rather than festive. Strong adhesives, blocked daylight, unstable windowsill props, and real candles placed near curtains can also cause problems.
The Fix: Choose a clear focal point, leave breathing room around each decoration, and use removable products suited to your window surface. Keep curtains and window handles unobstructed, secure every windowsill item, and use battery-operated candles instead of open flames.
Before finishing, look at the arrangement from both inside and outside your home. Check whether the main decorations are easy to recognize and whether the lighting highlights them without creating excessive glare. Remove anything that feels crowded, and reposition loose pieces before evening. A simple, secure layout will look more polished and be easier to maintain throughout the Halloween season.
Finishing Your Halloween Window Display with Style

Do This:
- View the window from indoors and outdoors to check the overall balance.
- Adjust larger decorations first, then reposition smaller accents to fill awkward gaps.
- Test the lighting after sunset and reduce any glare that hides the details.
- Check that adhesive decorations are secure and windows remain easy to open.
Avoid This:
- Adding extra decorations simply because a few spaces remain empty.
- Mixing too many lighting colors or unrelated decorative styles.
- Blocking window locks, ventilation, or important outdoor views.
- Leaving loose cords or unstable objects where they could cause accidents.
Your final arrangement should feel festive while still complementing the room and the exterior of your home. Keep the main focal point visible, use lighting to draw attention to key details, and remove anything that competes with the overall design. Once everything looks balanced and secure, your Halloween window display is ready to welcome the season with a warm, elegant glow.
CONCLUSION
Creating an elegant Halloween window display doesn’t require expensive decorations or complicated projects. With thoughtful themes, spooky silhouettes, soft lighting, seasonal wreaths, and a few DIY touches, you can make your windows feel festive while keeping your home’s style intact. I’ve seen how simplifying a decorating plan can make the final result feel more polished and welcoming.
Save this article on Pinterest so you can revisit your favorite ideas when decorating. Try a few tips that suit your space and budget, and share this guide with someone who loves seasonal decorating. Start small, get creative, and let your windows glow with Halloween charm!



One Comment