Amazing Halloween Outdoor Decorations for Spooky Charm
Want a spooky front yard that looks impressive without feeling crowded or costing a fortune? Halloween outdoor decorations can transform your lawn, walkway, and porch with a few thoughtful choices.
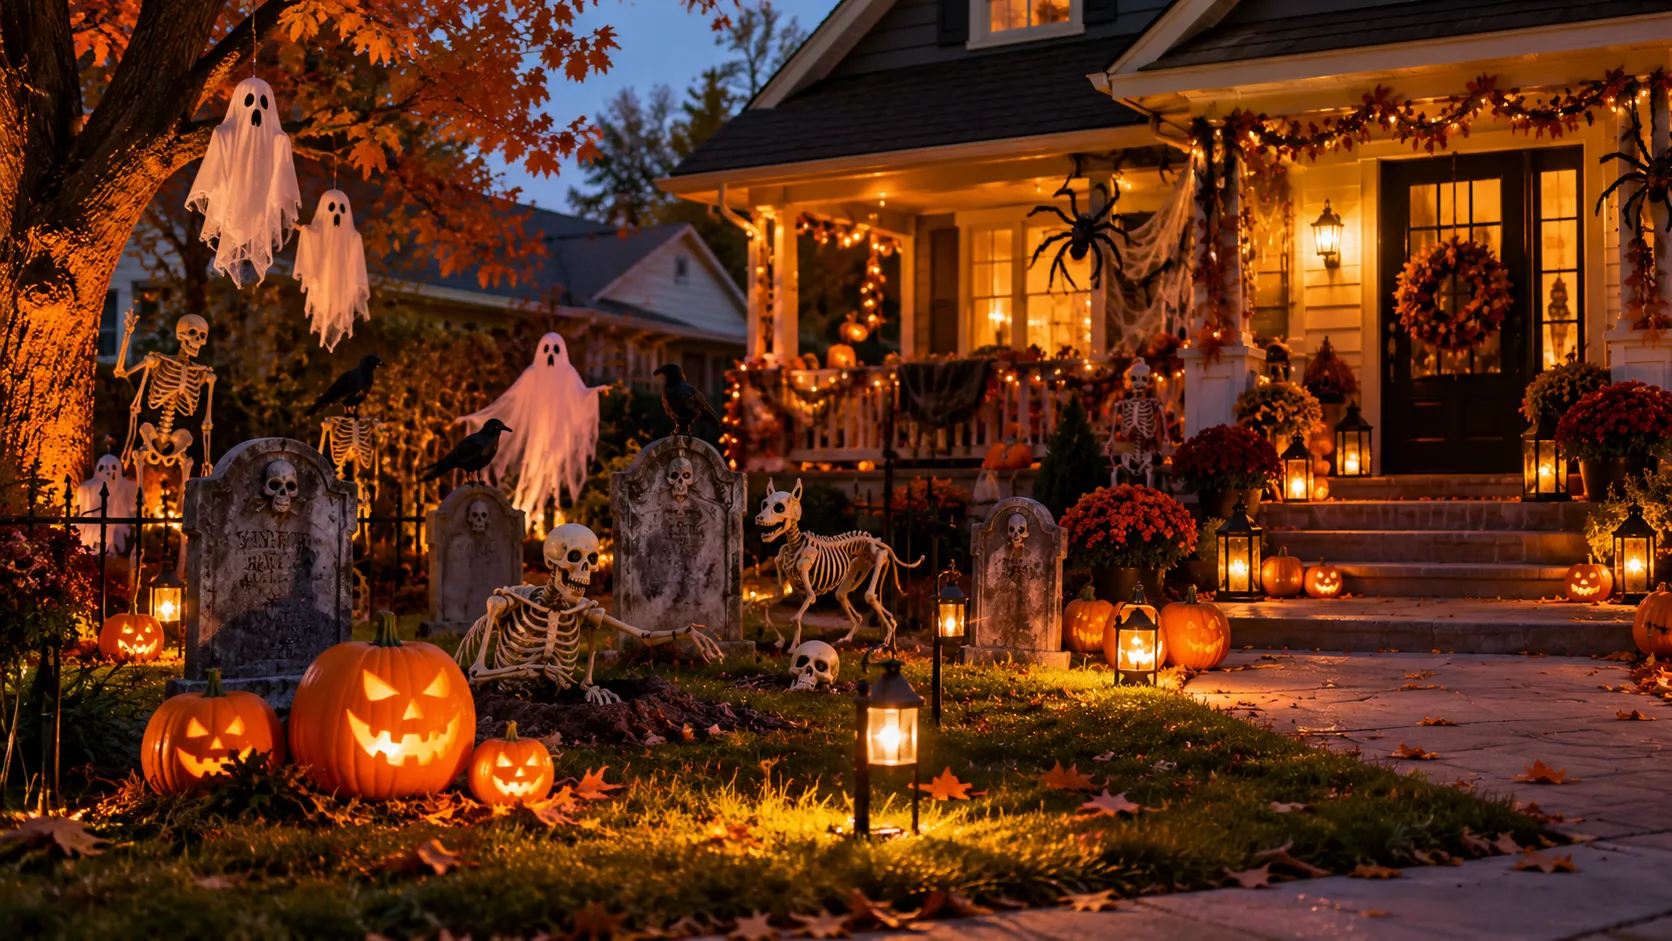
I’ve noticed that a glowing pumpkin cluster and one well-placed skeleton often stand out more than dozens of scattered props. The secret is choosing a theme, planning clear pathways, and using lighting to bring your favorite details into focus.
This beginner-friendly guide walks you through haunted graveyards, floating ghosts, skeleton scenes, easy DIY projects, and safe outdoor lighting. By the end, you’ll know how to create a festive entrance that welcomes trick-or-treaters and looks striking from the street.
1. Choosing Your Spooky Outdoor Halloween Theme

A memorable Halloween display begins with a clear theme that complements your home’s exterior and landscaping. Haunted farmhouse styling combines rustic pumpkins, wooden crates, and weathered tombstones, while gothic decorations feature black lanterns and dramatic purple lighting. Playful ghosts create cheerful seasonal charm, and enchanted garden accents offer a softer atmosphere.
Choose two or three coordinating colors before purchasing Halloween outdoor decorations. Orange, black, and ivory suit traditional spooky displays, while burgundy and antique gold create a more elegant appearance. Consider your home’s architecture, available lawn space, and existing landscaping. A consistent theme keeps the finished arrangement attractive without unnecessary spending.
2. Planning Your Halloween Outdoor Layout

A thoughtful outdoor layout helps create spooky curb appeal without overcrowding your lawn, porch, or garden. Before arranging skeletons, pumpkins, and decorative tombstones, identify suitable display areas and existing features worth highlighting. Planning ahead also helps protect landscaping and keeps walkways comfortable for visiting trick-or-treaters.
1. Measure your outdoor space: Estimate the available lawn, porch, and garden areas before choosing large Halloween decorations.
2. Select a focal point: Choose a haunted graveyard, illuminated pumpkin arrangement, or dramatic skeleton display as your main attraction.
3. Create decorating zones: Assign separate areas for spooky characters, decorative lighting, seasonal pumpkins, and smaller accessories.
4. Protect existing landscaping: Avoid placing heavy decorations over delicate plants, exposed roots, or freshly planted garden beds.
5. Maintain clear pathways: Keep sidewalks, steps, driveways, and entrances free from decorations, loose cords, and ground stakes.
Also Visit : Beautiful Halloween Garden Decor for a Magical Yard
3. Gathering Affordable Halloween Decorating Supplies

Quick Tip:
Check your existing seasonal decorations before buying new supplies. Old artificial pumpkins, reusable skeletons, autumn wreaths, and outdoor lanterns can often be combined into a completely different display. Prioritize weather-resistant materials and sturdy attachments rather than purchasing oversized accessories that may be difficult to secure.
Start with lightweight foam tombstones, artificial pumpkins, skeleton figures, and outdoor-rated LED lighting. Add compatible hooks, suitable ground stakes, and reusable fastening ties for installation. Choose a few statement pieces before purchasing smaller decorative accents. Organize supplies by decorating zones to make the setup more manageable.
4. Creating a Haunted Halloween Graveyard

Common Mistake:
Arranging every tombstone in a straight line makes a Halloween graveyard look artificial and less mysterious. Lightweight foam markers can also fall over easily when placed in soft soil without proper support.
The Fix:
Position tombstones in uneven groups with different heights and distances between them. Secure each marker using suitable ground stakes, checking for underground utilities before installation. Add a few skeleton props and autumn leaves to create a more natural-looking haunted cemetery.
Start with three larger tombstones toward the back, then arrange smaller markers closer to the front. Position a partially buried skeleton beside one grave and scatter artificial leaves around the bases. Add purple outdoor-rated LED lighting for dramatic shadows, keeping decorations clear of walking paths and garden plants.
5. Decorating with Floating Halloween Ghosts

What You Need:
- White lightweight fabric: Choose weather-resistant fabric or reusable ghost coverings that create a flowing appearance.
- Foam balls: Use lightweight foam spheres to form rounded ghost heads beneath the fabric.
- Black craft material: Create simple eyes and mouths using suitable weather-resistant adhesive decorations.
- Outdoor hanging cord: Select durable cord appropriate for suspending lightweight figures from secure supports.
- Suitable mounting points: Choose sturdy, accessible tree branches or covered outdoor structures that can safely support the decorations.
- Outdoor LED spotlight: Use a weather-rated purple or warm white spotlight to illuminate the floating ghosts after sunset.
Begin by covering foam balls with white fabric, then secure the material beneath each head. Attach simple black facial details and hang three ghosts at different heights. Keep them clear of walkways, electrical wires, and delicate branches. Check attachments regularly and remove decorations during severe weather.
6. Designing a Glowing Pumpkin Display

Before:
A few ordinary pumpkins scattered across the lawn may look cheerful during daylight but disappear into the darkness after sunset. Without coordinated placement or lighting, the display can feel flat and disconnected from the surrounding Halloween decorations.
After:
A glowing pumpkin arrangement creates a warm, eye-catching focal point that looks beautiful throughout the evening. Combining illuminated pumpkins in different sizes and colors adds depth, while gentle golden lighting highlights nearby flowers, garden borders, and outdoor decorations.
Choose artificial pumpkins with built-in outdoor-rated LED lights or suitable flameless inserts. Arrange larger pumpkins toward the back and smaller varieties in loose clusters near the front. Alternate orange and ivory shades for contrast. Protect battery compartments from moisture, stabilize each pumpkin, and keep nearby pathways clear.
7. Styling Creepy Skeleton Yard Scenes

Poseable skeletons bring personality and spooky character to your Halloween lawn. Arranging them in playful or mysterious positions creates memorable scenes that complement your graveyard and glowing pumpkin displays.
Do This:
- Position one skeleton on a sturdy garden bench with its arms resting naturally.
- Secure another skeleton beside a tree using weather-resistant ties that will not damage the bark.
- Arrange pumpkins and decorative tombstones around the figures to connect the scene.
- Add outdoor-rated purple LED lighting to highlight skeleton shapes after sunset.
Avoid This:
- Place unsecured skeletons in open areas where strong winds could knock them over.
- Attach decorations to delicate branches or young trees that cannot support their weight.
- Position skeleton props where they block sidewalks, entrances, or driveways.
- Overcrowd the display with too many figures competing for attention.
Start with two skeletons positioned at different heights to create visual interest. Bend their arms and legs into natural poses, then secure the joints according to the manufacturer’s instructions. Add miniature pumpkins near their feet for seasonal color. Check each figure’s stability before leaving the display outdoors.
8. Adding Giant Spiders and Web Accents

Oversized spider decorations introduce a creepy focal point that stands out among pumpkins, skeletons, and autumn landscaping. Positioning them against sturdy outdoor features creates a dramatic effect without requiring complicated installation.
Time Needed: Approximately 20 to 30 minutes for a small spider arrangement.
Difficulty: Easy, suitable for beginner decorators.
Tools Required: Giant artificial spider, smaller spider ornaments, reusable web panels, weather-resistant fastening ties, and suitable mounting hardware.
Best For: Garden fences, sturdy display frames, sheltered lawn corners, and haunted yard scenes.
Position your largest spider against a secure fence or decorative frame, then arrange smaller spiders nearby. Attach reusable web panels to solid structures rather than stretching loose synthetic fibers across living shrubs. Keep webbing away from wildlife activity and walking paths. Inspect attachments regularly and remove damaged decorations promptly.
9. Creating a Spooky Halloween Walkway

A beautifully decorated Halloween walkway connects your outdoor displays while guiding visitors safely toward the entrance. Begin by examining the existing path and identifying suitable decorating spots along its edges. Choose miniature tombstones, glowing pumpkins, and seasonal signs that complement your yard’s main theme without making the space feel crowded.
Arrange larger decorations near garden borders and smaller accessories closer to the walkway edges, keeping everything outside the walking surface. Add outdoor-rated LED lanterns to improve nighttime visibility. Use low, stable supports for decorative signs and avoid exposed electrical cords. Test the finished pathway after sunset to check for shadows and obstacles.
10. Decorating Your Halloween Front Porch
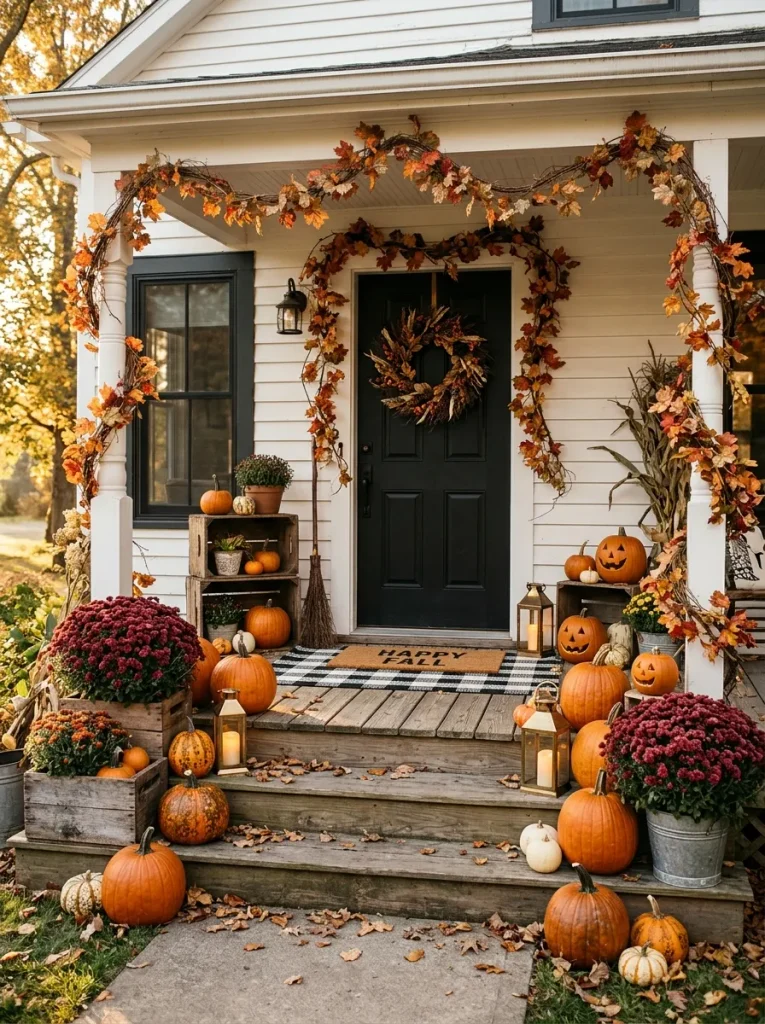
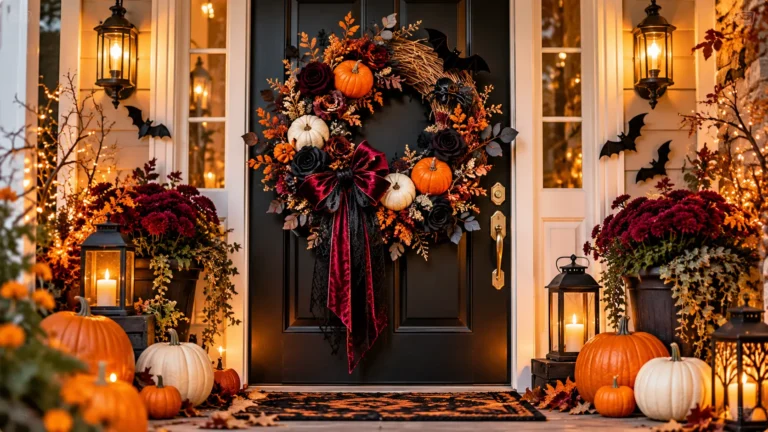
A beautifully decorated front porch connects your outdoor Halloween displays with your home’s entrance. Combining a seasonal wreath, pumpkins, garlands, and welcoming doormats creates a coordinated appearance that feels festive without overwhelming the doorway. Choose colors that complement your existing yard decorations for a consistent look.
1. Hang a seasonal wreath: Choose an autumn wreath featuring miniature pumpkins, artificial leaves, and ribbons that match your outdoor color palette.
2. Arrange decorative pumpkins: Position orange and ivory pumpkins in different sizes beside the front door, keeping walking areas clear.
3. Add autumn garlands: Secure lightweight foliage along suitable doorway supports using weather-appropriate hooks and fastening materials.
4. Layer seasonal doormats: Place a Halloween-themed coir mat over a larger outdoor rug, ensuring both layers remain flat and slip-resistant.
5. Complete the entrance: Add stable outdoor-rated LED lanterns and seasonal flower planters to create a warm, welcoming finish.
11. Designing a Magical Witch Garden Corner
Quick Tip:
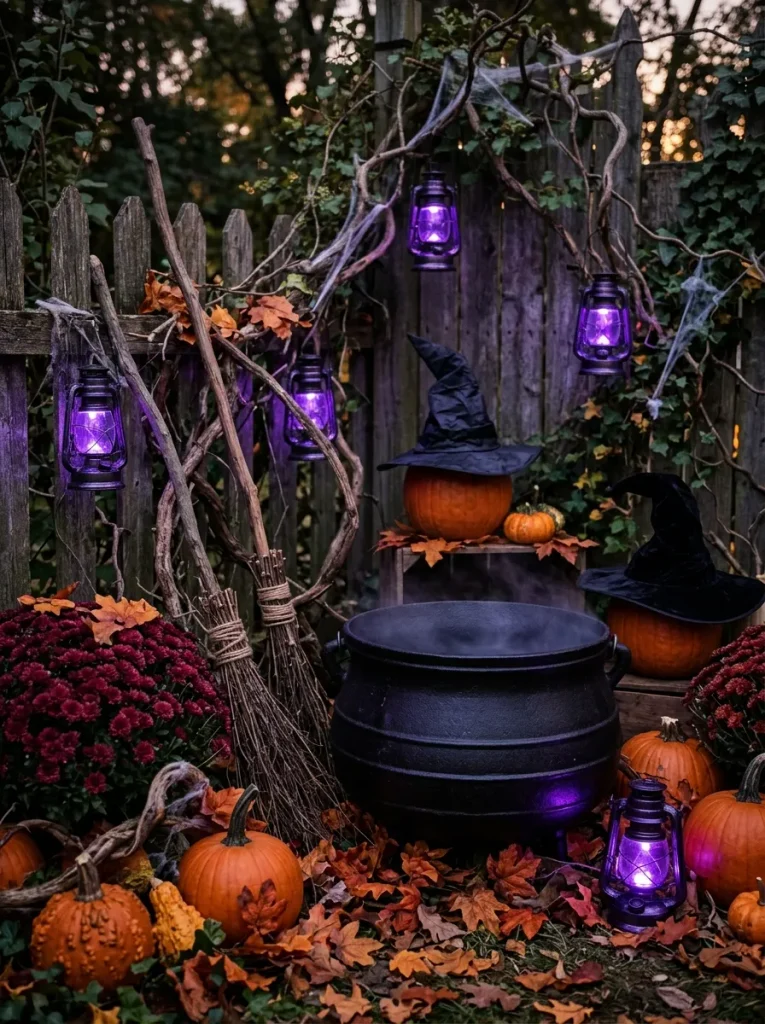
Choose one large decorative cauldron as the focal point instead of scattering witch accessories throughout the garden. Arrange broomsticks, hats, and pumpkins around it at different heights for visual interest. Use outdoor-rated purple LED lighting to create a magical glow without introducing open flames.
Place the cauldron on stable ground near a sheltered fence or garden wall, then secure decorative broomsticks beside it. Add lightweight witch hats on suitable supports and surround the arrangement with pumpkins and autumn foliage. Keep accessories away from delicate plants, and check every attachment before windy weather.
12. Adding Dramatic Outdoor Halloween Lighting

Common Mistake:
Mixing too many bright lighting colors can make your Halloween display appear chaotic rather than mysterious. Poorly positioned spotlights may also cause uncomfortable glare, while unsuitable electrical connections and loose extension cords create avoidable outdoor hazards.
The Fix:
Choose one dominant lighting color, such as purple, and complement it with warm white or amber accents. Position outdoor-rated spotlights to illuminate decorations without shining directly into visitors’ eyes. Use weather-appropriate electrical equipment and keep cords protected from water and foot traffic.
Begin by lighting your main focal point, then add smaller fixtures around pumpkins, skeletons, and decorative tombstones. Use warm LED lanterns near the entrance to improve visibility. Check the completed display after sunset, adjusting lights to remove dark walking areas and maintain a balanced spooky atmosphere.
13. Making Creative DIY Halloween Decorations

What You Need:
- Recycled plastic containers: Transform clean, empty containers into lightweight ghost decorations using white outdoor paint and simple black facial details.
- Rigid foam boards: Cut weather-resistant foam into miniature tombstone shapes for a spooky graveyard display.
- Outdoor acrylic paints: Choose black, white, orange, and gray shades to decorate pumpkins, signs, and handmade accessories.
- Artificial pumpkins: Refresh older pumpkins with painted patterns, spooky faces, or coordinated autumn colors.
- Garden stakes: Use suitable outdoor supports to secure lightweight handmade decorations on stable ground.
- Basic crafting tools: Keep scissors, paintbrushes, measuring tape, and compatible craft adhesive nearby for easy assembly.
Begin with two or three affordable projects, such as painted ghost containers, miniature tombstones, and refreshed pumpkins. Clean each surface before painting and allow the finished decorations to dry completely. Secure lightweight pieces against wind, avoid sharp edges, and store delicate accessories indoors during severe weather.
14. Avoiding Common Outdoor Decorating Mistakes

Before:
An overcrowded Halloween display can make even expensive decorations look disorganized and distracting. Unsecured skeletons, leaning tombstones, exposed electrical connections, and poorly positioned lighting may also create safety concerns for visitors approaching the house after sunset.
After:
A thoughtfully arranged outdoor display features clear focal points, coordinated colors, and comfortable walking paths. Secure decorations, weather-resistant materials, and properly positioned lighting create a spooky atmosphere while keeping the entrance practical, attractive, and welcoming.
Walk through your decorated outdoor areas during daylight and after sunset to identify potential hazards. Reposition unstable props, remove unnecessary accessories, and secure loose decorations. Use electrical products rated for outdoor conditions, protect connections from moisture, and keep cables away from walkways. Inspect everything after strong winds or rain.
15. Perfecting Your Spooky Halloween Curb Appeal

Do This:
- View your decorated yard from the sidewalk to evaluate the overall balance and visibility of your Halloween display.
- Position larger decorations toward the back and smaller accessories near the front to create attractive visual depth.
- Repeat orange, black, and purple accents across pumpkins, skeletons, lanterns, and haunted decorations.
- Turn on outdoor-rated LED lights after sunset to check that your focal points are visible and walking areas remain illuminated.
Avoid This:
- Fill every empty lawn corner with decorations that compete with your main Halloween focal point.
- Position oversized skeletons, tombstones, or pumpkins where they obstruct sidewalks, steps, or entrances.
- Combine excessive lighting colors that distract from your coordinated seasonal atmosphere.
- Leave unsecured decorations, loose electrical cables, or unstable props exposed to severe weather.
Your finished Halloween outdoor decorations should create a memorable first impression without sacrificing safety or comfort. Take photographs from the street to identify crowded areas or poorly illuminated details. Adjust decoration heights, secure every accessory, and check pathway visibility. Enjoy a beautifully coordinated outdoor display filled with spooky seasonal charm.
CONCLUSION
A spooky outdoor display doesn’t need an enormous budget or complicated projects. With glowing pumpkins, playful skeletons, floating ghosts, and carefully placed lights, you can give your home memorable curb appeal while keeping pathways clear. I’ve noticed that adjusting just one spotlight can change how the whole scene feels.
Save this Halloween outdoor decorations guide on Pinterest so your favorite ideas are ready for next season. Try a few steps that suit your yard and available time, then share the guide with someone planning their own haunted entrance. Choose your focal point, gather your supplies, and start decorating with confidence!
One Comment