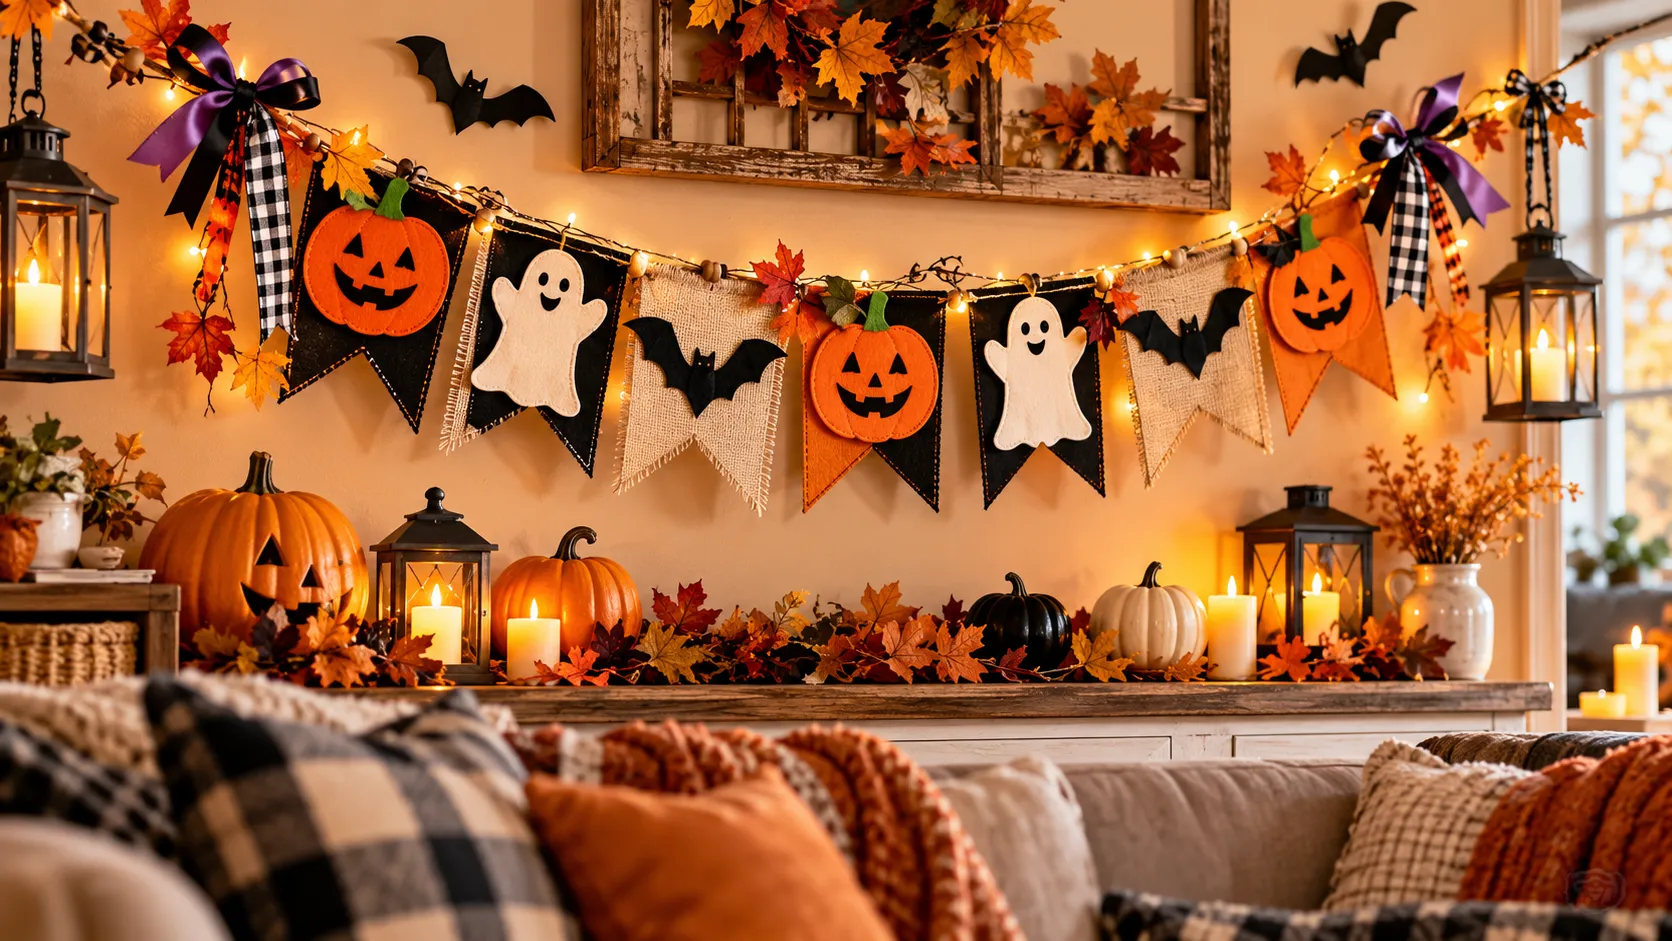
Easy Halloween Banner Decor for a Festive Display
Want a festive Halloween home without spending a fortune on decorations? Halloween banner decor lets you turn a bare wall, doorway, or mantel into a cheerful seasonal display using a few affordable craft supplies.
The tricky part is knowing which materials to choose, how to space the shapes, and where to hang everything safely. I’ve noticed that even colorful banners can look messy when the lettering is crowded or the pennants hang unevenly. A little planning makes all the difference.
This beginner-friendly guide shows you how to pick a theme, measure your space, cut shapes, add lettering, and assemble your garland. You’ll finish with a balanced, welcoming decoration you can proudly display and reuse next Halloween.
1. Choosing Your Halloween Banner Style
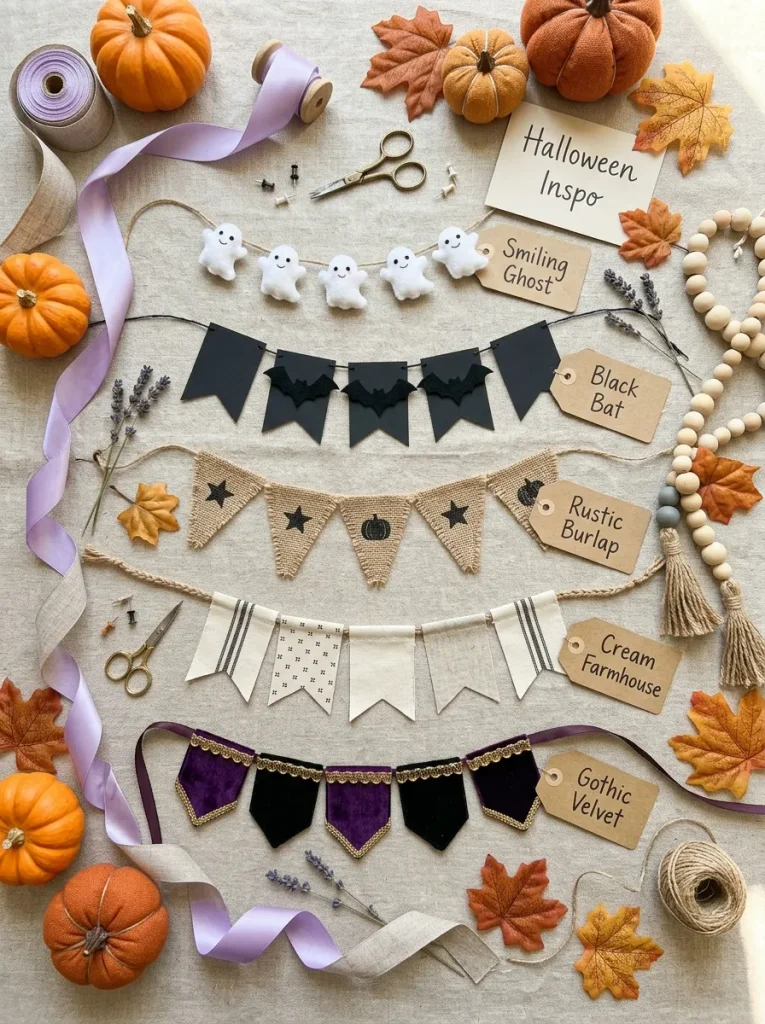
The right banner style can make your Halloween display feel cheerful, mysterious, or beautifully rustic before you add any decorations. Start by considering your existing home colors and the atmosphere you want to create. Smiling ghosts and colorful pumpkins suit playful celebrations, while black bats and velvet pennants bring gothic character.
For a farmhouse look, choose burlap triangles, cream lettering, and wooden beads. Modern interiors often suit simple black and white banners with metallic accents. I’ve noticed that choosing one clear theme before buying supplies helps avoid mismatched decorations and unnecessary spending.
2. Finding the Perfect Banner Location
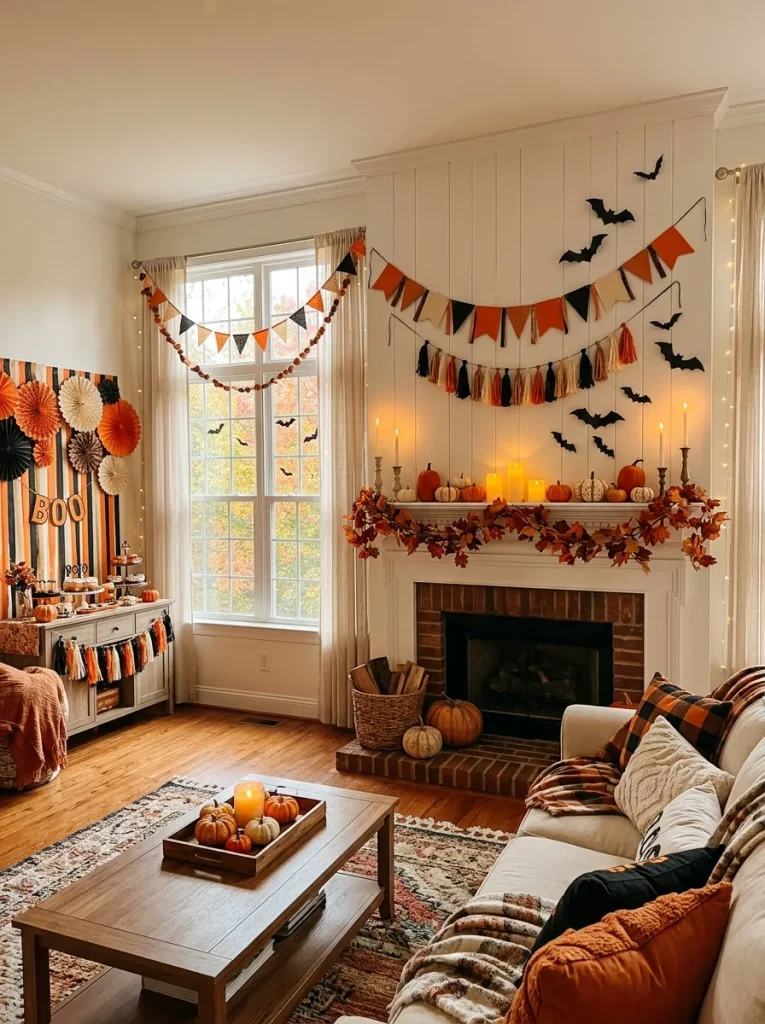
Where you hang your banner determines how noticeable, balanced, and practical your Halloween display will feel. Before measuring or cutting materials, look for an open area where the decoration can hang freely without blocking important household features or creating obstacles for guests.
1. Check the fireplace mantel: Hang a lightweight banner above a mantel, keeping paper and fabric decorations away from heat and active fireplaces.
2. Evaluate living room walls: Choose an empty wall above a sofa or console table where the banner can become a seasonal focal point.
3. Consider doorways: Position a banner above the doorframe rather than across the opening to maintain comfortable access.
4. Decorate nearby windows: Use removable hooks suitable for the surface, ensuring the decoration does not interfere with blinds or window operation.
5. Plan a party backdrop: Hang a colorful banner above a dessert station or photography corner, leaving enough space for guests and decorations.
3. Gathering Affordable Banner Supplies
Quick Tip:
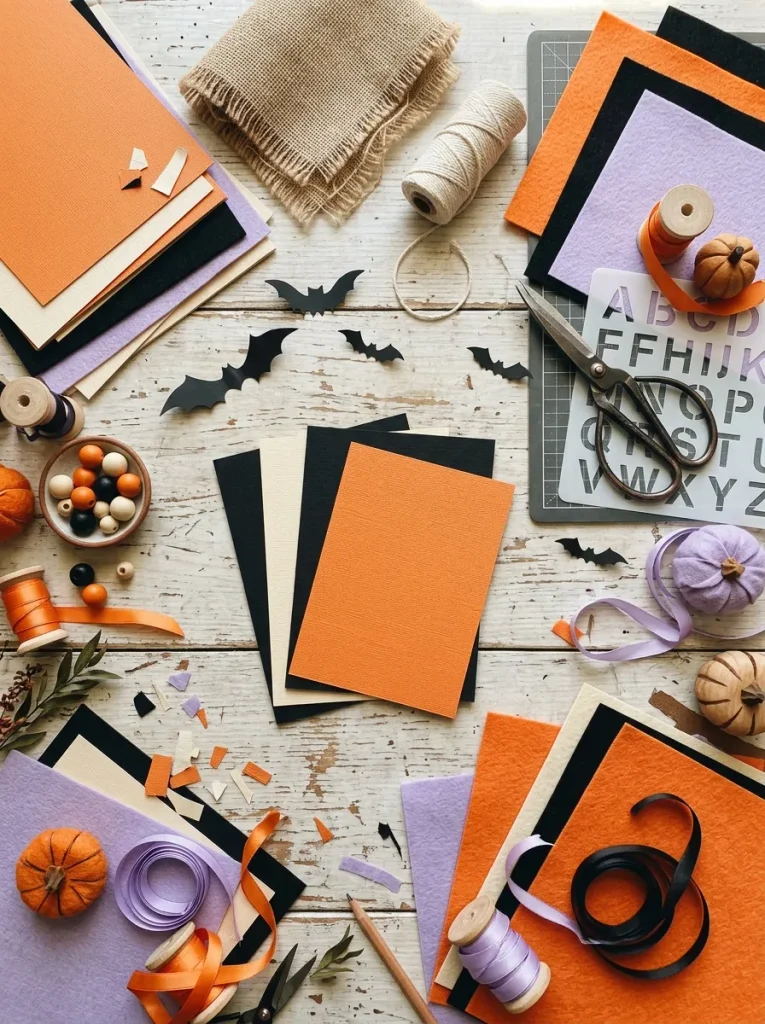
Check your craft drawer before buying new banner supplies. Leftover cardstock, ribbon scraps, and reusable stencils can provide most of the materials for a beginner-friendly Halloween garland. Choose sturdy cardstock for crisp shapes or felt for a softer decoration that can be stored and reused next year.
Affordable materials make Halloween banner decor easy to create without professional crafting equipment. Gather cardstock or felt, cotton twine, scissors, a ruler, alphabet stencils, and suitable craft adhesive. Add burlap for rustic texture or ribbons for colorful accents. Keep a cutting mat nearby to protect your work surface.
Also Discover: Charming Halloween Signs for a Spooky Home Welcome
4. Selecting Halloween Banner Colors
Common Mistake:
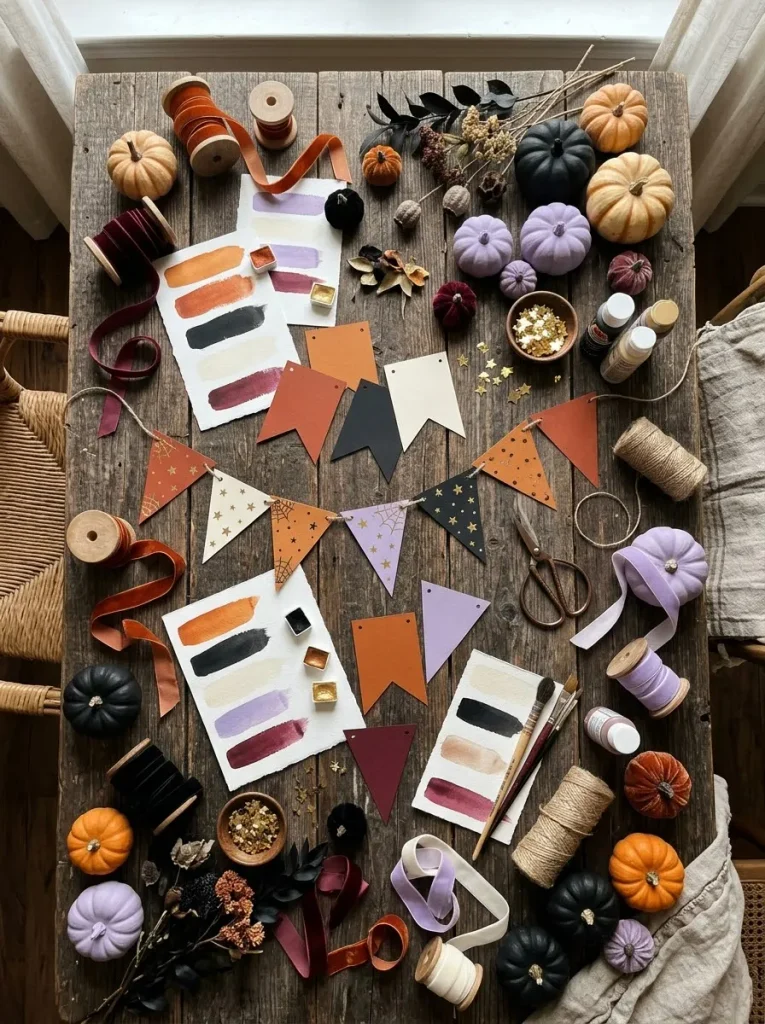
Choosing too many bright colors can make a Halloween banner appear cluttered and visually confusing. Mixing neon green, hot pink, bright orange, and several metallic shades may also clash with your existing home decorations.
The Fix:
Select two main colors and one accent shade before purchasing materials. Combine orange, black, and cream for a traditional Halloween appearance, or choose lavender, ivory, and gold for a softer seasonal display. Repeat these colors consistently across pennants, lettering, and decorative ribbons.
A coordinated palette makes your finished banner look thoughtful and visually balanced. Lay your chosen materials together before cutting anything, and compare them against the wall where the banner will hang. Dark lettering works best against light backgrounds, while cream letters stand out clearly on black or deep purple pennants.
5. Measuring and Planning Banner Layout
What You Need:
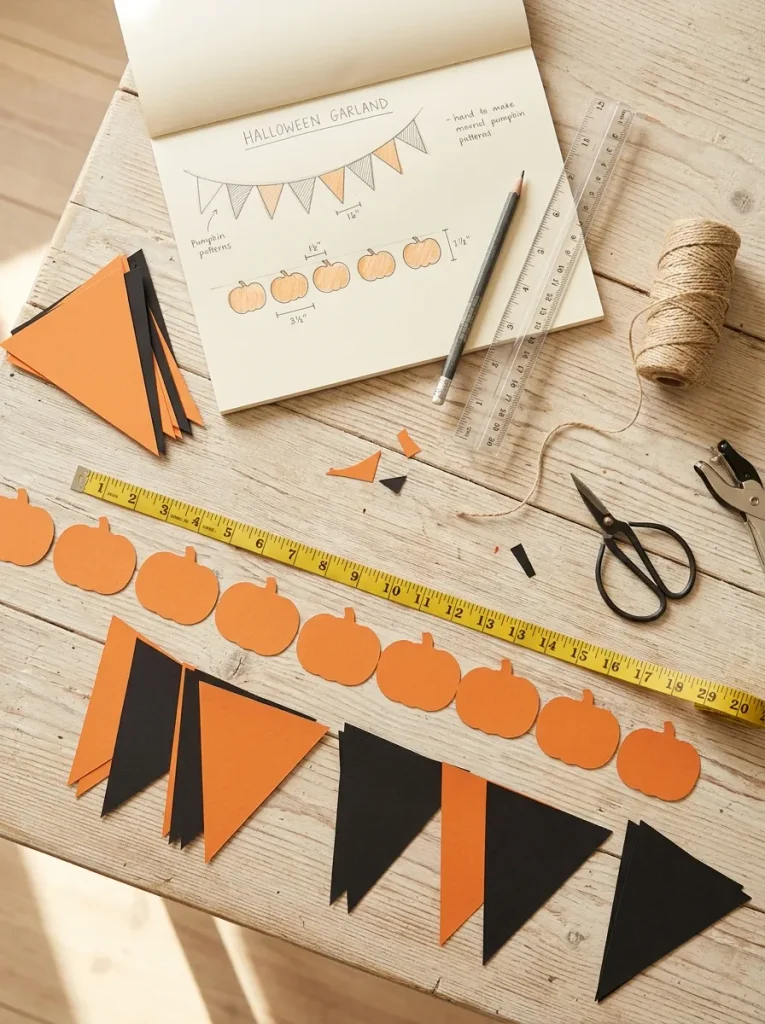
- Measuring tape: Measure the available wall space to determine the ideal width of your finished banner.
- Ruler: Mark consistent pennant dimensions and equal spacing between decorative shapes.
- Pencil: Sketch the planned arrangement before cutting or attaching materials.
- Paper templates: Prepare matching triangle, pumpkin, or ghost shapes to maintain consistent sizes.
- Cotton twine: Choose a sturdy hanging string slightly longer than the planned display.
- Painter’s tape: Temporarily position the layout against the wall to check its appearance.
Accurate measurements prevent uneven spacing and help your banner hang naturally. For a four-foot display, plan around six to eight medium pennants, depending on their width. Leave extra twine at both ends for tying. Arrange the pieces on a table first to check the spacing before attaching them permanently.
6. Cutting Halloween Banner Shapes
Before:
Unevenly cut pennants can make a handmade Halloween banner appear messy, even with beautiful colors and decorative details. Freehand cutting every shape separately often results in inconsistent sizes, crooked edges, and wasted materials.
After:
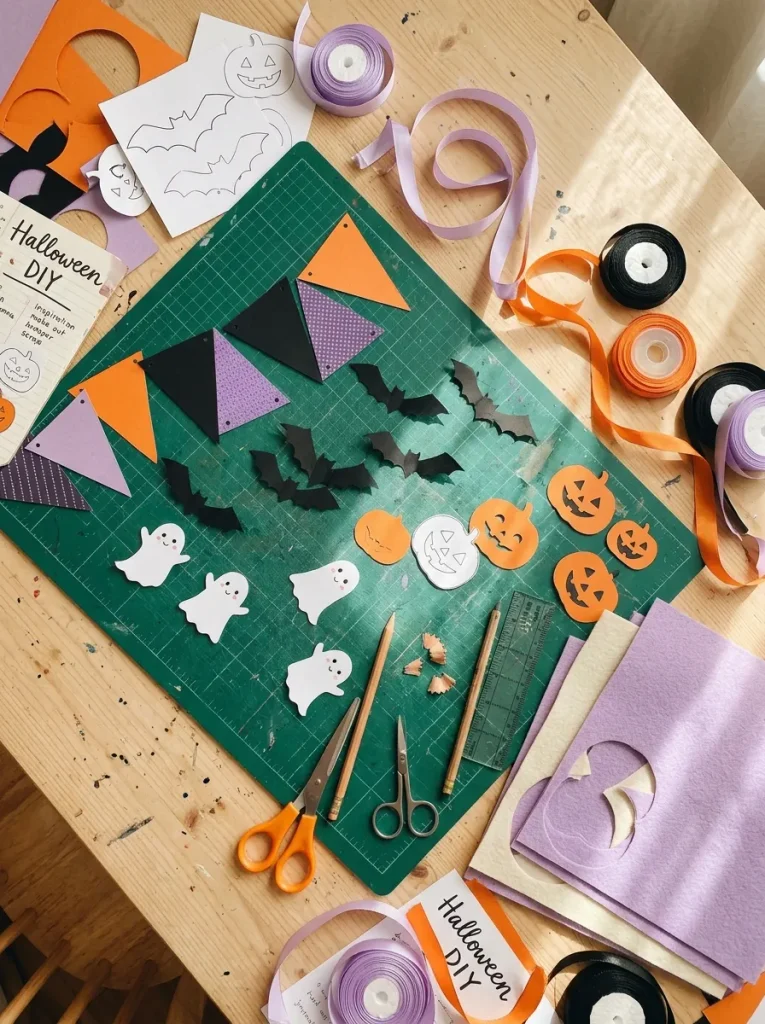
Reusable paper templates create matching triangles, clean ghost silhouettes, and neatly shaped bats and pumpkins. Consistent sizes make the entire banner look balanced, while carefully cut edges give the finished decoration a polished, professional appearance.
Start by drawing one triangle or character shape on sturdy paper, then cut it out as your master template. Trace the design onto cardstock or felt and cut carefully along the outlines. Use smaller scissors for curved details. Arrange the finished pieces by color and shape before moving on to lettering.
7. Creating Halloween Banner Lettering
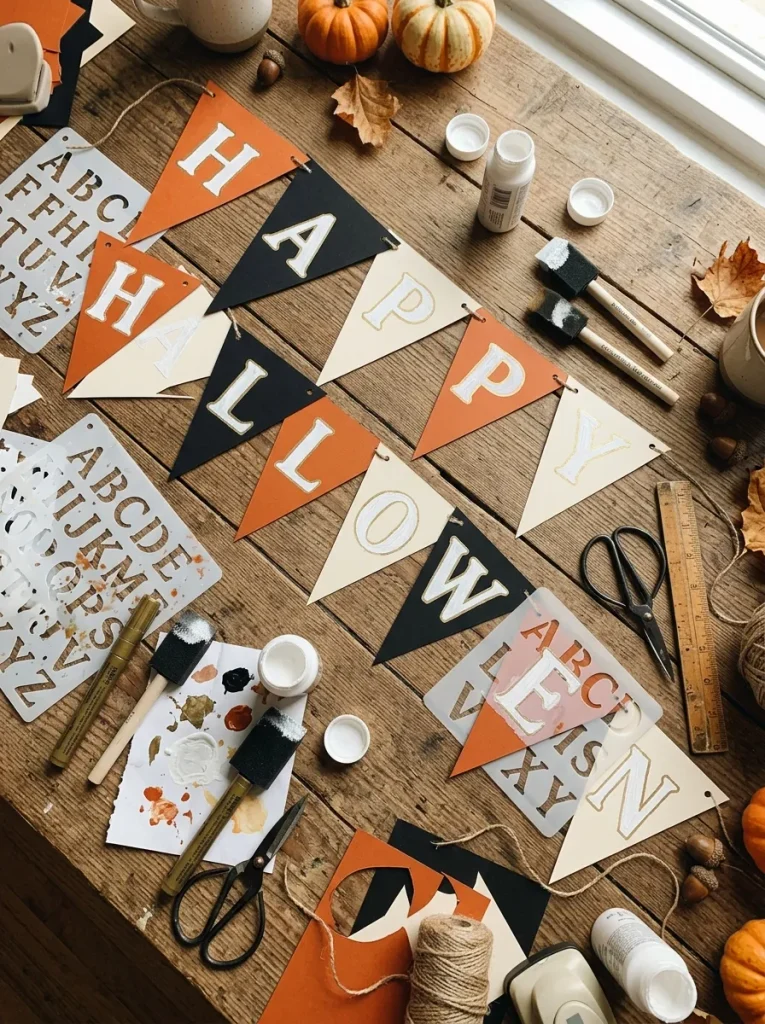
Clear, attractive lettering makes your Halloween banner easy to read while giving the entire decoration a polished appearance. Choose a short greeting and use consistent letter sizes across the pennants.
Do This:
- Choose a short greeting such as “BOO” or “HAPPY HALLOWEEN.”
- Use reusable alphabet stencils to keep letters evenly sized.
- Paint cream letters on black pennants for strong contrast.
- Allow painted lettering to dry completely before assembling the banner.
Avoid This:
- Use decorative fonts that become difficult to read from across the room.
- Apply too much paint beneath stencils, causing blurry edges.
- Place letters too close to pennant borders.
- Combine several lettering styles within one greeting.
Lettering becomes more attractive when spacing and colors remain consistent. Position each stencil in the center of its pennant and secure it with removable tape before painting. Test your design from several feet away to confirm readability. Simple, bold letters usually photograph better than highly detailed typography.
8. Assembling Your Halloween Banner
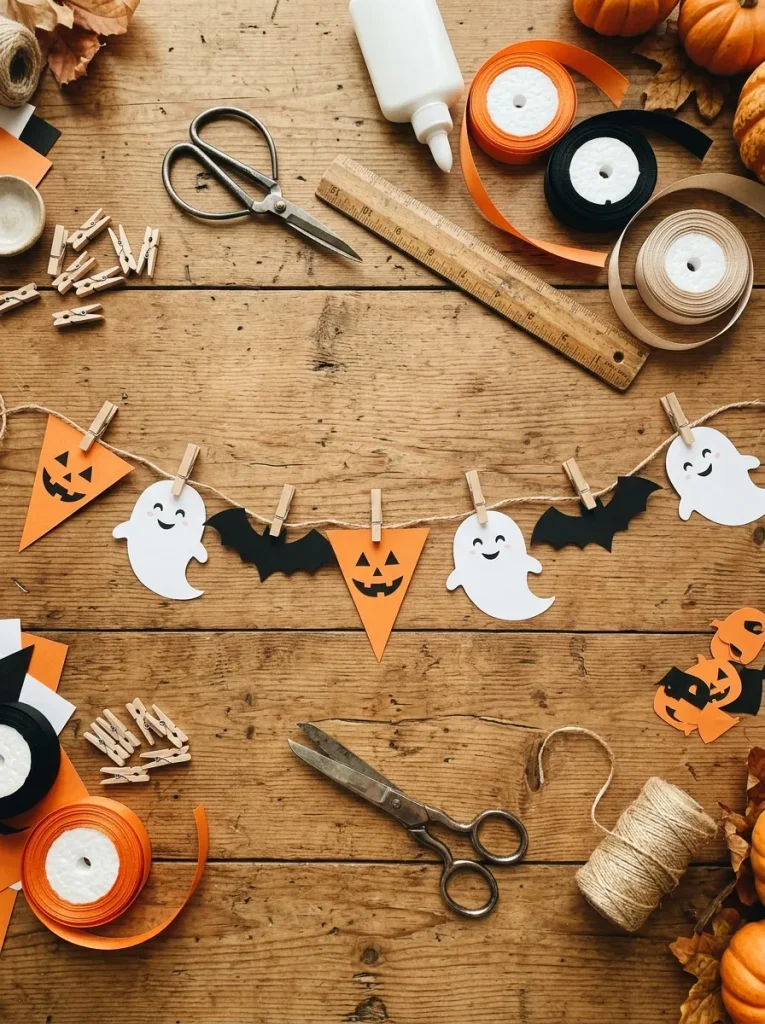
Careful assembly turns individual Halloween cutouts into a balanced, festive garland that hangs neatly across your chosen display area.
Time Needed: Approximately 25 to 40 minutes for a medium-sized banner.
Difficulty: Easy, suitable for first-time DIY decorators.
Tools Required: Cotton twine, scissors, ruler, adhesive, and miniature clothespins.
Result: A lightweight, coordinated Halloween banner ready for hanging.
Lay your twine across a table and arrange the pennants in their planned order. Measure equal gaps between pieces, then attach them with small clothespins or folded cardstock tabs. Leave extra string at both ends for hanging. Lift the completed banner gently to check its balance before installation.
9. Adding Charming Halloween Details
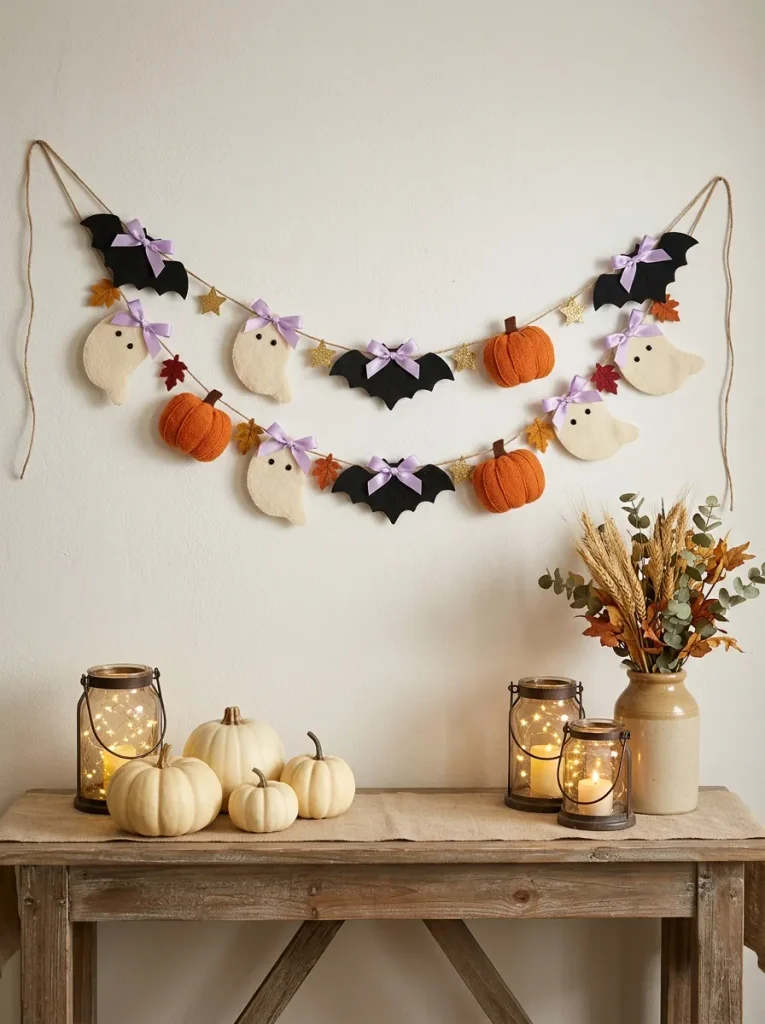
Little decorative details give a handmade Halloween banner its personality and help connect it with the rest of your seasonal decorations. Attach miniature lavender bows between selected pennants, add golden stars to black backgrounds, or decorate pumpkin shapes with tiny green felt leaves for a charming finishing touch.
Keep accessories lightweight so the banner hangs evenly without pulling the twine downward. I’ve noticed that repeating one small accent, such as matching ribbon bows, makes handcrafted decorations feel more coordinated. Leave some pennants undecorated to prevent visual clutter. Your finished garland should feel festive while keeping its main shapes and lettering clearly visible.
10. Hanging Your Banner Safely
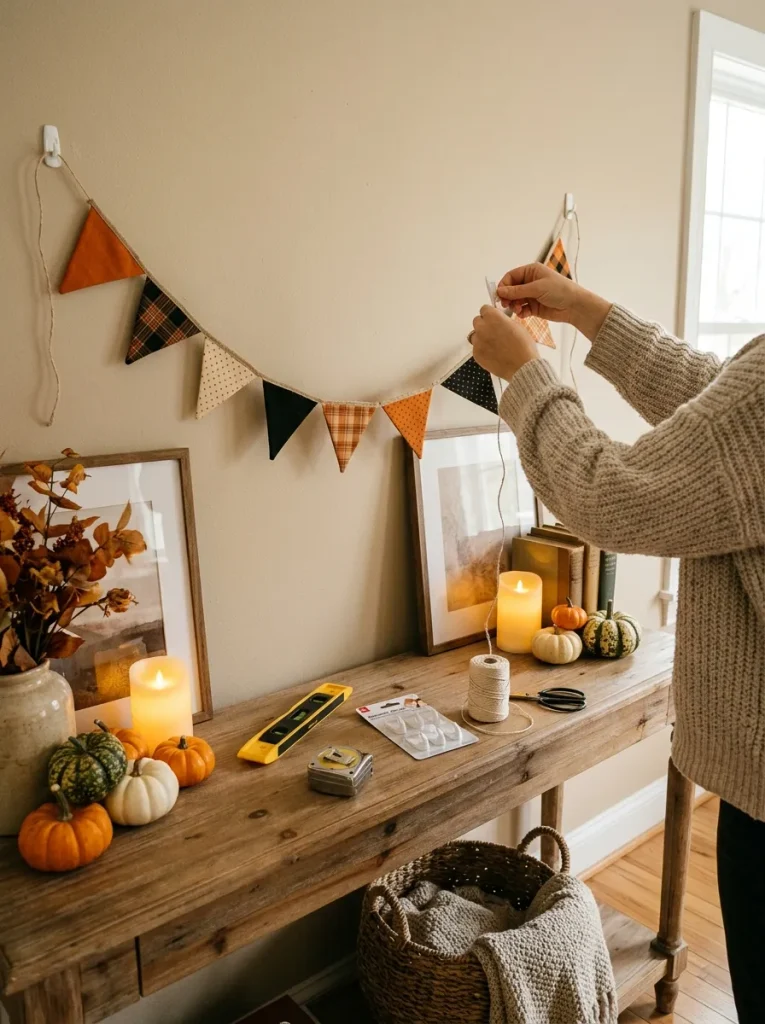
Secure hanging keeps your handmade Halloween banner looking neat while protecting your walls and furniture. Choosing the correct mounting method is especially important for renters, delicate painted surfaces, and homes with active children or pets. Follow these simple steps to display your finished decoration safely.
1. Choose suitable hooks: Select removable adhesive hooks rated for the banner’s weight and compatible with your wall surface.
2. Prepare the wall: Clean the mounting areas according to the hook manufacturer’s instructions and allow them to dry completely.
3. Mark the positions: Measure both hanging points and use a level to prevent the banner from appearing crooked.
4. Attach the banner: Secure the twine to each hook, leaving a gentle curve between the hanging points for an attractive draped appearance.
5. Check the installation: Gently test the hanging arrangement and keep it away from fireplaces, hot lights, door openings, and ceiling fans.
11. Avoiding Common Banner Decorating Mistakes
Quick Tip:
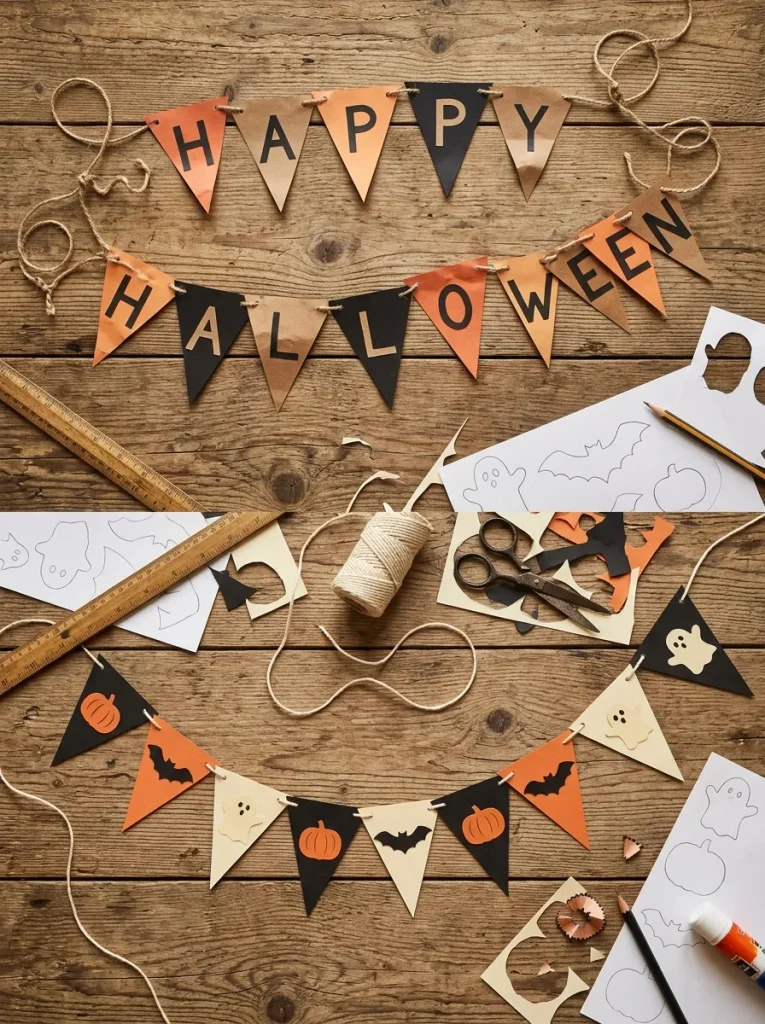
Lay your entire banner flat on a table before attaching the decorations permanently. Check that the lettering reads correctly, the spacing looks consistent, and the colors appear balanced. Lift the banner by both ends to see how the pieces hang naturally before mounting it on the wall.
Common decorating mistakes include oversized pennants, weak attachments, crowded lettering, and uneven string tension. Correct these problems before hanging by adjusting the spacing and reinforcing loose pieces. Keep heavier decorations near the ends only when properly supported. A lightweight, balanced banner is easier to install, store, and reuse.
12. Styling Your Finished Halloween Display
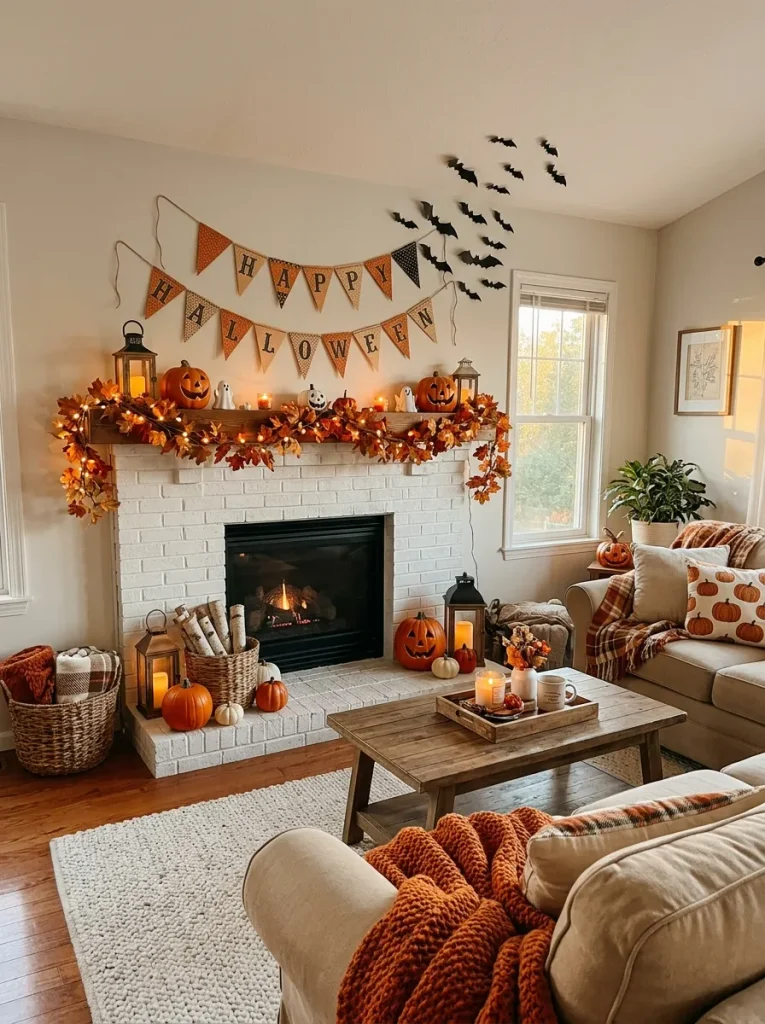
Common Mistake:
Surrounding a handmade Halloween banner with too many decorations can make the display feel crowded and distracting. Oversized pumpkins, competing garlands, and mismatched colors may hide the banner’s lettering and reduce its visual impact.
The Fix:
Make the banner the main focal point and arrange smaller seasonal accessories beneath it. Choose pumpkins, lanterns, and autumn foliage that repeat the banner’s colors. Leave enough empty space around the decoration so its shapes and lettering remain clearly visible.
A coordinated Halloween display brings your handmade banner and surrounding decorations together beautifully. Arrange miniature pumpkins in groups of three and position flameless lanterns between them. Step back to evaluate the overall balance, then remove unnecessary accessories. The finished arrangement should feel cheerful, welcoming, and ready for Halloween celebrations.
CONCLUSION
A festive Halloween display doesn’t need expensive store-bought decorations. With a clear color palette, simple templates, evenly spaced pennants, and secure hanging hooks, you can make a banner that suits your home and budget. I’ve seen how adjusting the spacing and keeping the lettering readable can completely change the finished look.
Save this Halloween banner decor guide on Pinterest for your next decorating day. Try the steps with cardstock, felt, or supplies you already own, and share the ideas with a friend who loves seasonal crafts. Choose your favorite shapes, gather your materials, and start creating your Halloween banner!
One Comment