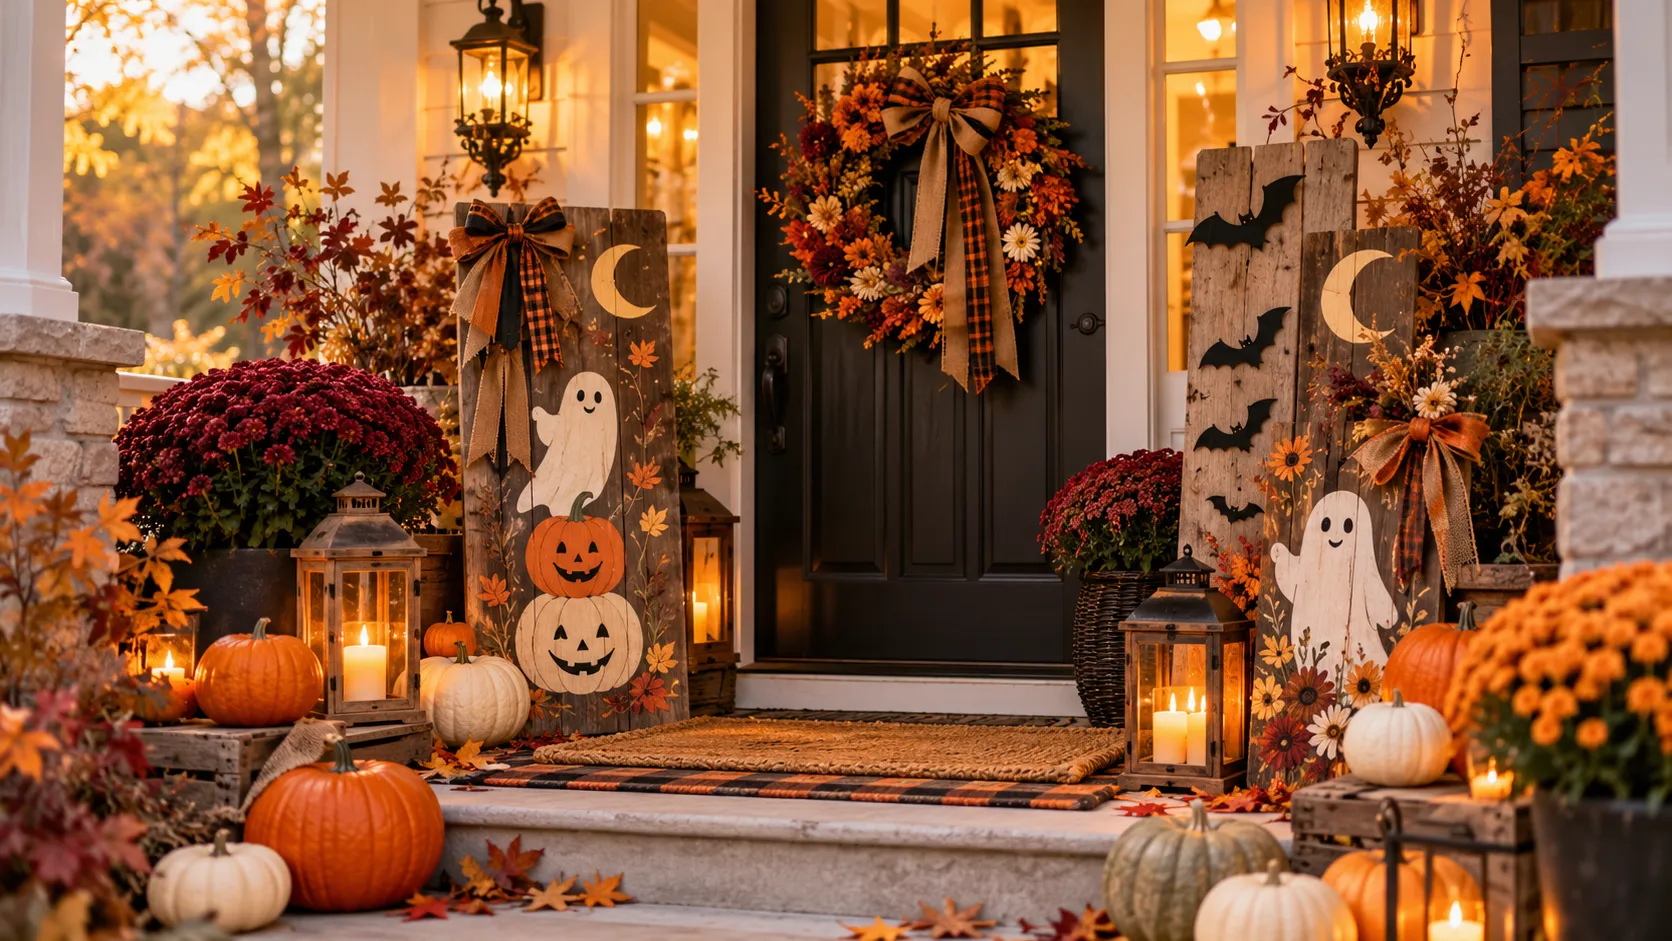
Charming Halloween Signs for a Spooky Home Welcome
Want a spooky front entrance that looks welcoming, not cluttered? Making Halloween signs is easier than you might think, even if you’ve never painted a wooden board or used lettering stencils before.
A charming sign gives guests their first glimpse of your Halloween style, but choosing colors, materials, and a safe place to hang it can feel confusing. This guide walks you through each decision, from picking a theme to making pumpkin or ghost designs and arranging the finished sign on your porch.
I’ve noticed that readable lettering and just a few coordinated accents often look better than a crowded design. By the end, you’ll know how to create a welcoming display that suits your space and budget.
1. Choosing Your Halloween Sign Style
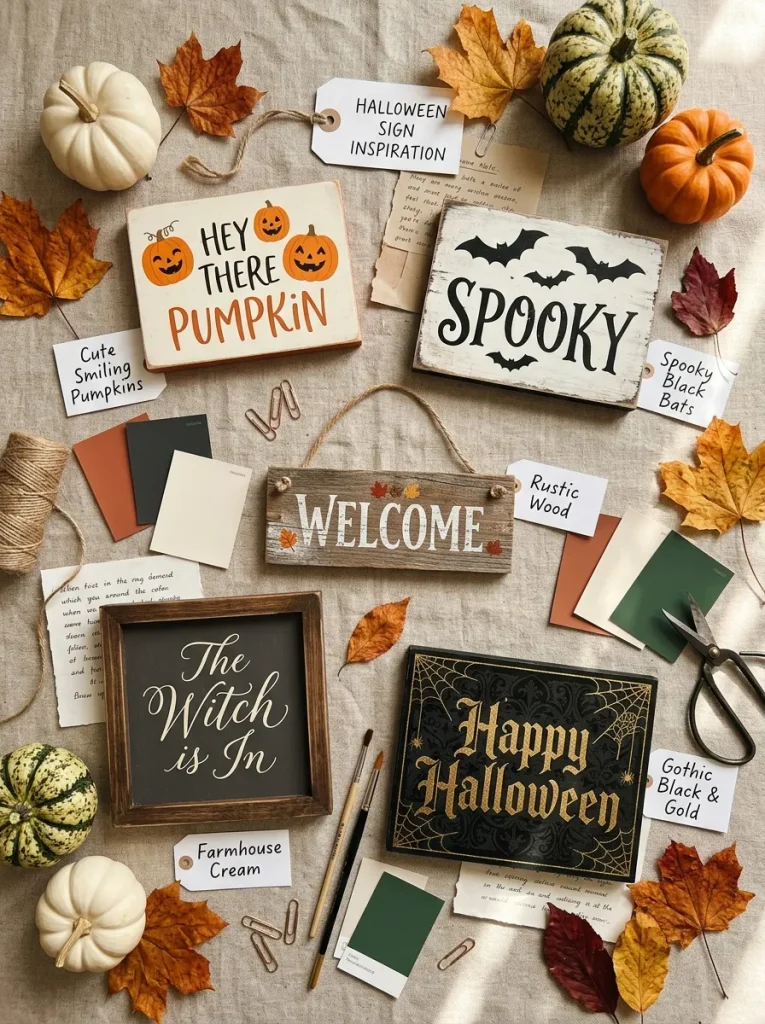
Your Halloween welcome sign sets the mood before guests even enter your home. Whether you love cheerful pumpkins, mysterious gothic details, or cozy farmhouse charm, choosing a decorating style first helps create a coordinated seasonal display. Consider your front door color, existing porch decorations, and the atmosphere you want guests to experience.
For a family-friendly entrance, choose smiling ghosts and colorful pumpkins. Rustic wooden signs pair beautifully with autumn wreaths, while black and gold lettering suits elegant gothic themes. I’ve noticed that limiting a design to two or three main colors makes it easier to coordinate decorations.
2. Finding the Perfect Sign Location
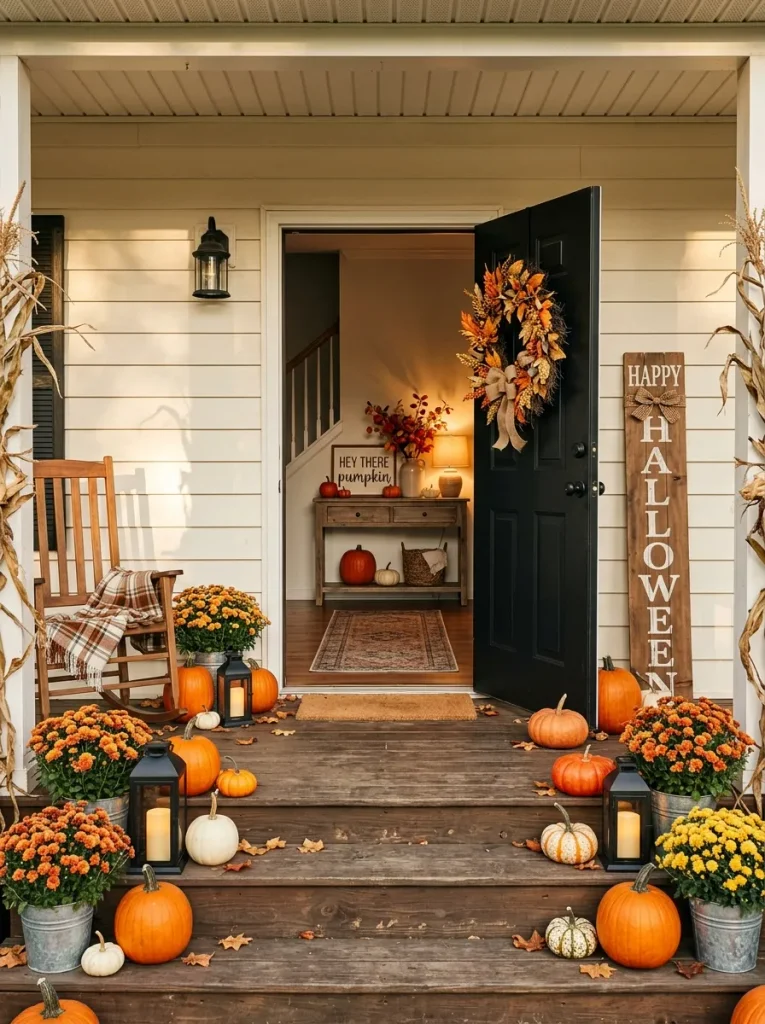
The right location makes your Halloween sign more noticeable while keeping your home welcoming and easy to navigate. Before choosing its size or materials, identify where visitors will naturally look as they approach your entrance.
1. Check your front door: Choose a lightweight hanging sign that complements your door color without covering the handle, lock, or peephole.
2. Evaluate your porch: Position a tall wooden welcome sign beside the doorway, leaving enough room for guests to walk comfortably.
3. Consider indoor entryways: Display smaller framed signs above a console table with miniature pumpkins and decorative lanterns.
4. Measure the available space: Record the wall or floor dimensions before purchasing materials so your finished sign fits proportionally.
5. Check visibility and exposure: Select a location with suitable lighting and protection from heavy rain or strong wind.
3. Gathering Affordable Decorating Supplies
Quick Tip:
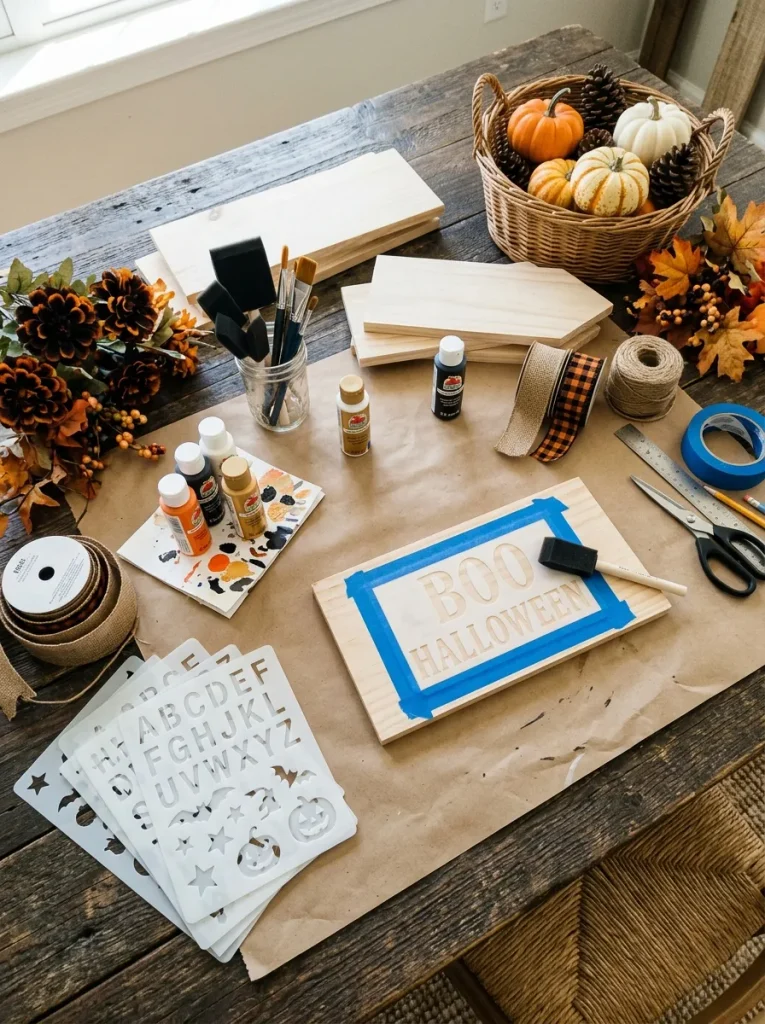
Check your existing craft supplies before purchasing new materials. Leftover acrylic paints, old picture frames, scrap wood, and unused ribbons can reduce decorating costs significantly. Choose a smooth wooden board or sturdy craft panel for your first project because these surfaces are easier to paint and decorate.
Creating beautiful Halloween signs doesn’t require expensive equipment or advanced crafting skills. Start with a wooden board, acrylic paint, foam brushes, and reusable alphabet stencils. Add ribbons or artificial flowers for decoration. Protect your work surface with paper, and choose outdoor-rated paint and sealant if the sign will face the weather.
Also Find: 23 Halloween Wall Art for A Charming Spooky Display
4. Selecting Halloween Colors and Themes
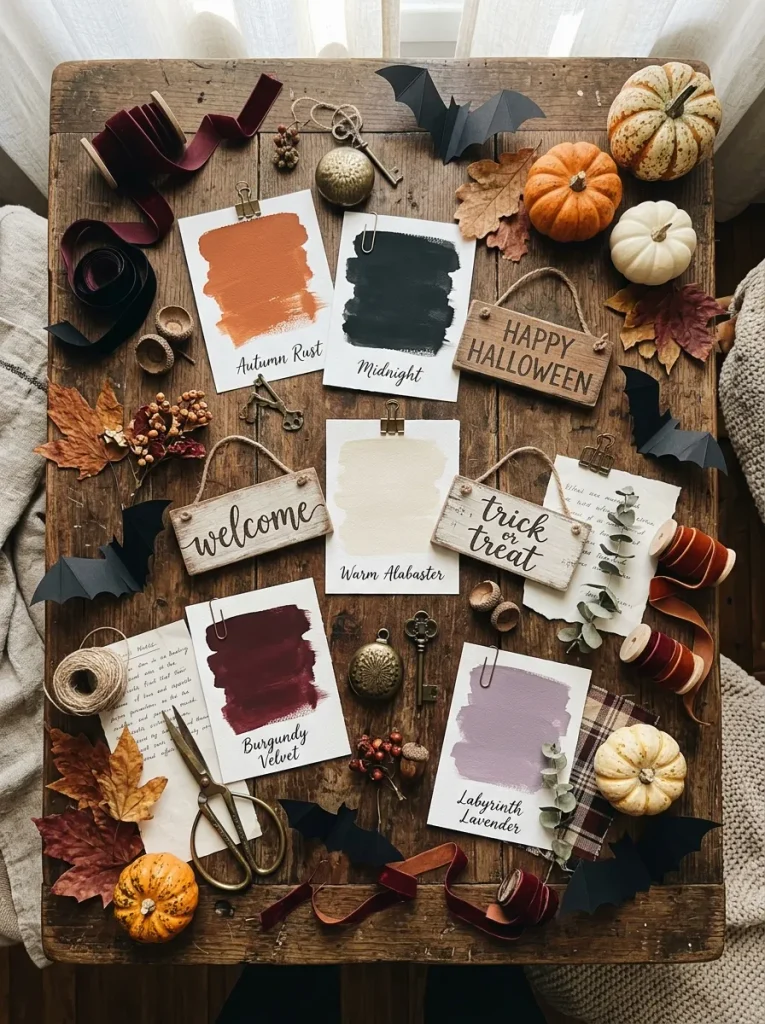
Common Mistake:
Combining too many bright colors and unrelated Halloween decorations can make a welcome sign appear cluttered. For example, mixing neon green lettering, orange pumpkins, purple glitter, and red ribbons may distract from the main message and create an unbalanced appearance.
The Fix:
Choose two dominant colors and one accent shade before painting your sign. For a classic Halloween look, combine orange, black, and cream. Farmhouse designs work beautifully with ivory, muted orange, and natural wood, while gothic themes benefit from burgundy, charcoal, and antique gold.
A coordinated color palette helps your Halloween decorations feel intentional and visually appealing. Test paint colors on a small piece of scrap wood before decorating the main board. Consider your front door color and surrounding accessories. Repeat your chosen accent shade in ribbons, pumpkins, or wreath decorations for a polished finish.
5. Creating DIY Wooden Halloween Signs
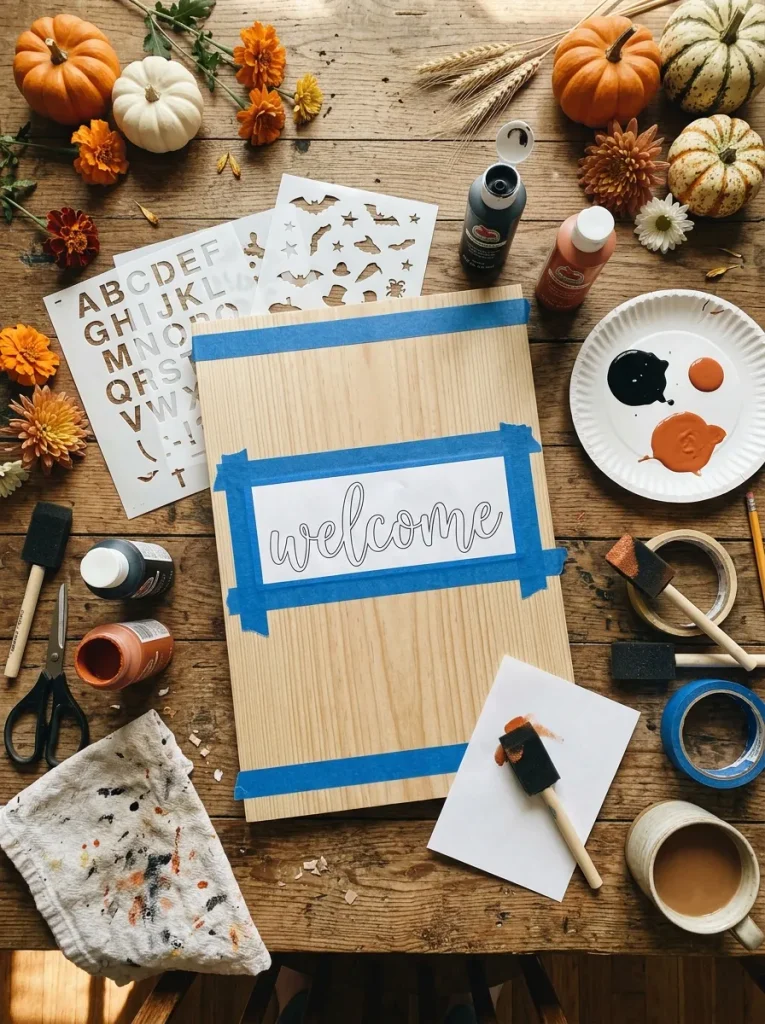
What You Need:
- Wooden signboard: Choose a smooth wooden board approximately 12 by 18 inches for a manageable beginner project.
- Acrylic paint: Select black, orange, and ivory paint suitable for decorating wooden surfaces.
- Foam brushes: Use one wide brush for the background and smaller brushes for detailed designs.
- Alphabet stencils: Choose reusable lettering stencils to create a neat, readable Halloween greeting.
- Painter’s tape: Apply tape around borders to achieve clean decorative edges.
- Protective sealant: Use a compatible outdoor-rated clear coating if your sign will be displayed outside.
A handmade wooden welcome sign adds personality to your Halloween entrance while keeping decorating costs manageable. Lightly sand the board, remove dust, and apply two thin coats of background paint. Once dry, stencil your greeting and add pumpkin illustrations. Finish with a suitable sealant, following the manufacturer’s drying instructions.
6. Designing Charming Pumpkin Welcome Signs
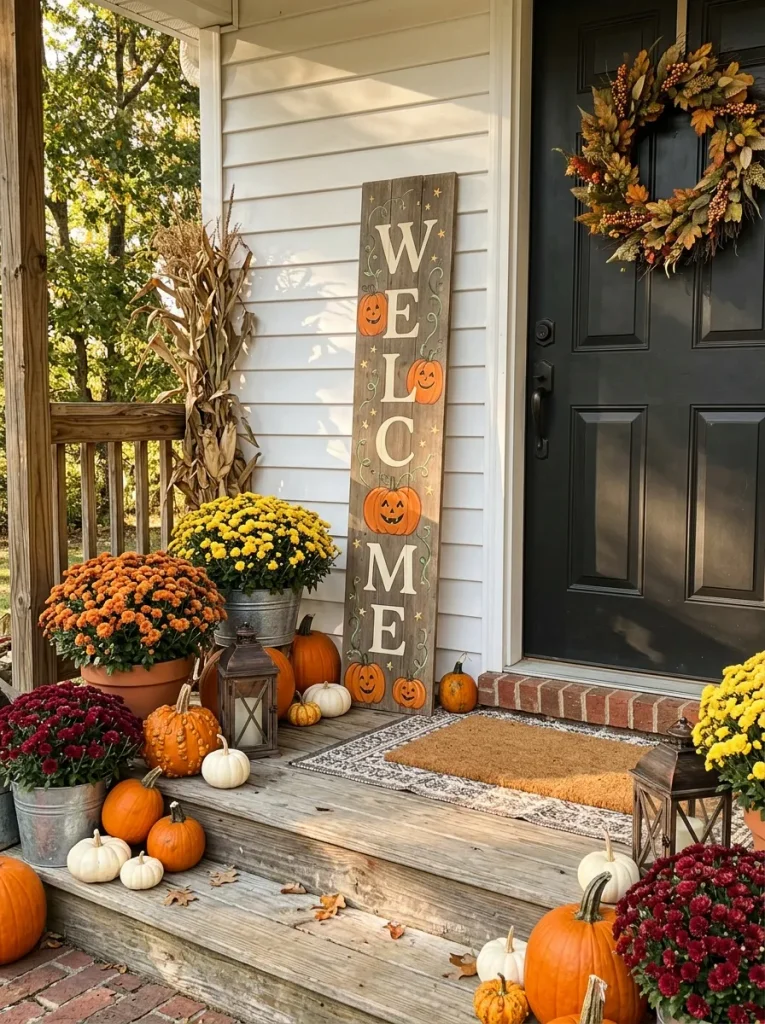
Before:
A basic wooden board with plain lettering may communicate a Halloween greeting but lack the cheerful details that make seasonal decorations memorable. Without recognizable pumpkin illustrations or coordinated colors, the sign can feel unfinished beside autumn wreaths and porch accessories.
After:
Bright orange pumpkins with smiling faces create an inviting, family-friendly design. Cream lettering, delicate green vines, and small golden stars add contrast and personality, making the finished sign stand out beautifully against a dark front door or neutral porch wall.
Sketch your pumpkin shapes lightly with pencil before applying orange paint. Add darker orange curved lines for dimension, then paint simple black eyes and smiling mouths. Position your welcome message above or between the pumpkins for easy reading. Complete the design with a protective finish suitable for its display location.
7. Making Spooky Ghost Door Signs
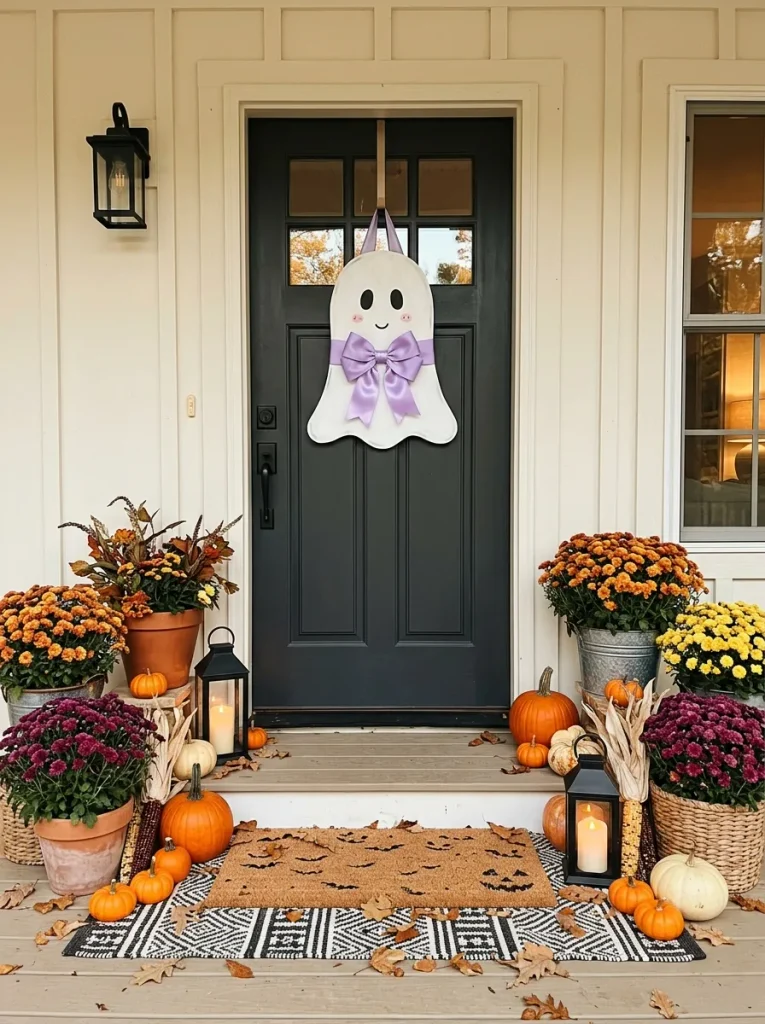
A smiling ghost door sign instantly gives your entrance a playful Halloween personality without creating a frightening atmosphere. Its simple shape makes it an enjoyable beginner project, especially for family-friendly celebrations.
Do This:
- Choose a lightweight wooden or thick foam board shaped like a friendly ghost.
- Paint the surface ivory white and allow it to dry completely.
- Add black oval eyes, rosy cheeks, and a small smiling mouth.
- Attach a lavender ribbon bow and sturdy hanging loop for decoration.
Avoid This:
- Use thin paper that may tear when exposed to outdoor moisture.
- Attach heavy ornaments that could pull the sign forward.
- Hang the decoration where it blocks your door handle or peephole.
- Use permanent adhesive directly on painted doors.
A cheerful ghost sign works beautifully with orange pumpkins, pastel ribbons, and warm porch lighting. Position it at eye level so visitors notice the friendly expression immediately. For outdoor displays, choose weather-resistant materials and secure the hanging ribbon properly. The finished decoration creates a welcoming seasonal entrance.
8. Decorating Rustic Halloween Porch Signs
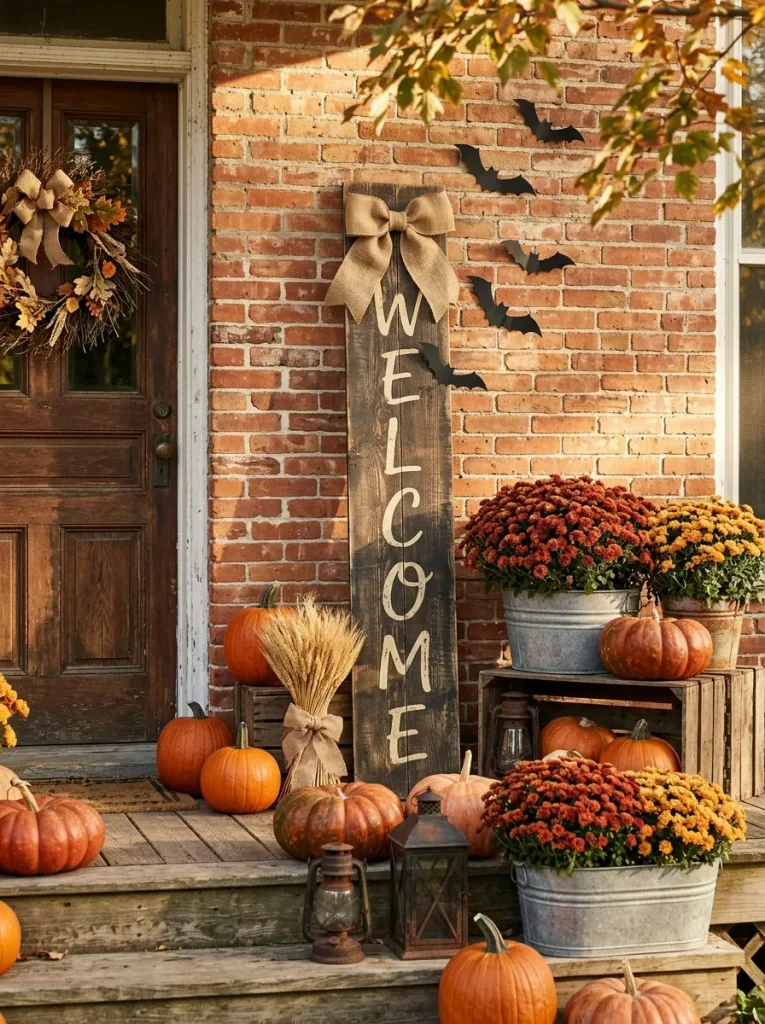
Rustic porch signs bring warm farmhouse character to Halloween entrances through natural wood textures, seasonal colors, and simple handmade details.
Time Needed: Approximately 1 to 2 hours, excluding paint drying time.
Difficulty: Beginner-friendly, with basic painting and decorative assembly.
Cost: Around $20 to $45, depending on the wooden board and accessories.
Best For: Covered porches, farmhouse entrances, and sheltered front door displays.
Choose a vertical wooden board and paint it with a muted cream or charcoal background. Add large, readable Halloween lettering using stencils, then decorate the corners with artificial autumn leaves and burlap bows. Position the sign on a stable stand or secure it properly to prevent tipping in windy conditions.
9. Adding Creative Halloween Sign Details
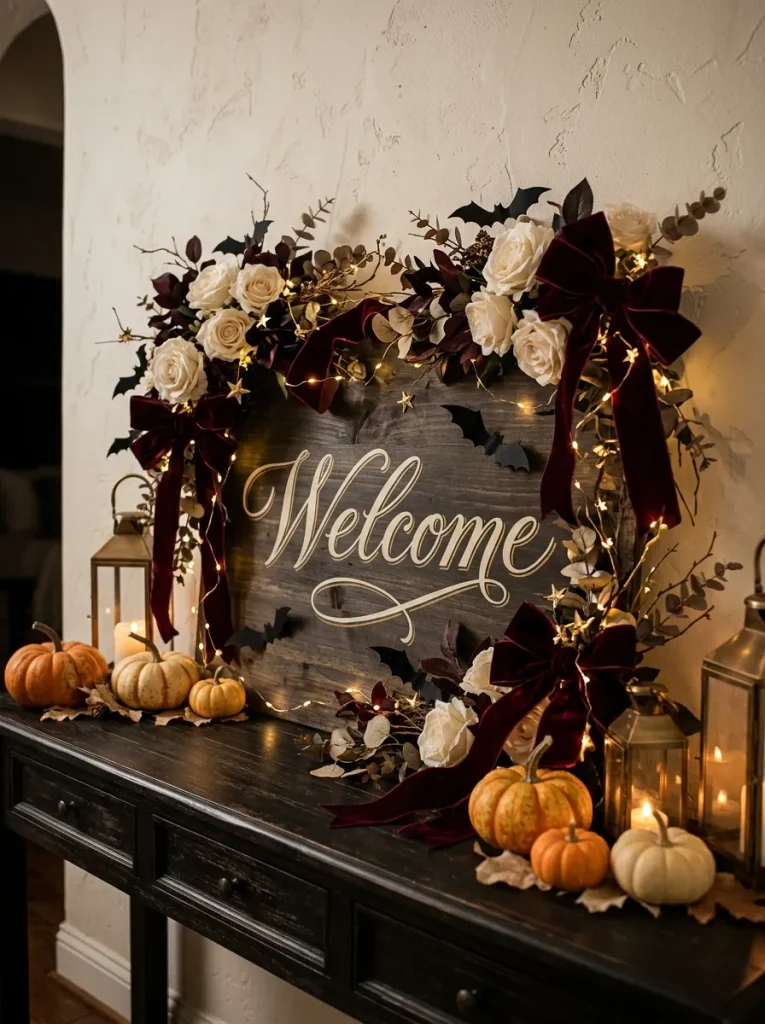
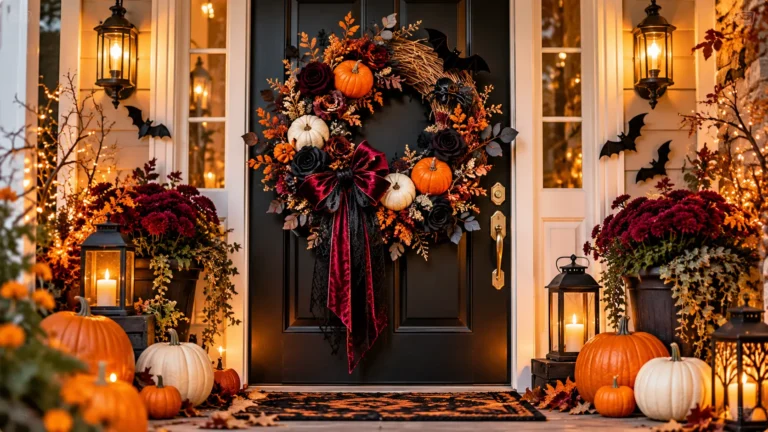
Small decorative accents can make a simple painted Halloween sign feel charming, detailed, and professionally styled. Once your lettering has dried, attach a velvet ribbon bow near the top corner and arrange miniature bats along one edge. Keep the central greeting unobstructed so visitors can read it easily.
For a more polished appearance, repeat colors already used in your porch decorations. Burgundy flowers pair beautifully with antique gold lettering, while orange ribbons complement traditional pumpkin designs. Add battery-operated fairy lights around the sign’s border for a gentle glow. Secure loose accessories with suitable craft adhesive and keep lights away from flammable materials.
10. Hanging and Securing Halloween Signs
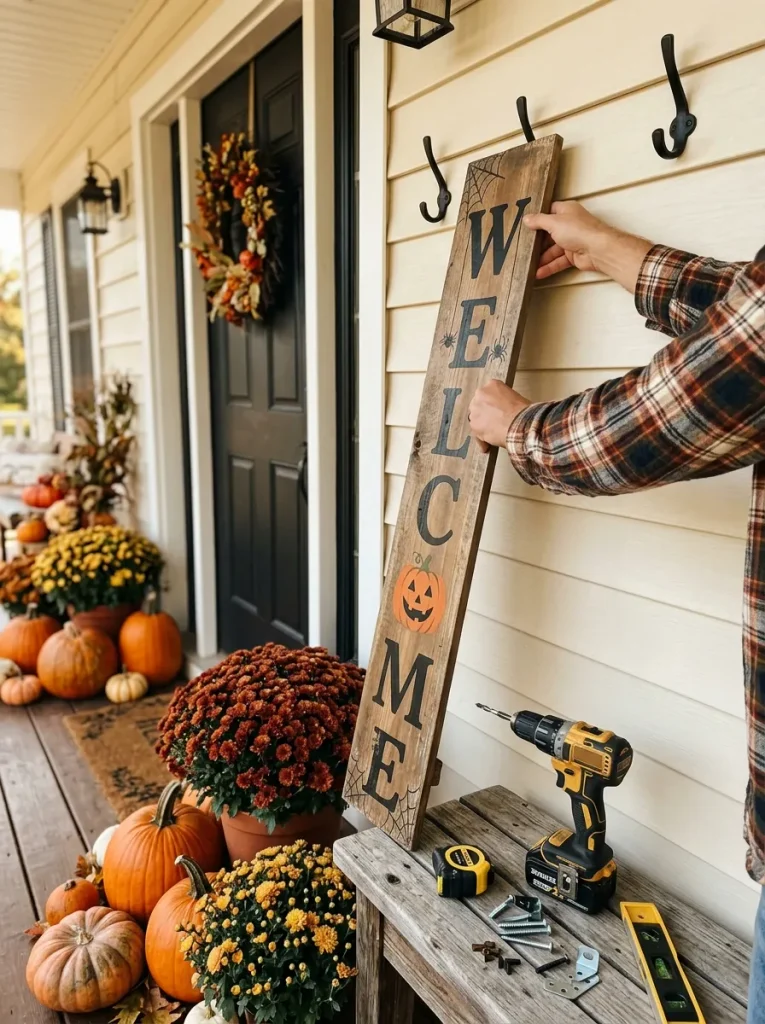
A beautifully decorated Halloween sign needs secure installation to stay attractive and safe throughout the season. Choosing the correct hanging method protects your walls, prevents damage, and keeps outdoor decorations stable during changing weather.
1. Check the sign’s weight: Weigh your finished decoration, including ribbons and accessories, before selecting mounting hardware.
2. Choose suitable hardware: Use properly rated screws and anchors for heavy wooden signs, following the instructions for your wall material.
3. Consider renter-friendly options: Select removable hooks for lightweight indoor decorations, checking their weight limits and surface compatibility.
4. Measure the placement: Mark the hanging position with a pencil and use a level to keep the sign straight.
5. Test the installation: Gently check that the sign remains stable and that nearby doors open completely without hitting it.
11. Avoiding Common Halloween Sign Mistakes
Quick Tip:
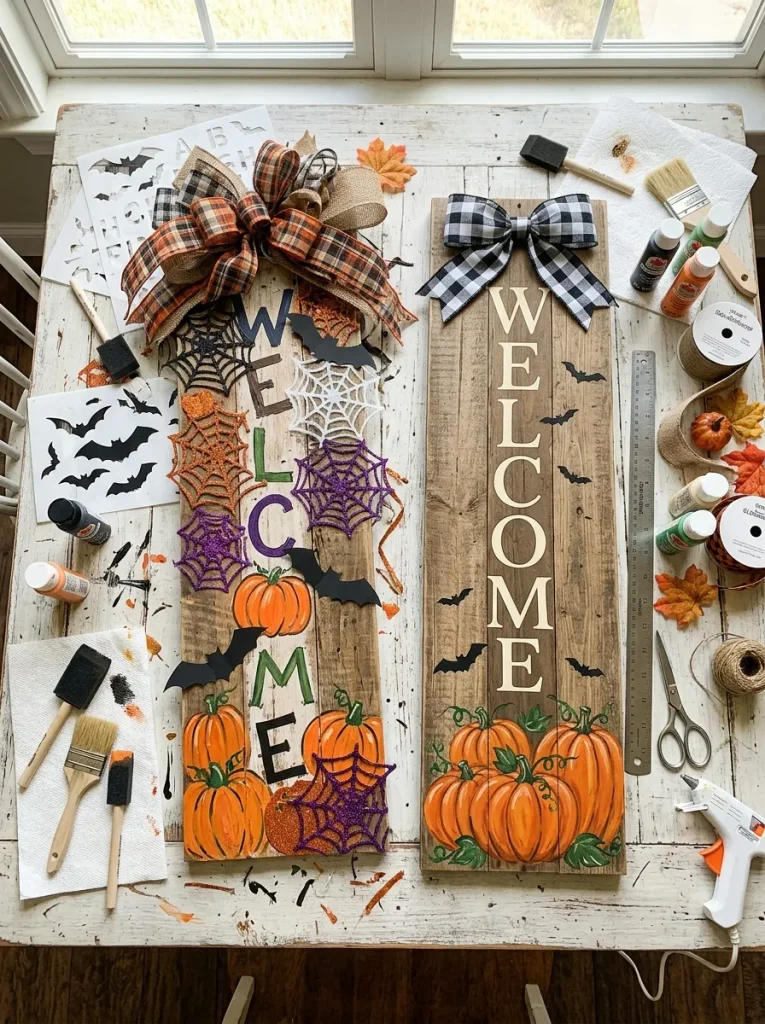
Before painting your final design, sketch the lettering and decorative elements on paper at the same proportions as your sign. View the layout from several feet away to check readability. Leave generous spacing around your main greeting so pumpkins, bats, and ribbons do not compete with the words.
Overcrowded lettering, mismatched colors, and poorly secured accessories are common decorating mistakes. Choose one clear greeting and limit embellishments to the corners or border. Allow paint and adhesive to cure completely before hanging. For outdoor signs, check weather resistance and avoid materials that easily absorb moisture or fade.
12. Styling Your Finished Halloween Welcome Display
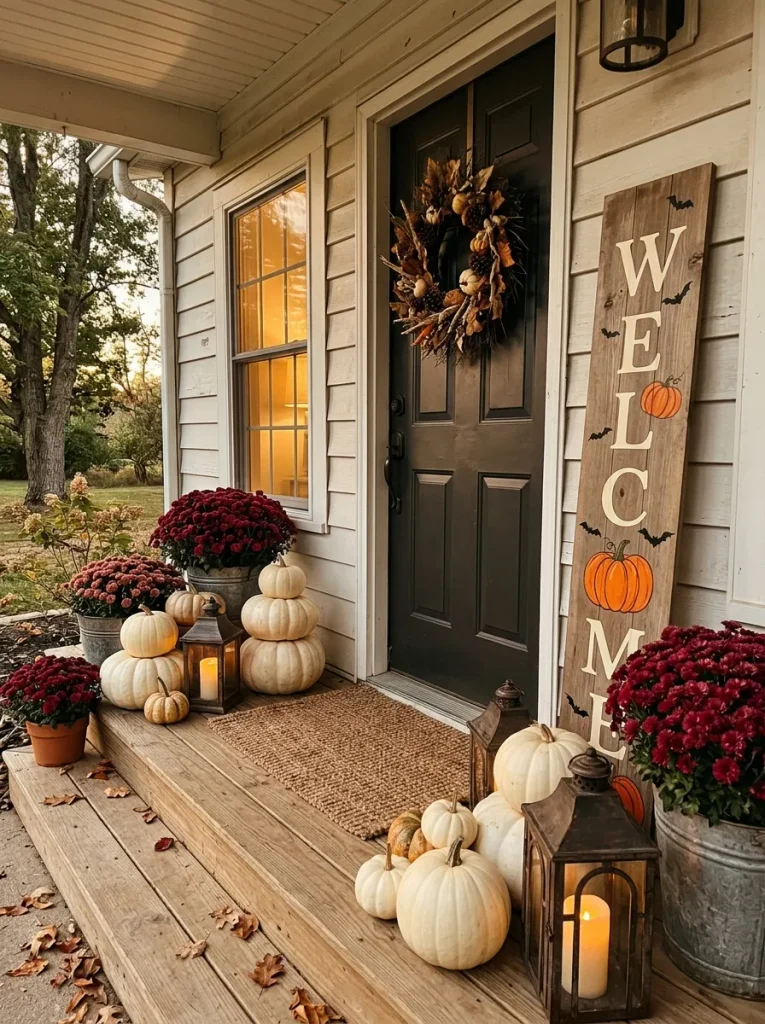
Common Mistake:
Placing every Halloween decoration near the front door can make an entrance feel crowded and difficult to navigate. Too many competing colors, oversized pumpkins, and scattered lanterns may distract from the welcome sign instead of highlighting it.
The Fix:
Make your finished sign the main focal point and arrange supporting decorations around it. Choose pumpkins in two or three sizes, add one coordinated autumn wreath, and position sturdy LED lanterns beside the entrance. Keep steps, door handles, and walking paths completely clear.
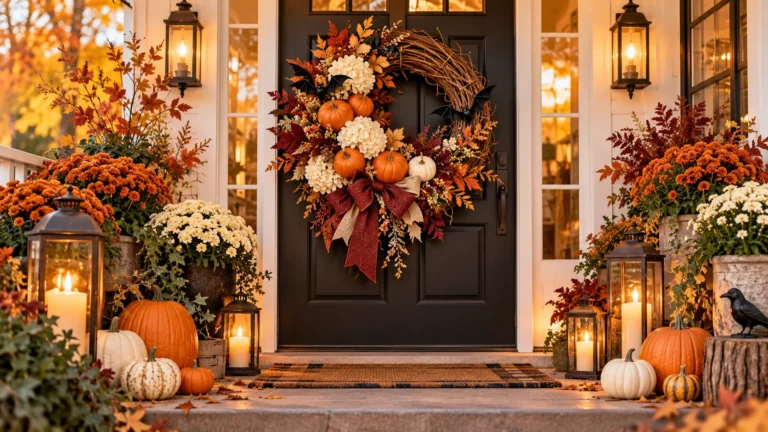
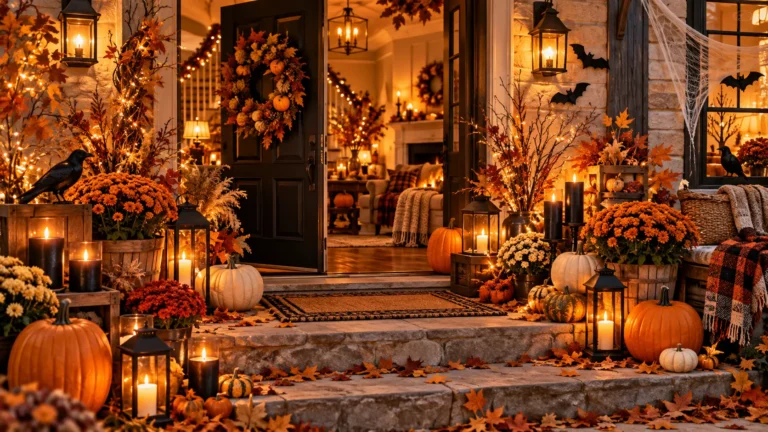
A thoughtfully styled entrance brings all your decorating efforts together and creates a memorable welcome for visitors. Repeat your sign’s main colors through flowers, ribbons, and pumpkins for visual consistency. Step back to check the arrangement from the sidewalk, then adjust spacing until the display feels balanced, inviting, and comfortably accessible.
Conclusion
Your Halloween entrance can feel festive and welcoming without expensive decorations or complicated crafting. Now you know how to choose a theme, gather affordable supplies, paint a readable design, and hang it securely. A few coordinated pumpkins, ribbons, and lanterns can complete the look.
I’ve noticed that the smallest finishing touches often bring a handmade display together. Save this guide on Pinterest so you can revisit the steps next October, and try making one of these Halloween signs for your own doorway. Share it with a friend who wants a charming seasonal entrance. Pick your colors and get started!
One Comment