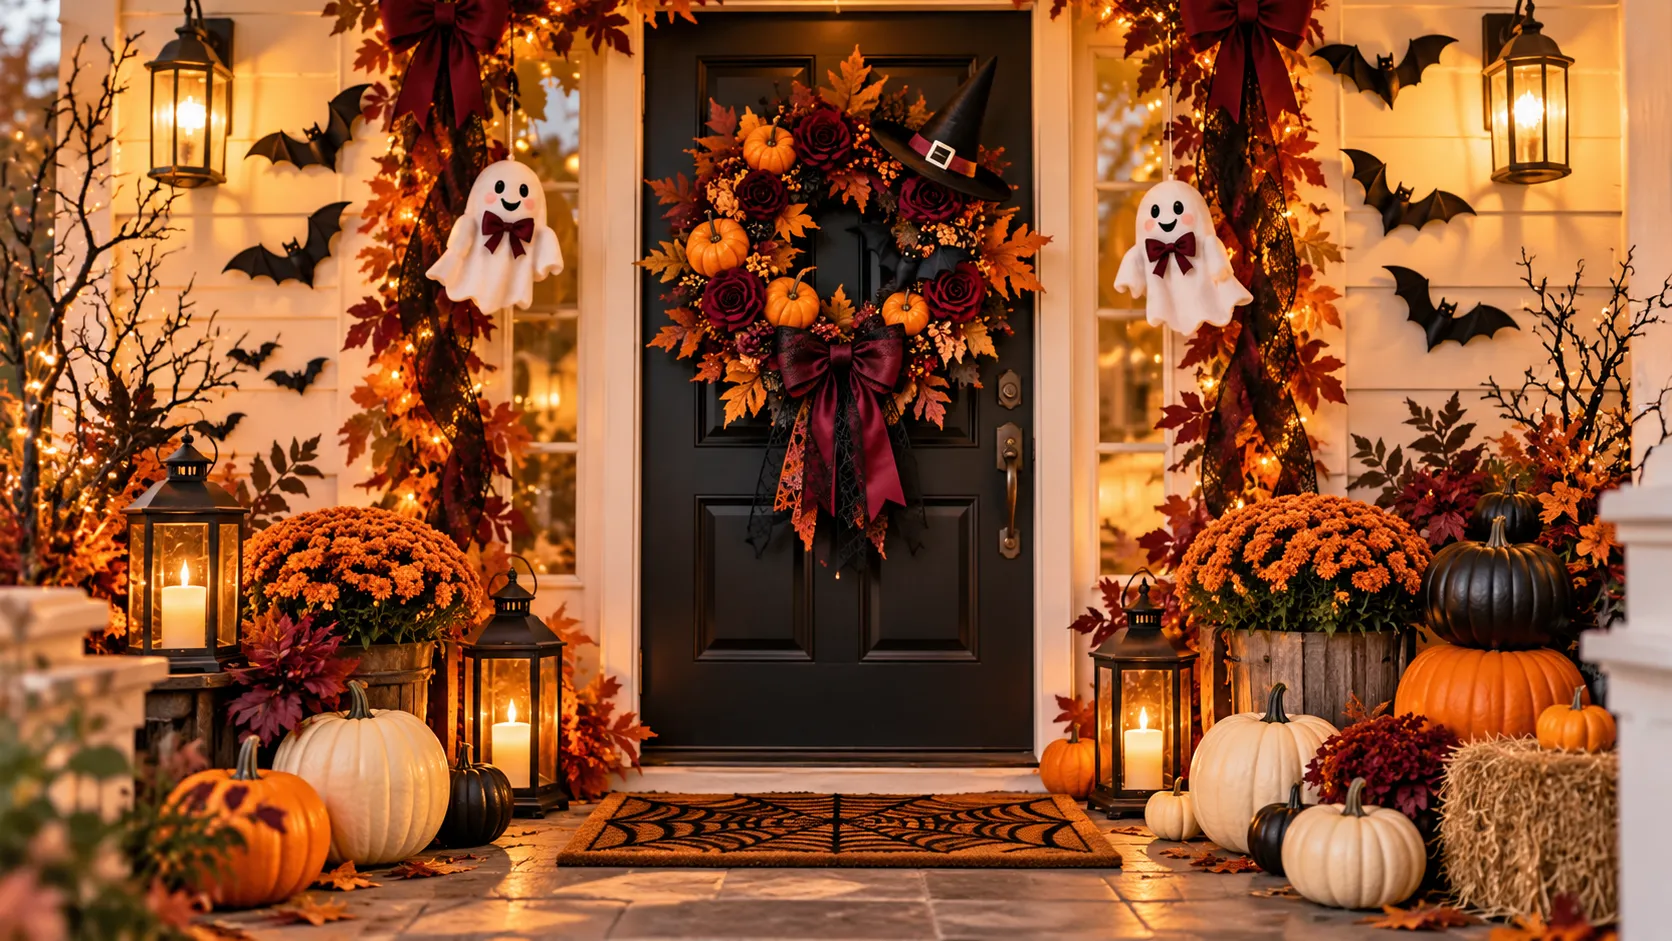
Gorgeous Halloween Door Decor for a Spooky Welcome
Want your front door to look spooky and welcoming without spending a fortune? Halloween door decor can transform an ordinary entrance with a few affordable supplies and creative touches.
Choosing what to hang, which colors to combine, and how to keep everything secure can feel overwhelming at first. I’ve noticed that even beautiful decorations lose their charm when too many pieces compete for attention. A clear plan makes the process easier, especially if you’re decorating a small porch or renting your home.
This guide walks you through planning your display, making wreaths, ghosts, bats, garlands, and welcome signs, and adding safe lighting. By the end, you’ll know how to create a coordinated entrance that delights guests and trick-or-treaters.
1. Choosing Your Halloween Door Style
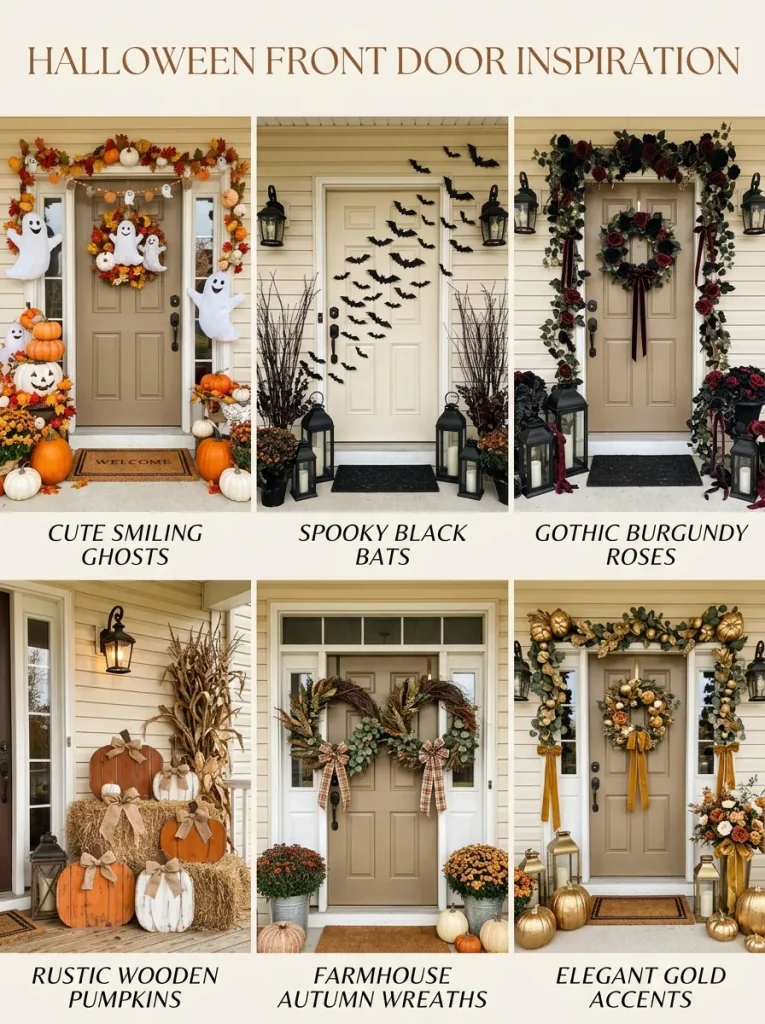
Your Halloween door decor sets the mood before guests even step inside, so choosing a clear decorating style is the perfect starting point. Cute ghosts and smiling pumpkins create a playful atmosphere, while black bats, dark flowers, and mysterious details bring spooky character. Consider your home’s exterior colors and existing decorations.
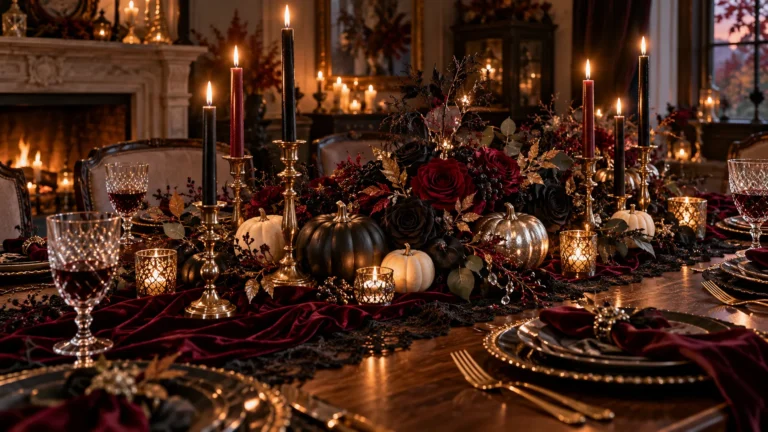
For farmhouse entrances, combine burlap ribbons, wooden signs, and muted autumn foliage. Gothic designs look striking with burgundy roses and black velvet bows, while elegant displays benefit from ivory pumpkins and antique gold accents. Keeping one consistent theme helps your decorations feel coordinated rather than crowded or mismatched.
2. Planning Your Front Door Display
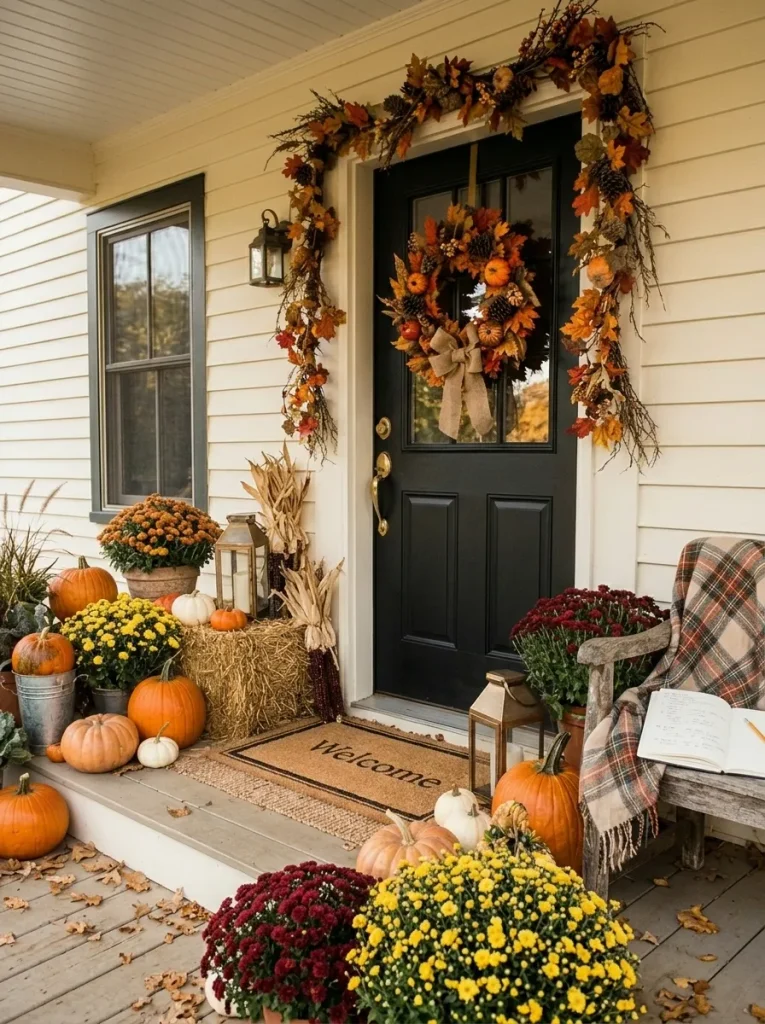
A thoughtful decorating plan helps you create a beautiful Halloween entrance without purchasing unnecessary accessories or blocking important door features. Before choosing wreaths, garlands, or hanging decorations, examine your available space and decide where each item will fit. These simple planning steps make decorating easier and more organized.
1. Measure your front door: Record its width and height, including the space around handles, locks, and peepholes.
2. Check your porch dimensions: Identify areas where pumpkins, lanterns, and flower pots can sit without blocking walking paths.
3. Choose one focal point: Select a wreath, hanging sign, or decorative arrangement as the main feature of your display.
4. Plan supporting decorations: Sketch where smaller bats, ghosts, garlands, and seasonal accessories will appear around the doorway.
5. Consider weather exposure: Identify sheltered areas for delicate decorations and choose weather-resistant materials for exposed surfaces.
Also Visit: Stunning Halloween Wreath Ideas for a Spooky Entryway
3. Gathering Affordable Decorating Supplies
Quick Tip:
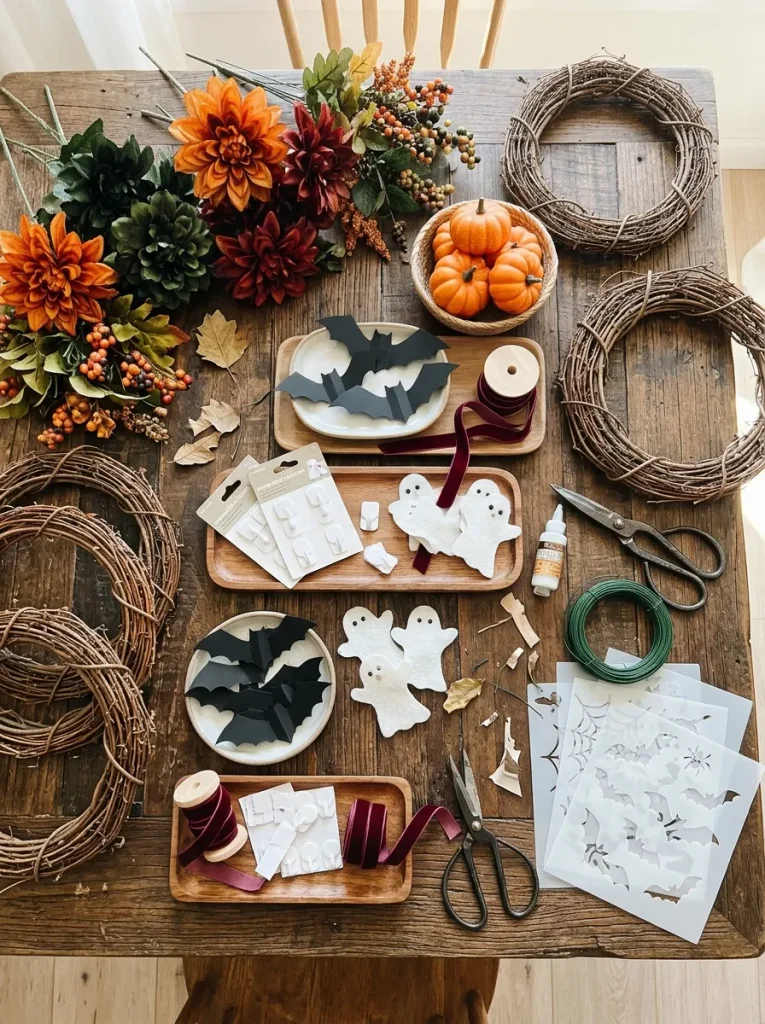
Check your existing seasonal decorations before buying new supplies. Old wreaths, leftover ribbons, unused cardstock, and artificial flowers can often be refreshed for another Halloween season. Choose lightweight, reusable materials that are easy to attach, remove, and store without damaging your door.
Start with removable hooks suitable for your door surface, sturdy cardstock, felt, ribbons, and artificial greenery. Add a grapevine wreath base, miniature pumpkins, and seasonal ornaments according to your chosen theme. Keep scissors, floral wire, and suitable craft adhesive nearby. Select outdoor-rated materials for decorations exposed to rain or sunlight.
4. Selecting Halloween Door Colors
Common Mistake:
Combining too many bright colors can make a Halloween entrance appear cluttered instead of beautifully spooky. Mixing neon green, vivid purple, bright orange, red, and several metallic shades often creates a distracting display that clashes with your home’s exterior.
The Fix:
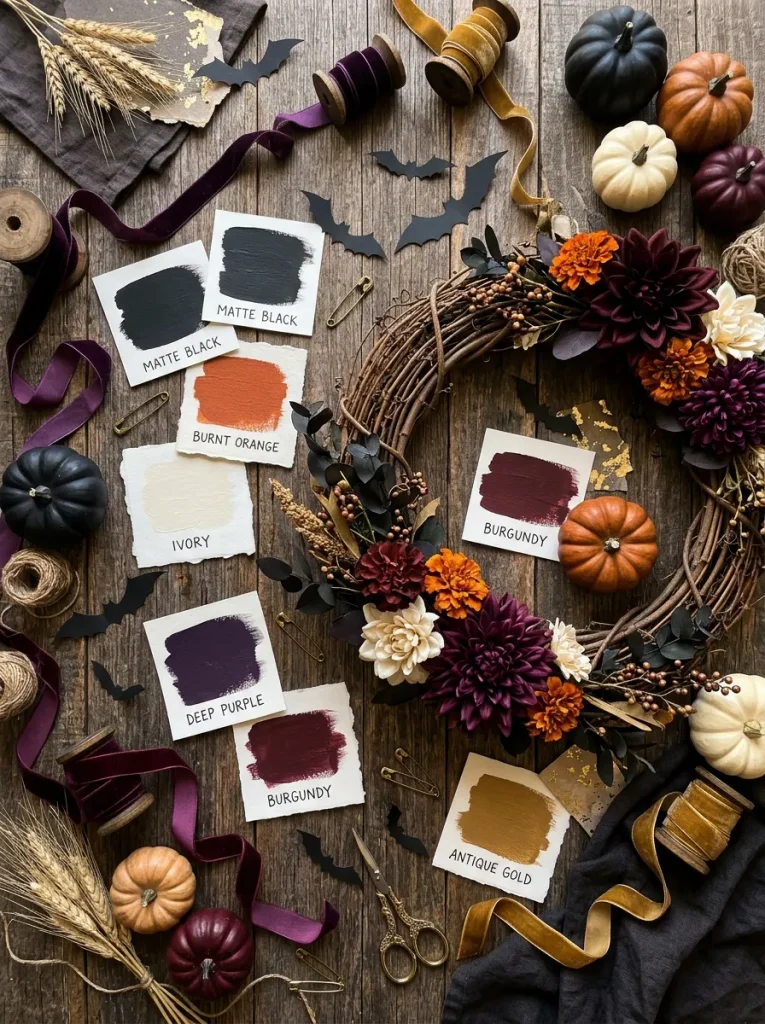
Choose two main colors and one accent shade before purchasing decorations. Combine black, orange, and cream for a traditional Halloween appearance, or select burgundy, charcoal, and antique gold for a sophisticated gothic entrance. Repeat these colors consistently across wreaths, ribbons, pumpkins, and hanging ornaments.
Your front door color should guide your final decorating choices. Ivory pumpkins and orange foliage stand out against black doors, while dark purple flowers complement lighter entrances. Arrange your selected accessories together before installing anything. This quick color check helps create a welcoming display with balanced contrast and coordinated seasonal details.
5. Creating a Spooky Halloween Door Wreath
What You Need:
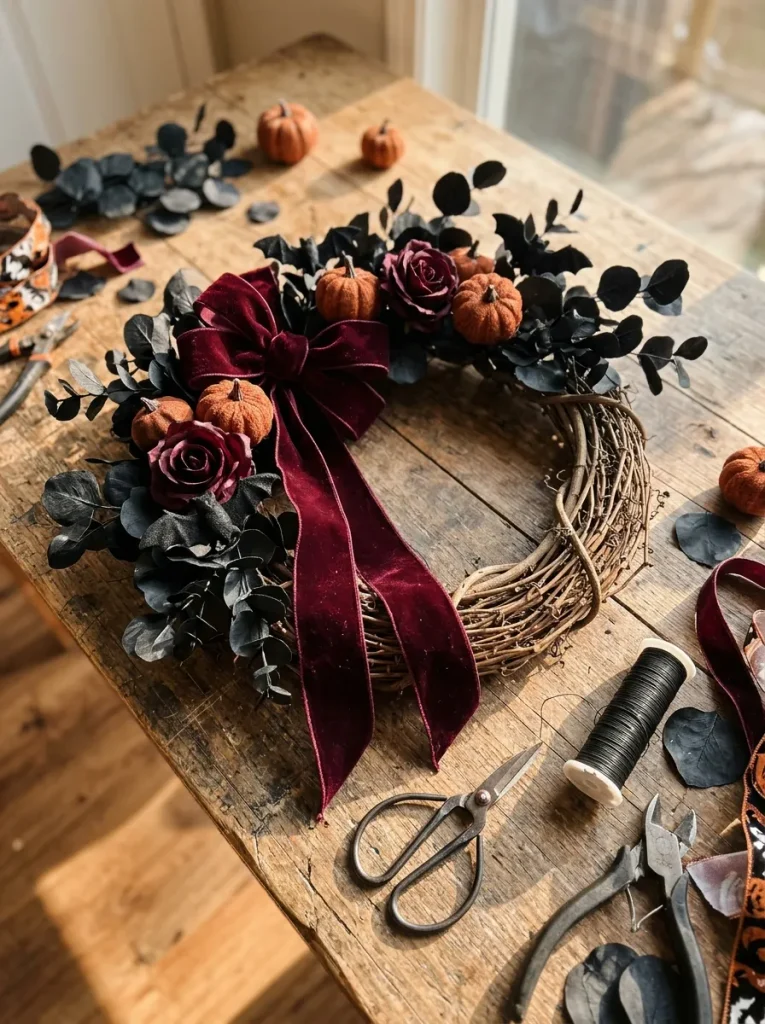
- Grapevine wreath base: Choose a sturdy circular frame approximately 18 inches wide for a balanced front door decoration.
- Artificial foliage: Select black eucalyptus, dark greenery, or autumn leaves to create a mysterious background.
- Miniature pumpkins: Use lightweight orange or ivory pumpkins to introduce recognizable Halloween details.
- Black bat decorations: Cut silhouettes from sturdy craft foam or use lightweight reusable ornaments.
- Floral wire: Secure greenery and decorative pieces firmly around the wreath base.
- Velvet ribbon: Choose burgundy, black, or deep purple ribbon for an elegant finishing bow.
Begin by attaching dark foliage around the wreath, allowing some natural branches to remain visible. Arrange miniature pumpkins and bat silhouettes in small clusters, then secure them with floral wire or suitable adhesive. Add a velvet bow near the bottom. Hold the finished wreath upright to check its balance.
6. Making Cute Ghost Door Decorations
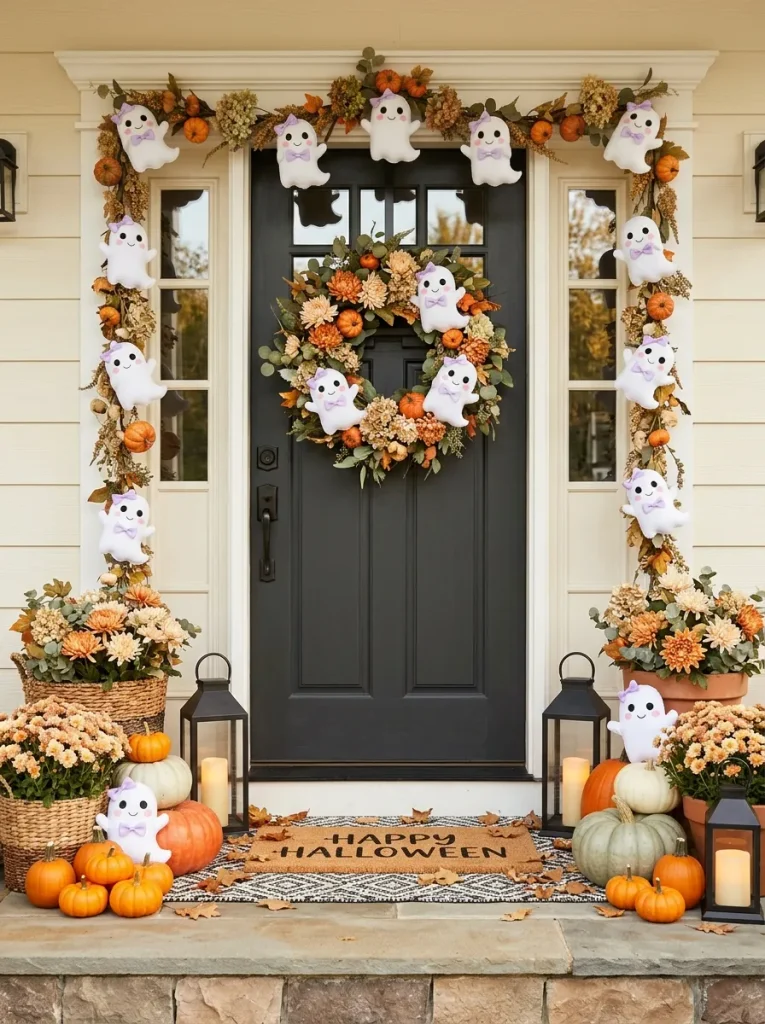
Before:
A plain front door may feel unfinished during Halloween celebrations, especially when you want playful decorations rather than frightening characters. Store-bought ornaments can also be expensive or difficult to coordinate with a soft, family-friendly decorating theme.
After:
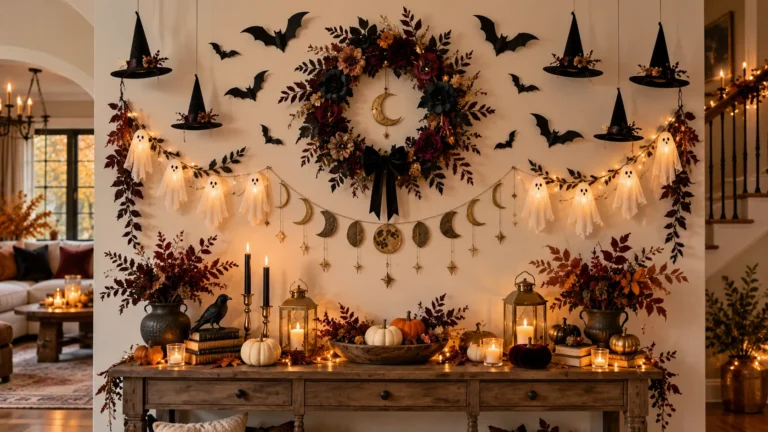
Handmade smiling ghosts bring a cheerful Halloween personality to your doorway using inexpensive craft materials. White felt shapes, simple black eyes, rosy cheeks, and lavender bows create a welcoming appearance that complements pumpkins, autumn flowers, and other seasonal accessories.
Draw a rounded ghost silhouette on paper and use it as a template for cutting matching felt or craft foam shapes. Add eyes and smiling mouths with suitable markers, then attach small ribbon bows. Secure the ghosts with door-safe removable hooks and display them in a sheltered location.
7. Designing a Creative Bat Door Display
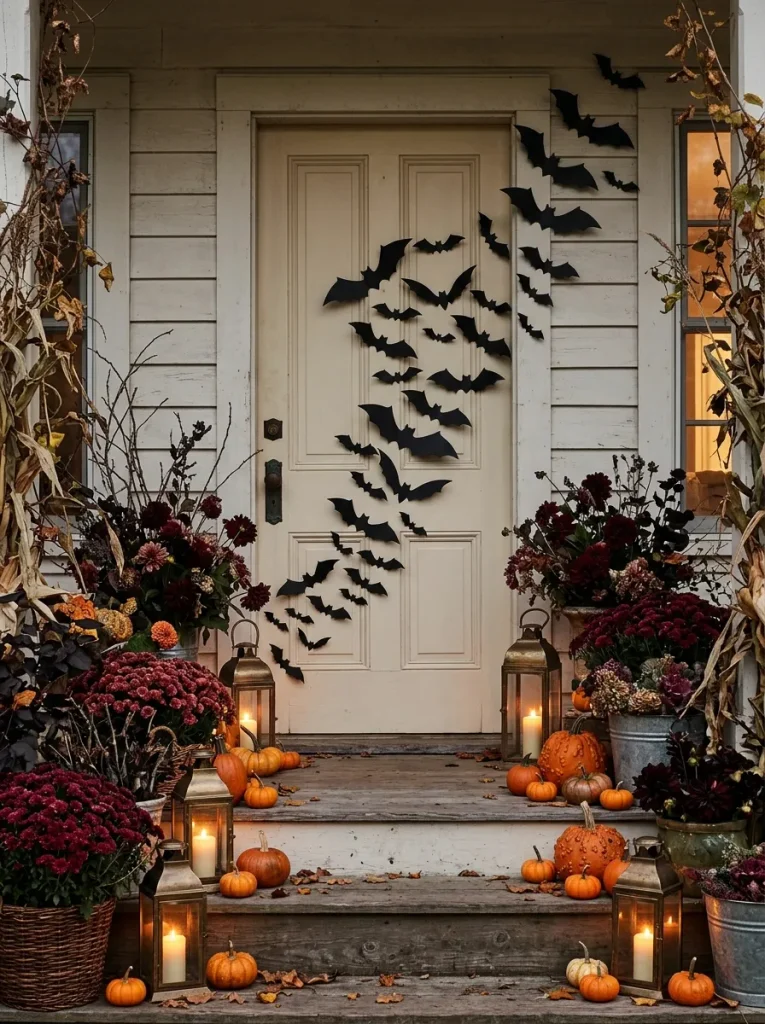
A creative bat display brings spooky movement and visual interest to your front door without requiring expensive decorations. Arranging different bat sizes in a flowing pattern creates an eye-catching effect while keeping the design lightweight and beginner-friendly.
Do This:
- Cut black bat silhouettes in three different sizes using reusable paper templates.
- Arrange the bats in a curved upward pattern along one side of the doorway.
- Use removable adhesive suitable for your door material to secure each bat.
- Leave small gaps between the silhouettes so every bat remains clearly visible.
Avoid This:
- Apply permanent glue or strong adhesive directly to painted door surfaces.
- Place bat decorations over locks, handles, peepholes, or door hinges.
- Use delicate paper decorations on entrances exposed to heavy rain.
- Crowd too many bats together until their individual shapes become difficult to recognize.
Begin with larger bats near the lower corner of your display and gradually introduce smaller silhouettes toward the top. This arrangement creates a natural sense of movement. Step back to check the overall shape before attaching everything permanently. For outdoor entrances, choose weather-resistant craft foam instead of ordinary cardstock.
8. Adding Charming Pumpkin Door Accents
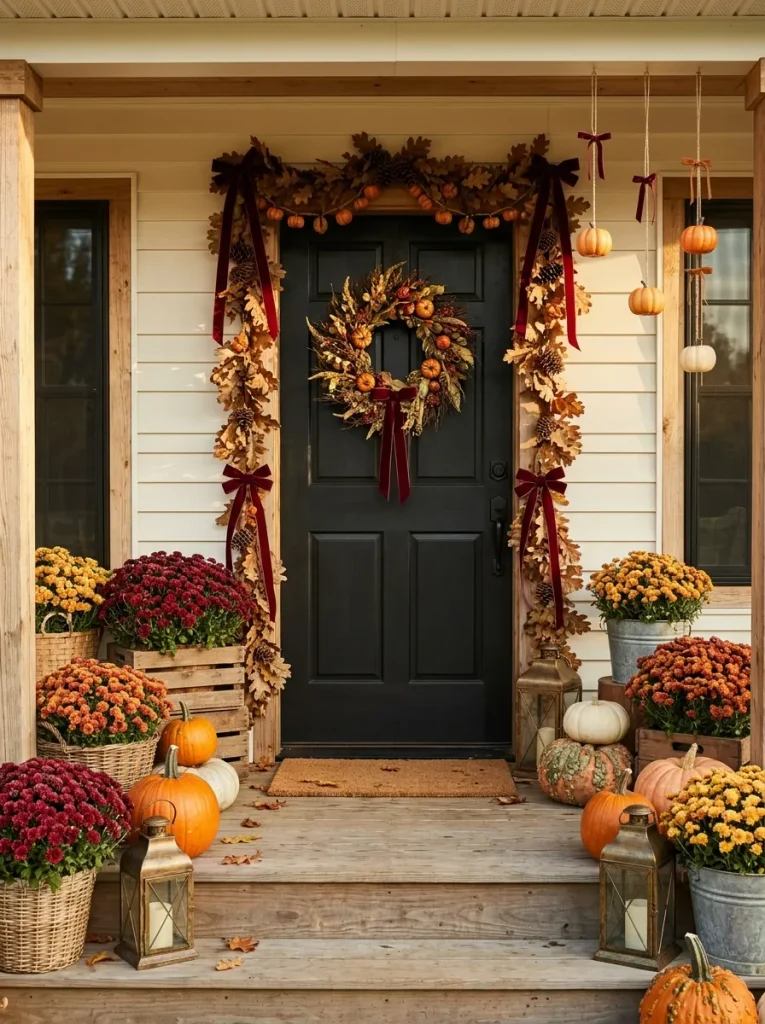
Pumpkin accents introduce classic Halloween charm while helping your front entrance feel cozy and inviting. Lightweight ornaments and coordinated autumn colors make these decorations easy to arrange around wreaths, signs, and doorframes.
Time Needed: Approximately 30 to 45 minutes for a small decorative arrangement.
Difficulty: Beginner-friendly, with simple hanging and styling techniques.
Tools Required: Lightweight artificial pumpkins, decorative ribbon, removable hooks, floral wire, and scissors.
Best For: Covered front porches, farmhouse entrances, and seasonal doorway displays.
Choose miniature artificial pumpkins in burnt orange, ivory, and muted peach. Attach lightweight ornaments to decorative ribbons or arrange them in small hanging clusters beside the doorway. Repeat your wreath’s colors for a coordinated appearance. Keep decorations clear of handles and hinges, and secure each piece against unexpected movement.
9. Decorating with Halloween Door Garlands
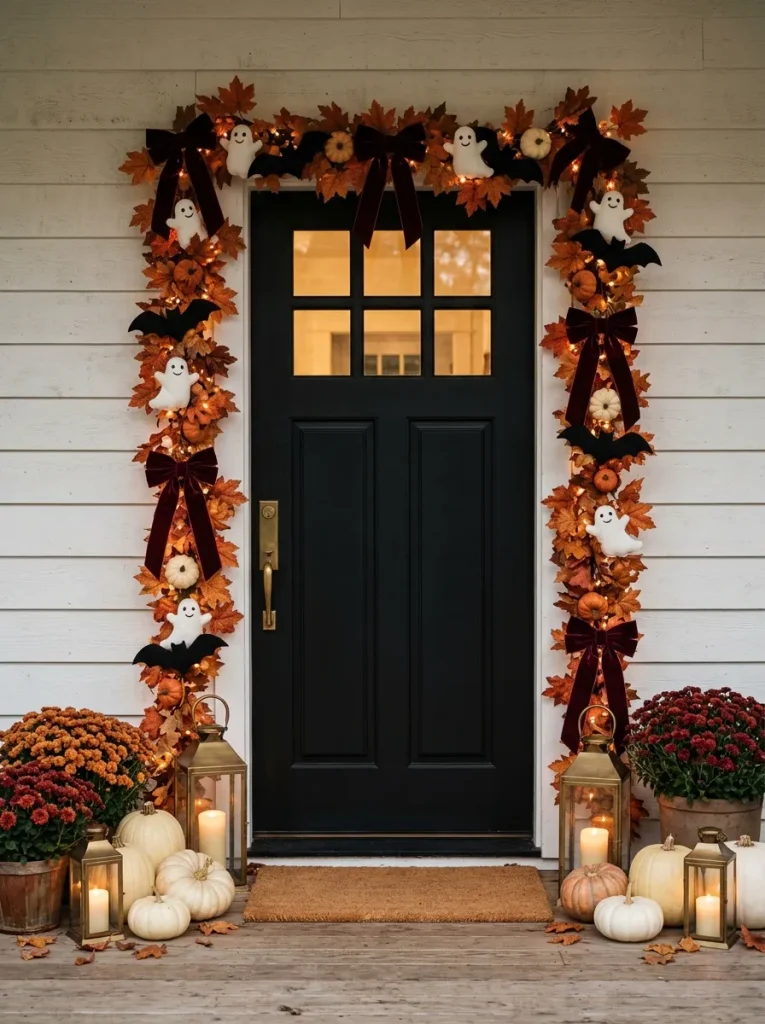
A decorative Halloween garland can frame your front entrance beautifully while connecting separate wreaths, pumpkins, and hanging ornaments into one coordinated display. Start with sturdy artificial greenery or cotton twine, then attach lightweight autumn leaves, miniature felt ghosts, and black bat silhouettes. Arrange the ornaments at regular intervals for balanced visual spacing.
Add burgundy velvet bows or small orange pumpkins between selected decorations to introduce warmth and texture. For doorframes, measure the available space before assembling the strand and allow extra length for securing both ends. Use suitable removable hooks and keep the garland away from moving door parts. The finished arrangement should frame the doorway without obstructing access.
10. Creating a Halloween Door Welcome Sign
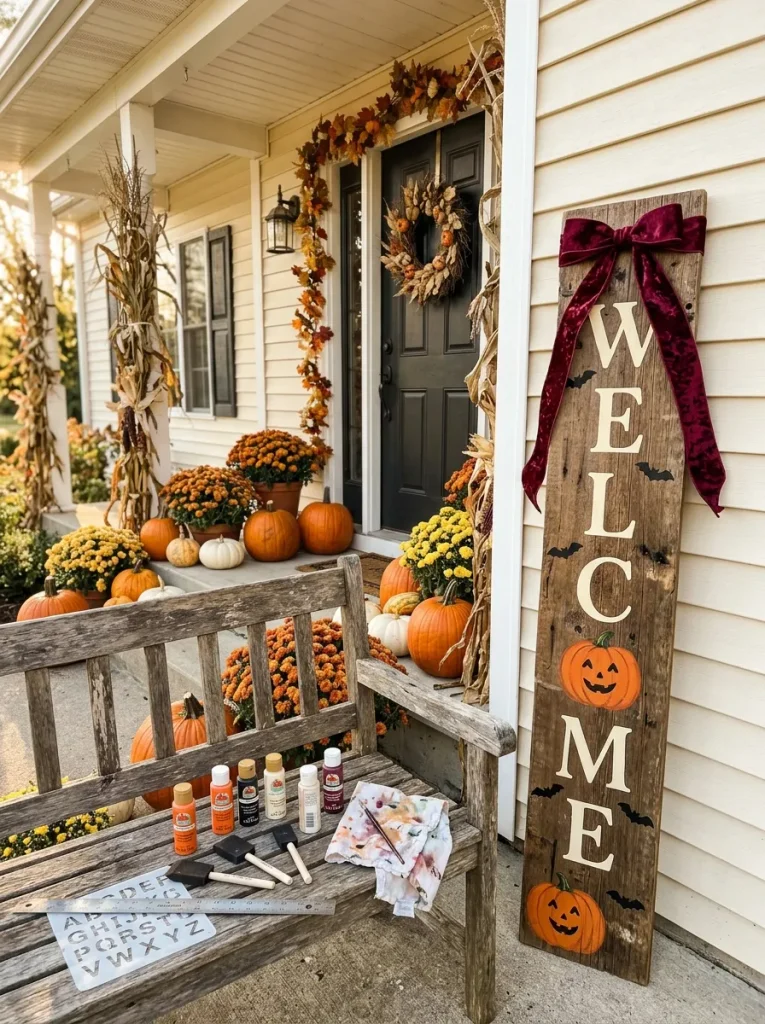
A handmade Halloween welcome sign adds personality to your front door while giving visitors a cheerful seasonal greeting. Wooden boards, reusable stencils, and simple painted decorations make this project suitable for beginners. Choose a design that matches your wreath and garlands so the entire entrance feels beautifully coordinated.
1. Choose your signboard: Select a lightweight wooden board or sturdy craft panel that fits comfortably beside your doorway.
2. Paint the background: Apply black, burnt orange, or cream acrylic paint in thin, even coats, allowing each layer to dry completely.
3. Add seasonal lettering: Use alphabet stencils to paint a short greeting such as “BOO” or “WELCOME” in a contrasting color.
4. Decorate the corners: Attach miniature bat silhouettes, painted pumpkins, or a burgundy ribbon bow without covering the main message.
5. Protect and display: Apply a compatible outdoor-rated sealant if needed, then hang the finished sign using hardware suitable for its weight and location.
11. Adding Magical Halloween Door Lighting
Quick Tip:
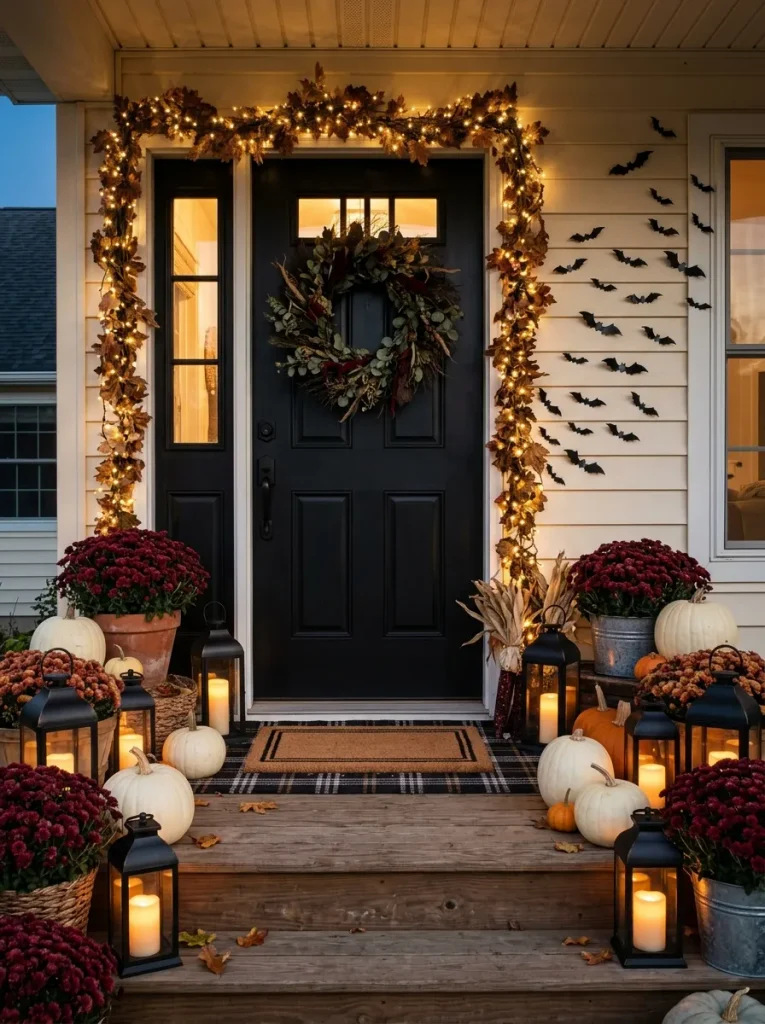
Use warm white LED lights to create a welcoming glow without overwhelming your Halloween decorations. Choose battery-operated products rated for outdoor use when placing lighting near exposed doorways. Keep battery compartments accessible and avoid positioning lights where cords or decorations could interfere with the door.
Thoughtful lighting highlights your Halloween door decor after sunset and brings depth to the entire entrance. Arrange flameless lanterns beside pumpkins and weave suitable LED fairy lights through a securely attached garland. Check that every light operates correctly, remains protected from moisture, and stays away from flammable decorative materials.
12. Hanging and Securing Door Decorations
Common Mistake:
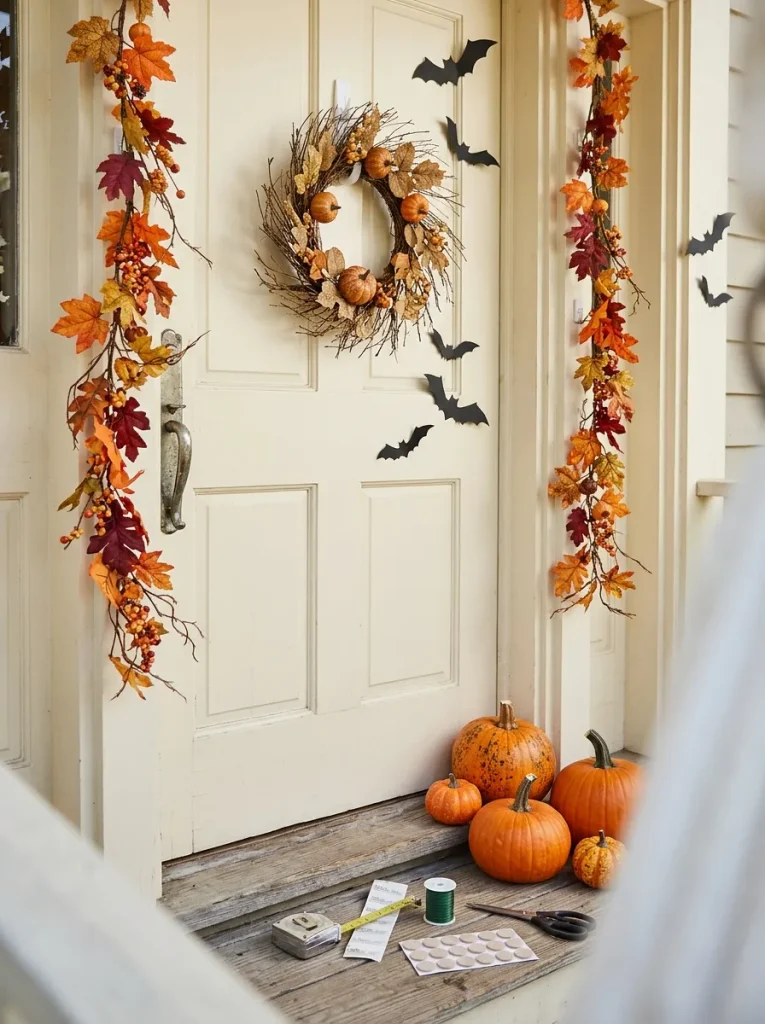
Attaching heavy wreaths, wooden signs, or garlands with unsuitable adhesive can cause decorations to fall or damage painted surfaces. Hanging accessories too close to hinges, locks, or door handles may also interfere with normal door movement.
The Fix:
Choose mounting hardware rated for each decoration’s weight and compatible with your door material. Use removable hooks only on approved surfaces, following the manufacturer’s installation instructions. Add protective felt pads behind hanging ornaments and secure larger decorations against unexpected movement.
A secure installation keeps your Halloween entrance attractive and practical throughout the season. Test each decoration gently before completing the display, and open the door fully to check for obstructions. Inspect hanging points after windy weather, especially if your decorations are exposed to rain or changing outdoor conditions.
13. Avoiding Common Halloween Door Mistakes
Common Mistake:
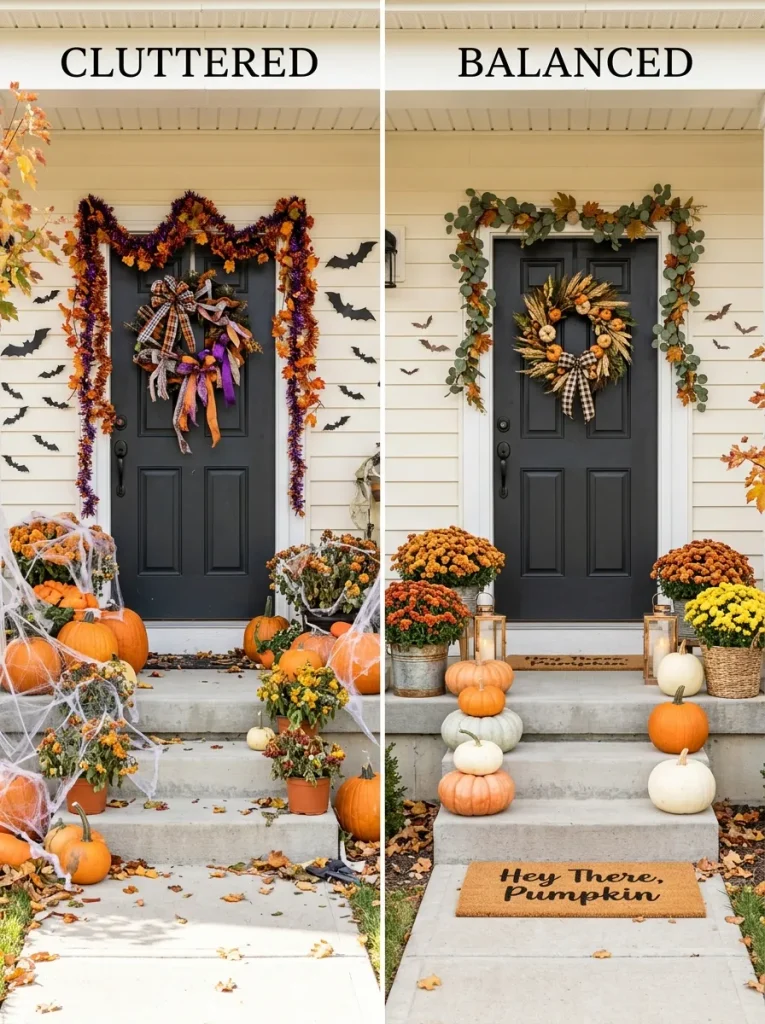
Overcrowding your front door with oversized wreaths, excessive garlands, and too many decorative ornaments can make the entrance feel cluttered. Mixing unrelated colors, using weak attachments, or positioning decorations near door handles may also create practical problems.
The Fix:
Choose one main decorative feature and arrange smaller accessories around it. Limit your color palette to two or three coordinating shades, secure each decoration with suitable hardware, and keep door fixtures unobstructed. Use weather-resistant materials for exposed areas and battery-operated LED lights for safe illumination.
A welcoming Halloween entrance should look attractive while remaining comfortable to use every day. Step back to examine the overall arrangement, checking that the main decorations remain visible. Remove unnecessary accessories, reinforce loose attachments, and open the door completely to confirm that nothing interferes with normal movement.
14. Styling Your Finished Spooky Entrance
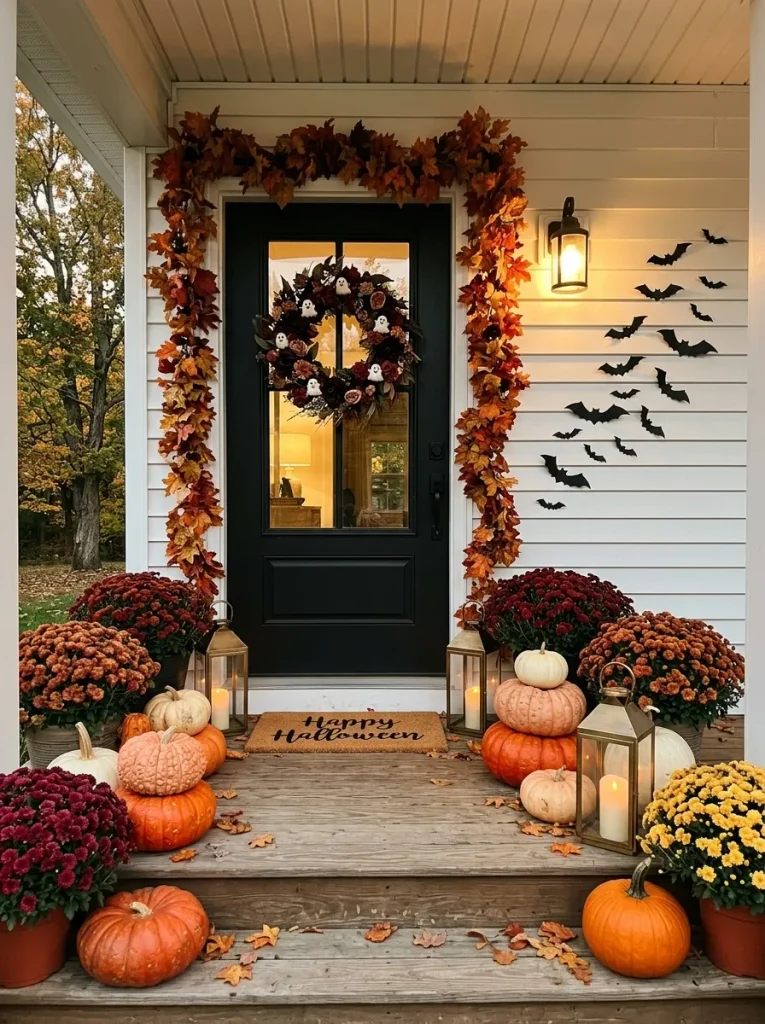
Your finished Halloween doorway becomes even more inviting when the surrounding porch decorations complement its colors and theme. A carefully arranged combination of pumpkins, flowers, lanterns, and seasonal accessories creates a complete festive display without making the entrance feel crowded.
Time Needed: Approximately 30 to 45 minutes for arranging and adjusting the final decorations.
Difficulty: Beginner-friendly, with simple placement and styling techniques.
Tools Required: Decorative pumpkins, outdoor-rated LED lanterns, autumn flowers, seasonal doormat, and coordinating accessories.
Best For: Front porches, covered entryways, farmhouse entrances, and Halloween party welcomes.
Begin by positioning pumpkins in different sizes beside the doorway, then add autumn flower pots for natural color and texture. Place flameless lanterns near the arrangement and choose a doormat that complements your decorations. Keep walking paths clear, repeat your main accent colors, and adjust the display until everything feels balanced.
CONCLUSION
A welcoming Halloween entrance doesn’t need an expensive makeover. With a coordinated color palette, handmade wreath, playful cutouts, and gentle LED lighting, you can turn a plain doorway into a festive focal point. You’ll also know how to hang decorations securely and keep the walkway clear.
I’ve noticed that choosing one standout feature can completely change how balanced a display feels. Save this Halloween door decor guide on Pinterest for future inspiration, try the tips with materials you already own, and share it with a friend planning a spooky porch. Choose your favorite detail and start decorating your door today!