Stunning Halloween Wreath Ideas for a Spooky Entryway
Want a spooky front door that feels stylish without costing a fortune? These Halloween wreath ideas help you turn a plain entryway into a festive welcome using affordable supplies and simple steps.
Choosing the right size, colors, and decorations can be surprisingly tricky. I’ve noticed that a wreath with one clear focal point often looks better than one packed with ornaments, especially on a narrow door.
This guide shows you how to prepare a wreath base, create bat, pumpkin, gothic rose, or friendly ghost designs, and hang your finished piece securely. You’ll also learn how to pair it with lanterns and seasonal flowers for a balanced, eye-catching entrance.
1. Choosing Your Spooky Halloween Wreath Style
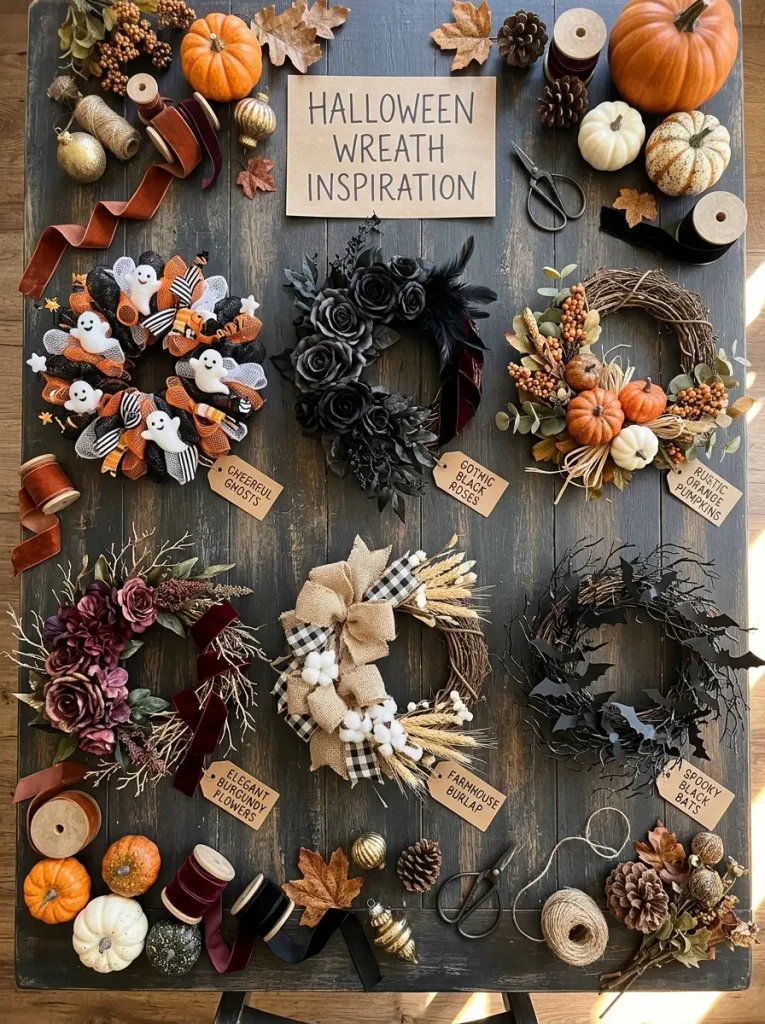
Your Halloween wreath sets the mood for your entire entryway, making style selection the perfect starting point. From cheerful pumpkins and smiling ghosts to mysterious black bats and gothic roses, different designs create different impressions. Consider your front door color, existing porch decorations, and the atmosphere you want visitors to experience.
For a farmhouse entrance, choose grapevine branches, burlap ribbons, and muted autumn foliage. Modern black doors look striking with ivory flowers and burgundy accents, while gothic designs suit dark roses and velvet bows. Among the many Halloween wreath ideas, choosing one consistent theme helps prevent unnecessary purchases and mismatched decorations.
2. Finding the Perfect Wreath Size and Placement
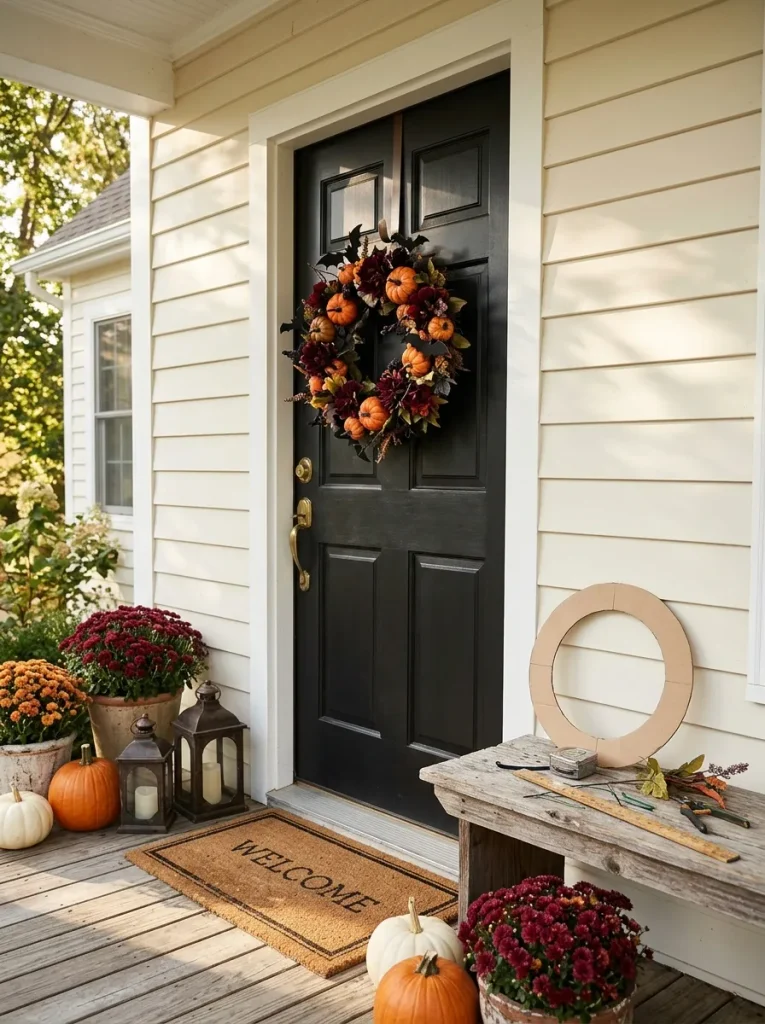
The right wreath size creates a balanced front door display without interfering with everyday use. A decoration that is too small may appear lost, while an oversized arrangement can block handles or nearby fixtures. Measuring first helps you choose suitable materials and avoid expensive mistakes.
1. Measure your front door: Record its width and height using a measuring tape before selecting a wreath base.
2. Choose a suitable diameter: For a standard 36-inch-wide door, consider a finished wreath approximately 18 to 24 inches across.
3. Account for decorative accents: Include the extra width and depth of flowers, ribbons, bats, and miniature pumpkins in your measurements.
4. Check door fixtures: Position the wreath where it will not cover the lock, handle, peephole, or house number.
5. Test the placement: Hold a cardboard circle against the door to visualize the size, then check that the door opens freely.
Also Discover: Beautiful Halloween Wreath Ideas for a Welcoming Door
3. Gathering Affordable Halloween Wreath Supplies
Quick Tip:
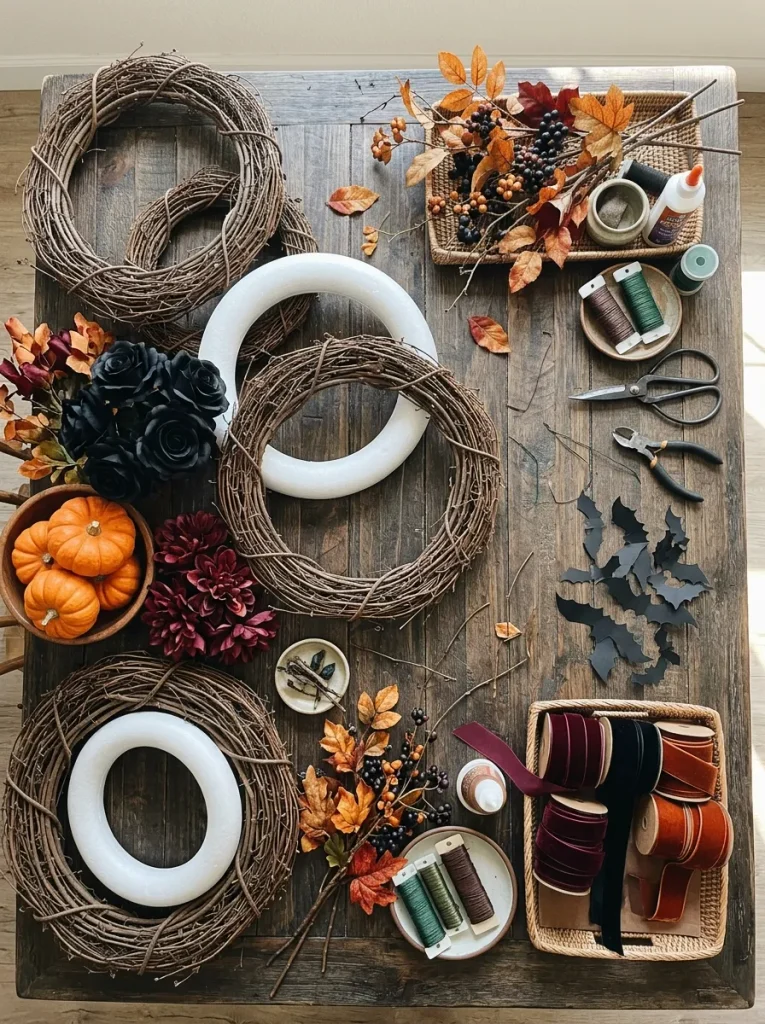
Check your existing seasonal decorations before purchasing new materials. Leftover artificial flowers, ribbon scraps, and an old grapevine wreath can often be reused with a few fresh Halloween accents. Choose lightweight ornaments and sturdy attachments to keep your finished decoration affordable and secure.
Start with a grapevine, foam, or wire wreath base that suits your chosen design. Gather artificial flowers, miniature pumpkins, black ribbons, seasonal greenery, floral wire, and suitable craft adhesive. Keep scissors and wire cutters nearby for trimming materials. Prioritize weather-resistant accessories if your wreath will hang on an exposed entrance.
4. Selecting Dramatic Halloween Wreath Colors
Common Mistake:
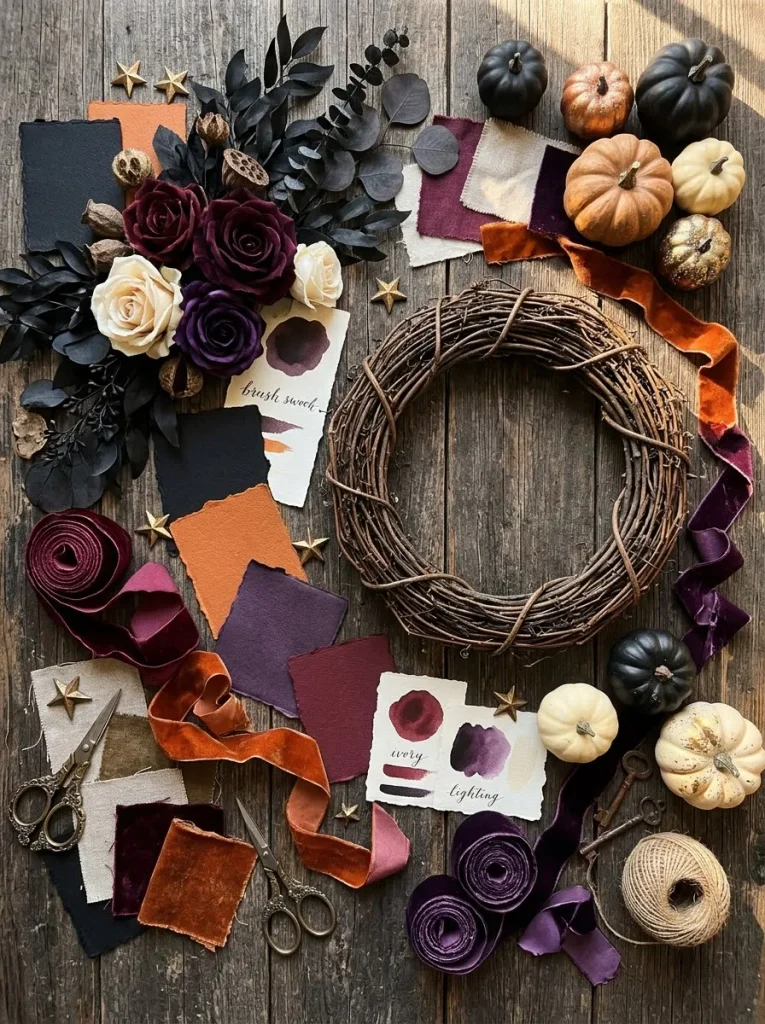
Combining too many bold colors can make a spooky Halloween wreath appear cluttered rather than dramatic. Mixing neon green, bright orange, purple, red, and several metallic shades often creates visual confusion and distracts from the wreath’s main decorative elements.
The Fix:
Choose two dominant colors and one accent shade before purchasing materials. Combine black, burgundy, and antique gold for an elegant gothic appearance, or use orange, ivory, and charcoal for a traditional Halloween design. Repeat these colors consistently through flowers, pumpkins, ribbons, and foliage.
Your front door color also influences how the finished wreath appears. Ivory flowers stand out against dark doors, while burgundy roses and black accents look striking against cream entrances. Arrange your materials together before attaching anything, checking that the colors complement one another and create a balanced seasonal design.
5. Preparing Your Halloween Wreath Base
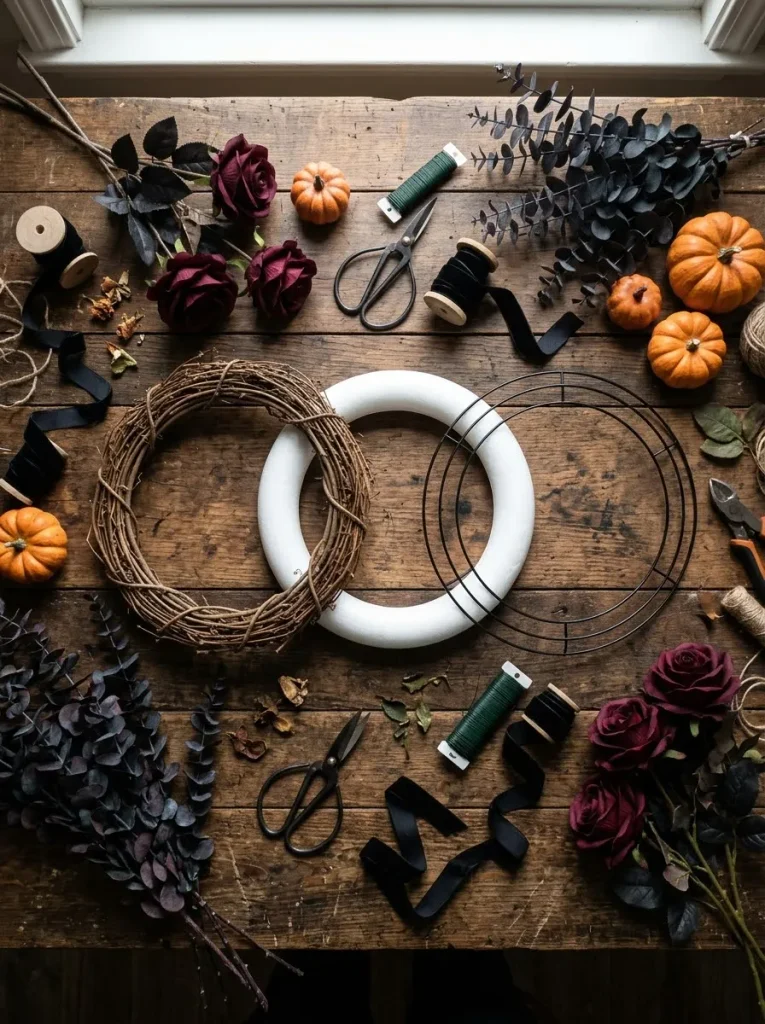
What You Need:
- Wreath base: Choose a sturdy grapevine, foam, or wire frame that supports your preferred decorative style.
- Soft cleaning brush: Remove dust, loose branches, and debris from the wreath base before decorating.
- Floral wire: Secure artificial flowers, greenery, and lightweight ornaments without relying entirely on glue.
- Wire cutters: Trim artificial stems and floral wire to manageable lengths for easier attachment.
- Decorative ribbon: Cover exposed sections of foam or wire bases when your design requires a finished background.
- Protective craft mat: Keep your work surface safe from scratches, adhesive spills, and sharp wire ends.
A properly prepared wreath base makes decorating easier and helps your finished arrangement remain secure. Inspect the frame for cracks, loose branches, or sharp edges before starting. Lay your largest decorations around the base without attaching them to test their placement. Secure these pieces first, then fill gaps with smaller accessories.
6. Creating a Spooky Black Bat Wreath
Before:
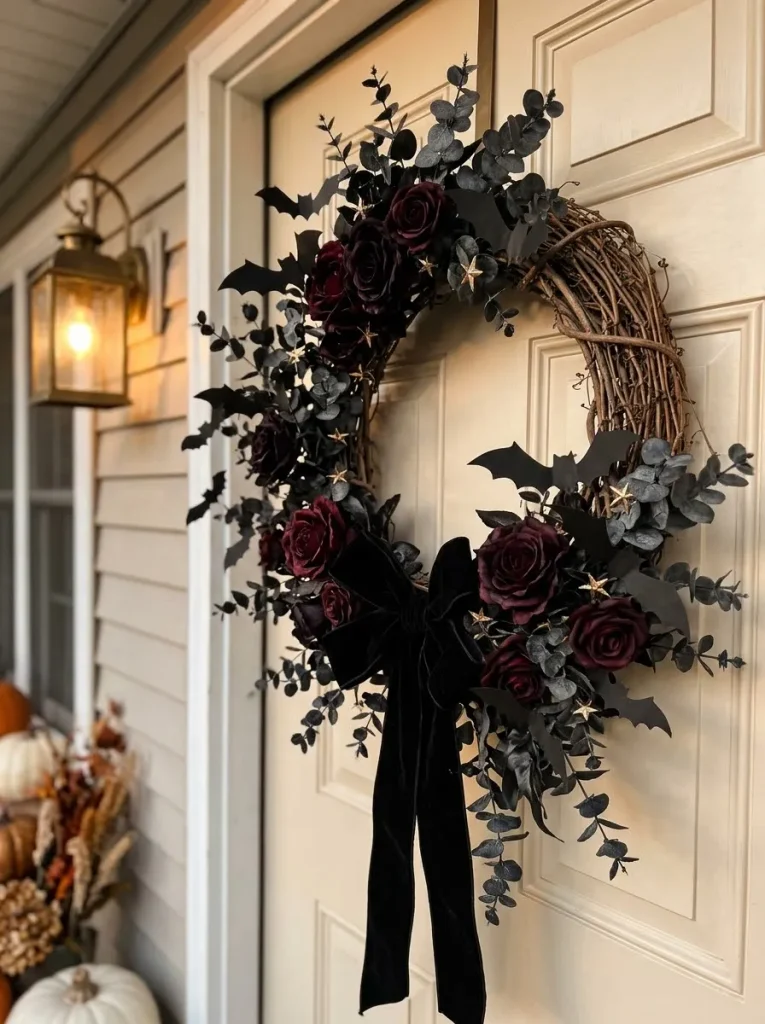
A plain grapevine wreath may feel too simple for a dramatic Halloween entryway, especially without recognizable spooky decorations. Randomly attaching black bats and dark foliage can also create uneven spacing, making the finished arrangement look unbalanced.
After:
A coordinated bat wreath creates a mysterious seasonal focal point with layered black silhouettes and rich burgundy accents. Different bat sizes add visual interest, while charcoal greenery and a velvet bow give the finished design a polished gothic appearance.
Begin by attaching dark artificial foliage around the grapevine base using floral wire. Cut several bat silhouettes from sturdy black craft foam and arrange them in groups of different sizes. Secure each shape firmly, then add burgundy flowers for contrast. Finish with a velvet bow and check the wreath’s balance.
7. Making a Charming Pumpkin Halloween Wreath
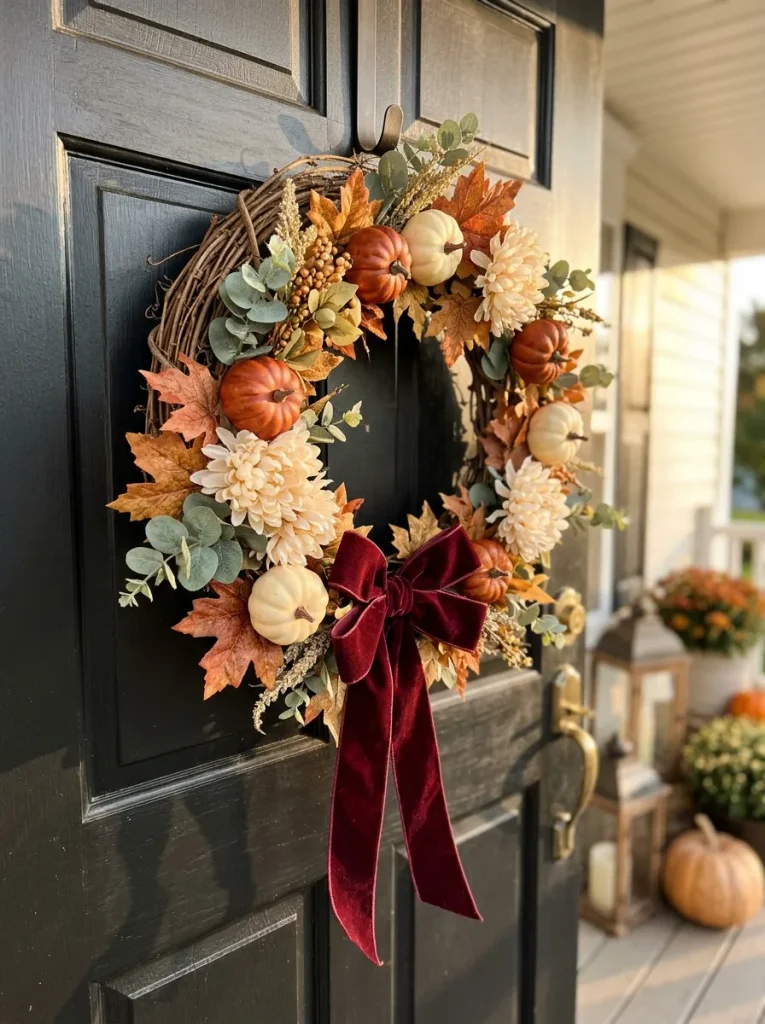
A pumpkin wreath brings warm autumn colors to your entryway while maintaining a festive Halloween atmosphere. Combining miniature pumpkins, seasonal greenery, and decorative ribbons creates a charming arrangement that complements both modern and farmhouse front doors.
Do This:
- Choose three to five lightweight artificial pumpkins in coordinating orange and ivory shades.
- Arrange the pumpkins in small clusters around a sturdy grapevine wreath base.
- Secure each pumpkin with floral wire or adhesive suitable for the materials and outdoor conditions.
- Fill empty spaces with artificial maple leaves, eucalyptus sprigs, and a decorative velvet bow.
Avoid This:
- Use heavy pumpkins that could pull the wreath forward or damage the hanging hook.
- Position every pumpkin on one side without balancing the overall weight.
- Overcrowd the wreath with excessive flowers, ribbons, and ornaments.
- Choose delicate decorations that may deteriorate quickly in outdoor weather.
A charming pumpkin arrangement looks best when some natural grapevine branches remain visible. Position your largest pumpkin slightly off-center, then surround it with smaller accents. Add cream flowers to soften the orange tones. Before hanging, lift the wreath upright and adjust any pieces that appear uneven or loose.
8. Designing a Mysterious Gothic Rose Wreath
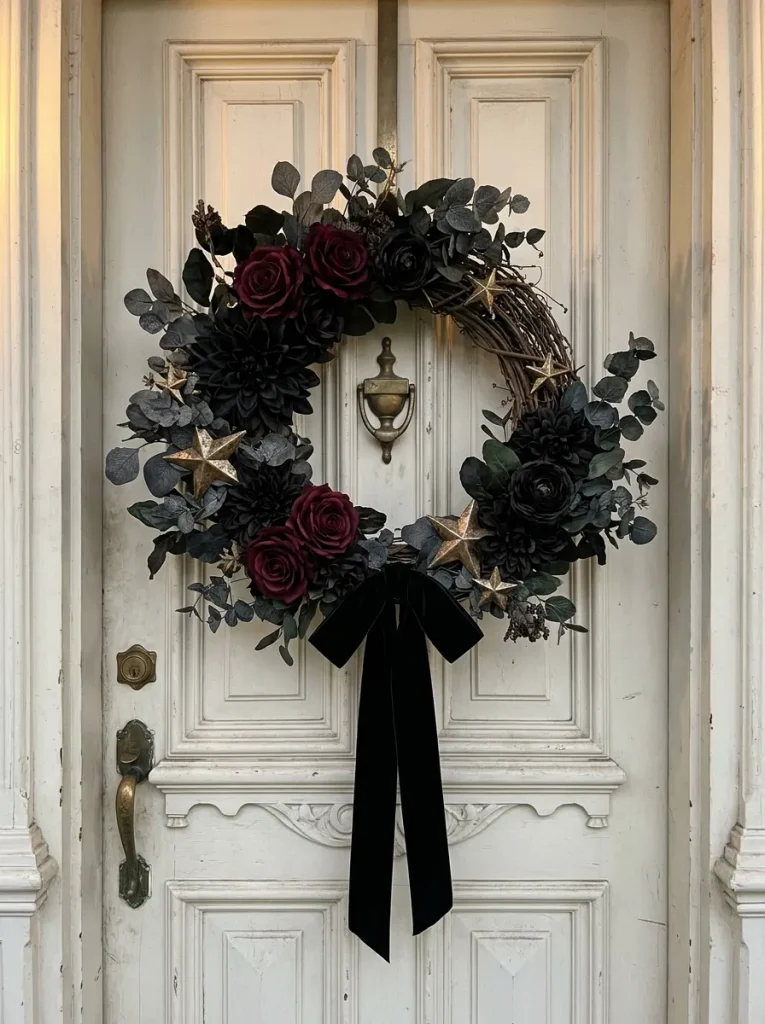
A gothic rose wreath creates a mysterious, sophisticated Halloween entrance without relying on oversized or frightening decorations. Rich floral colors, dark greenery, and luxurious ribbons give this design a dramatic seasonal appearance.
Time Needed: Approximately 60 to 90 minutes, depending on the floral arrangement.
Difficulty: Beginner-friendly, requiring basic flower placement and attachment skills.
Tools Required: Grapevine wreath base, black and burgundy artificial roses, dark foliage, floral wire, wire cutters, and velvet ribbon.
Best For: Gothic entrances, elegant Halloween displays, and covered front porches.
Begin by positioning burgundy roses around one side of the wreath, allowing their rich color to become the focal point. Add black flowers and charcoal greenery between the larger blooms for depth. Secure each stem with floral wire, then finish with antique gold accents and a velvet bow.
9. Crafting a Playful Ghost Halloween Wreath
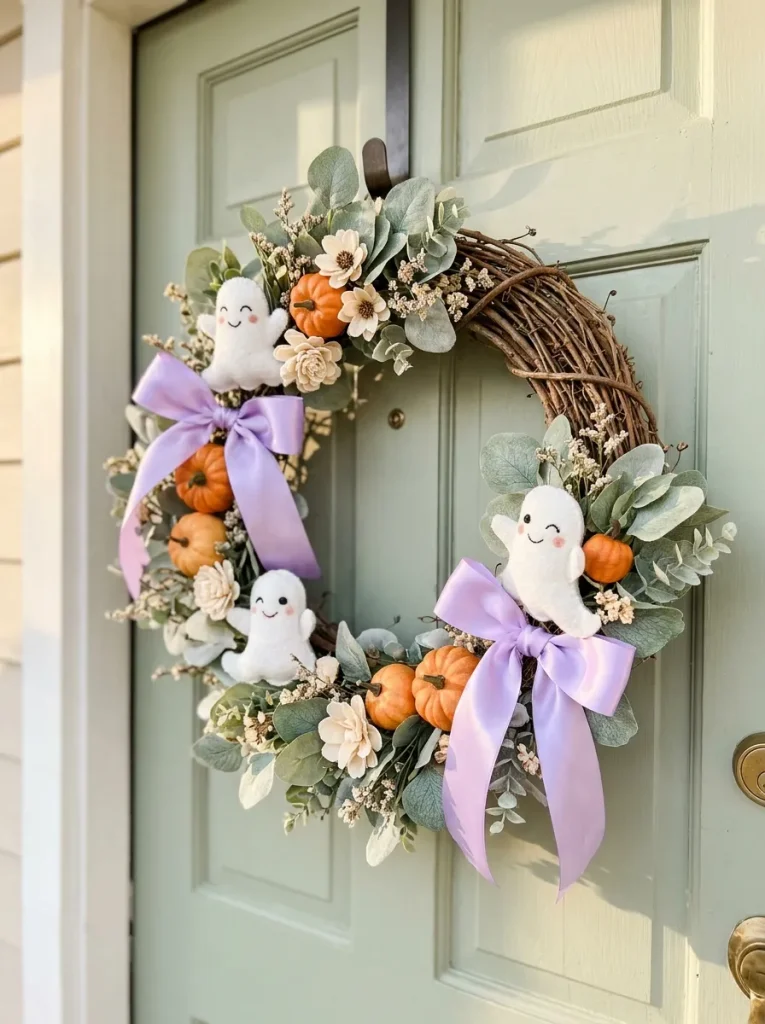
A friendly ghost wreath adds playful seasonal charm to your front door without making the entrance feel frightening. Start by drawing a simple ghost template on paper, then trace five or six matching shapes onto sturdy white felt. Cut each piece carefully and add small black eyes and smiling mouths.
Arrange the ghosts evenly around a grapevine base, leaving space for miniature pumpkins and soft lavender bows. Secure the shapes using suitable craft adhesive or floral wire attached through their backing. I’ve noticed that repeating one ribbon color helps playful decorations feel coordinated. Display felt designs on a sheltered door to protect them from moisture.
10. Adding Spooky Halloween Wreath Details
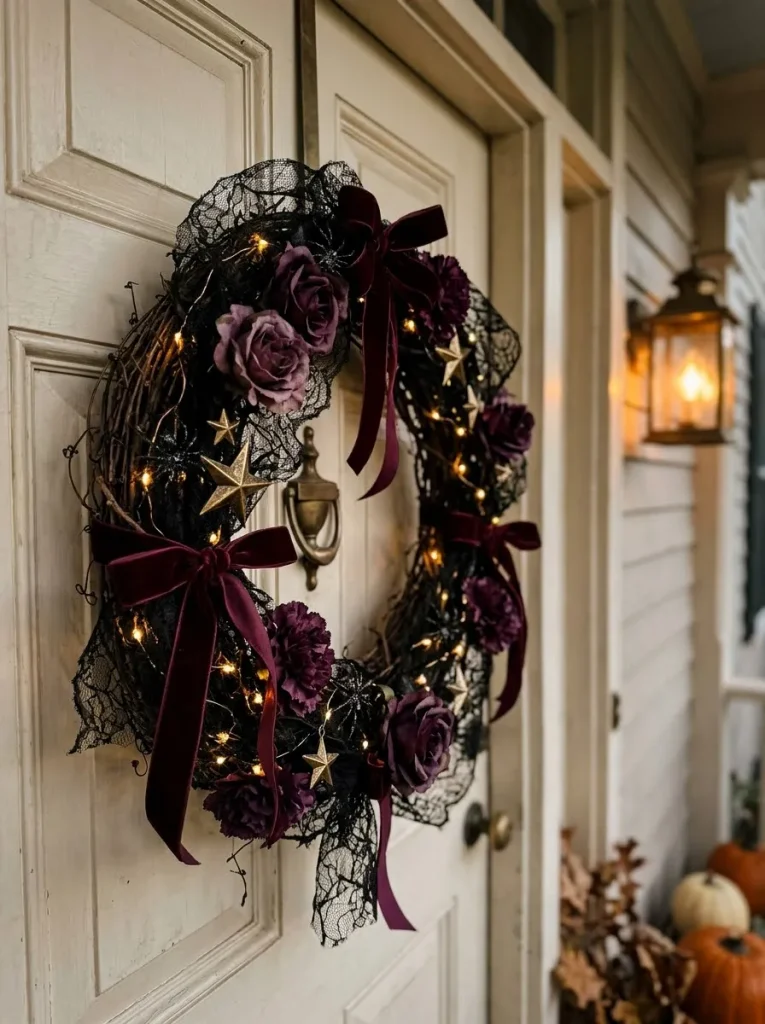
Small decorative accents can transform a simple Halloween wreath into a striking seasonal centerpiece. The secret is choosing details that complement your existing design without making it look overcrowded. Black lace, miniature spiders, velvet ribbons, and warm lighting add depth, texture, and a mysterious atmosphere to your entryway.
1. Add miniature spiders: Attach two or three lightweight decorative spiders near the flowers or foliage to create a playful spooky effect.
2. Incorporate black lace: Wrap a narrow strip of lace around selected sections of the wreath base, securing it discreetly with floral wire.
3. Attach decorative stars: Position small antique gold or silver stars between darker ornaments for subtle contrast.
4. Create a velvet bow: Tie a wide burgundy or black velvet ribbon and secure it near the bottom or side of the wreath.
5. Introduce gentle lighting: Weave outdoor-rated battery-operated LED fairy lights loosely through the greenery, keeping the battery compartment accessible and protected from moisture.
11. Hanging and Protecting Your Halloween Wreath
Quick Tip:
Weigh your completed wreath before selecting a hook or over-the-door hanger. Choose hardware rated for its weight and compatible with your door material. If your entrance receives direct rain or strong sunlight, use outdoor-rated decorations and move delicate felt or paper ornaments to a sheltered location.
A secure hanging method protects your front door and keeps decorations stable throughout October. Position the wreath where it does not cover handles, locks, or peepholes. Add soft protective pads behind the frame to prevent scratches. Check the hanger and decorative attachments regularly, particularly after windy weather.
12. Avoiding Common Halloween Wreath Mistakes
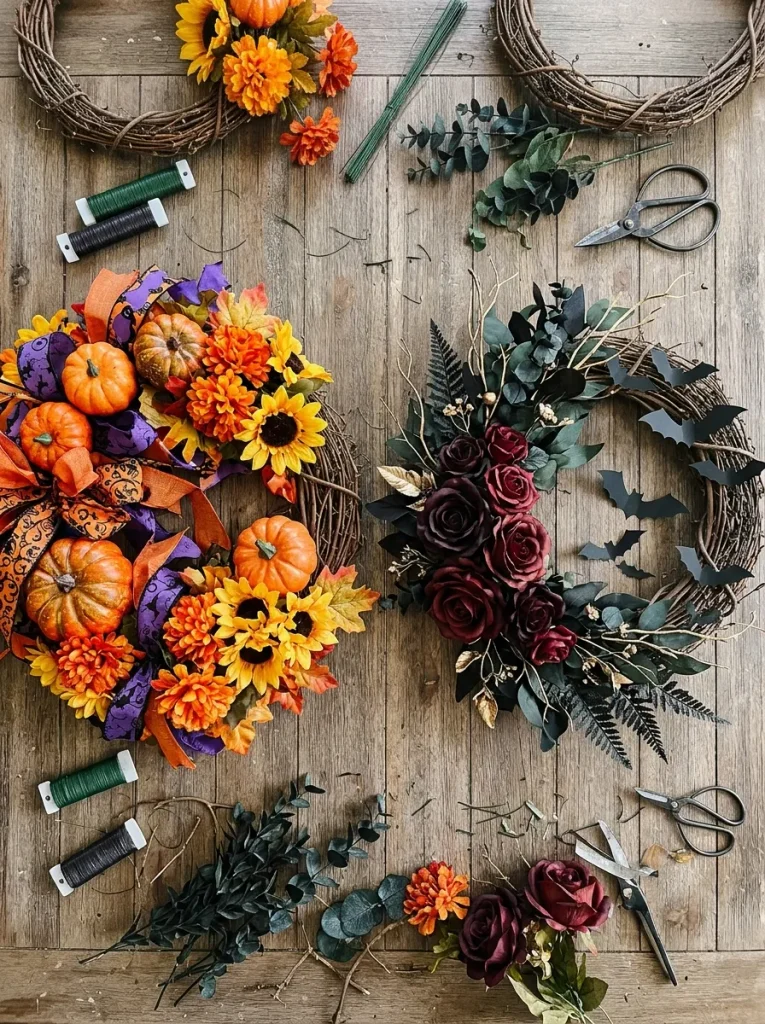
Common Mistake:
Adding too many oversized pumpkins, flowers, ribbons, and spooky ornaments can make a wreath appear cluttered and poorly balanced. Weak attachments may also cause decorations to fall when the door moves, while unsuitable materials can quickly deteriorate in rain or strong sunlight.
The Fix:
Choose one main focal point and arrange smaller decorations around it, leaving some of the wreath base visible. Secure heavier ornaments with floral wire and use weather-resistant materials for exposed entrances. Maintain a coordinated color palette and check that the wreath hangs evenly.
A thoughtfully arranged wreath should look attractive from several feet away while remaining secure during everyday use. Before hanging, hold it upright and inspect the spacing, weight distribution, and attachments. Remove unnecessary accessories, reinforce loose pieces, and replace delicate decorations that cannot withstand your entrance’s weather conditions.
13. Styling Your Finished Spooky Entryway
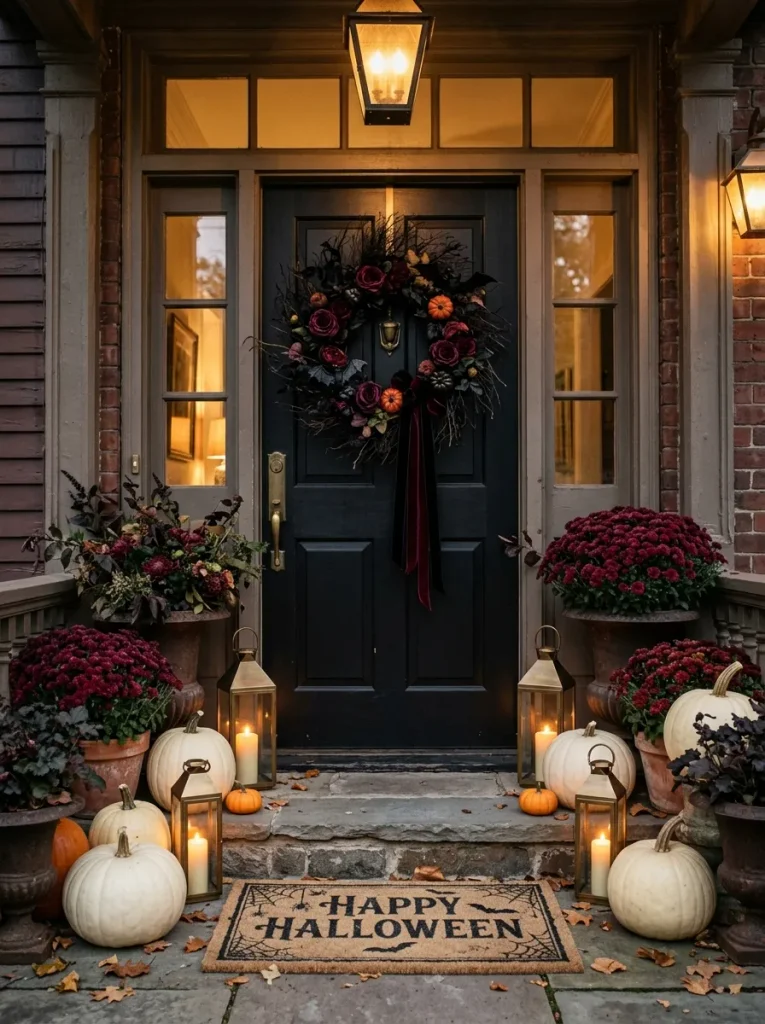
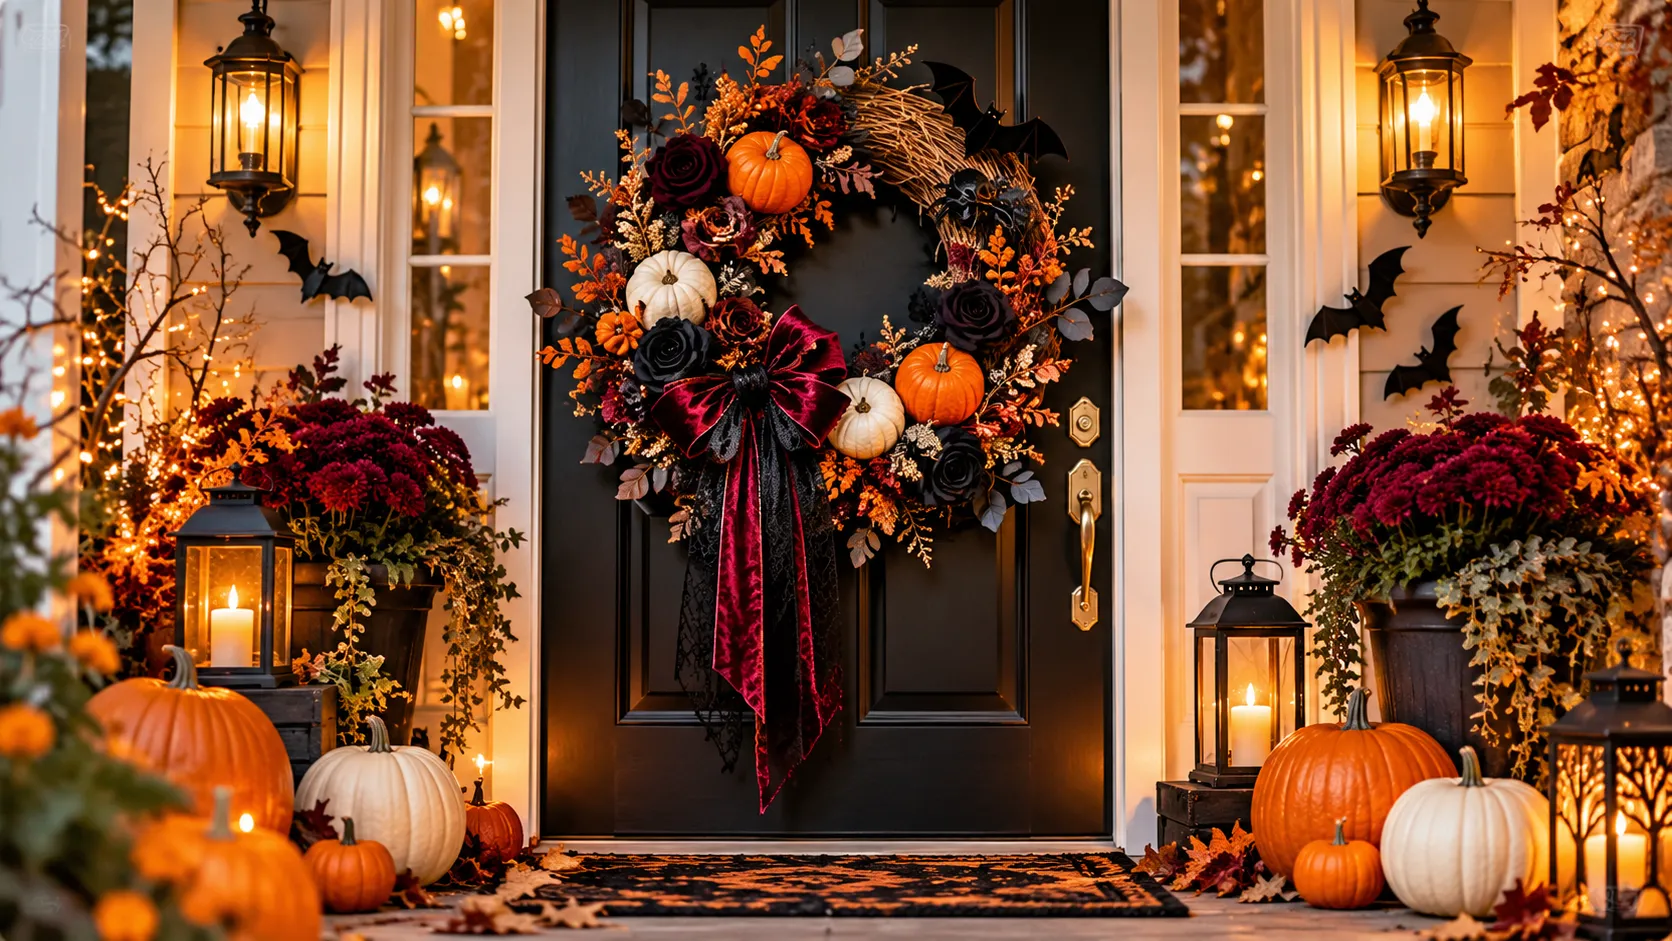
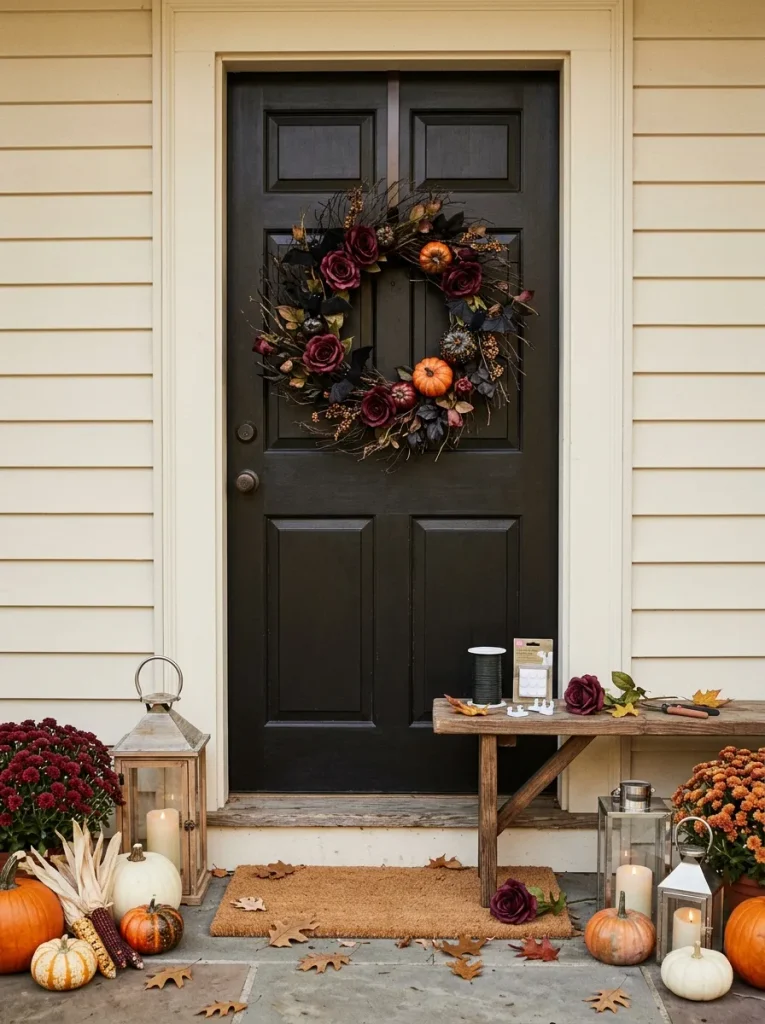
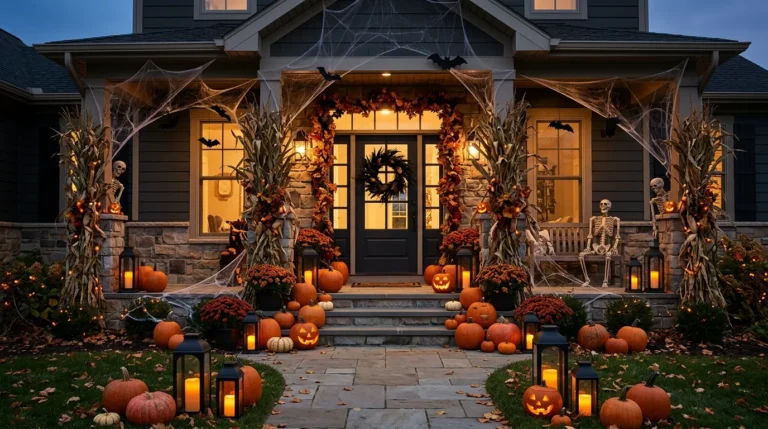
Your finished Halloween wreath deserves an entryway that highlights its spooky details without overwhelming the surrounding space. A coordinated arrangement of pumpkins, lanterns, autumn flowers, and seasonal accessories can transform an ordinary front porch into a memorable Halloween welcome for guests and trick-or-treaters.
Do This:
- Position your finished wreath at eye level, making it the main focal point of your front door.
- Arrange orange, ivory, and black pumpkins in different sizes beside the entrance for visual balance.
- Add burgundy chrysanthemums or dark artificial flowers in decorative planters that complement your wreath’s colors.
- Place battery-operated LED lanterns beside a seasonal doormat to create a warm, mysterious evening atmosphere.
Avoid This:
- Crowd the doorway with oversized pumpkins, decorations, or furniture that restrict comfortable movement.
- Mix too many unrelated Halloween themes or competing colors that distract from your wreath.
- Place real candles near dried foliage, ribbons, artificial flowers, or other flammable materials.
- Block door handles, steps, walkways, or frequently used entrance fixtures with decorative accessories.
A beautifully styled spooky entryway combines dramatic Halloween details with a welcoming atmosphere. Step back and examine the arrangement from the sidewalk, adjusting pumpkins, lanterns, and flowers until everything feels balanced. Keep your wreath clearly visible and repeat its main colors throughout the display for a polished seasonal finish.
CONCLUSION
A memorable Halloween entrance starts with a few thoughtful details, not an expensive shopping trip. You now know how to choose a wreath base, coordinate colors, build playful or gothic designs, and hang your creation securely. Add pumpkins and lanterns to complete the look.
I’ve noticed that leaving some of the wreath base visible can make the whole arrangement feel more balanced. Save these Halloween wreath ideas on Pinterest for next season, try your favorite design using supplies you already have, and share the guide with someone decorating their first front door. Pick a theme, gather your materials, and start creating!
One Comment