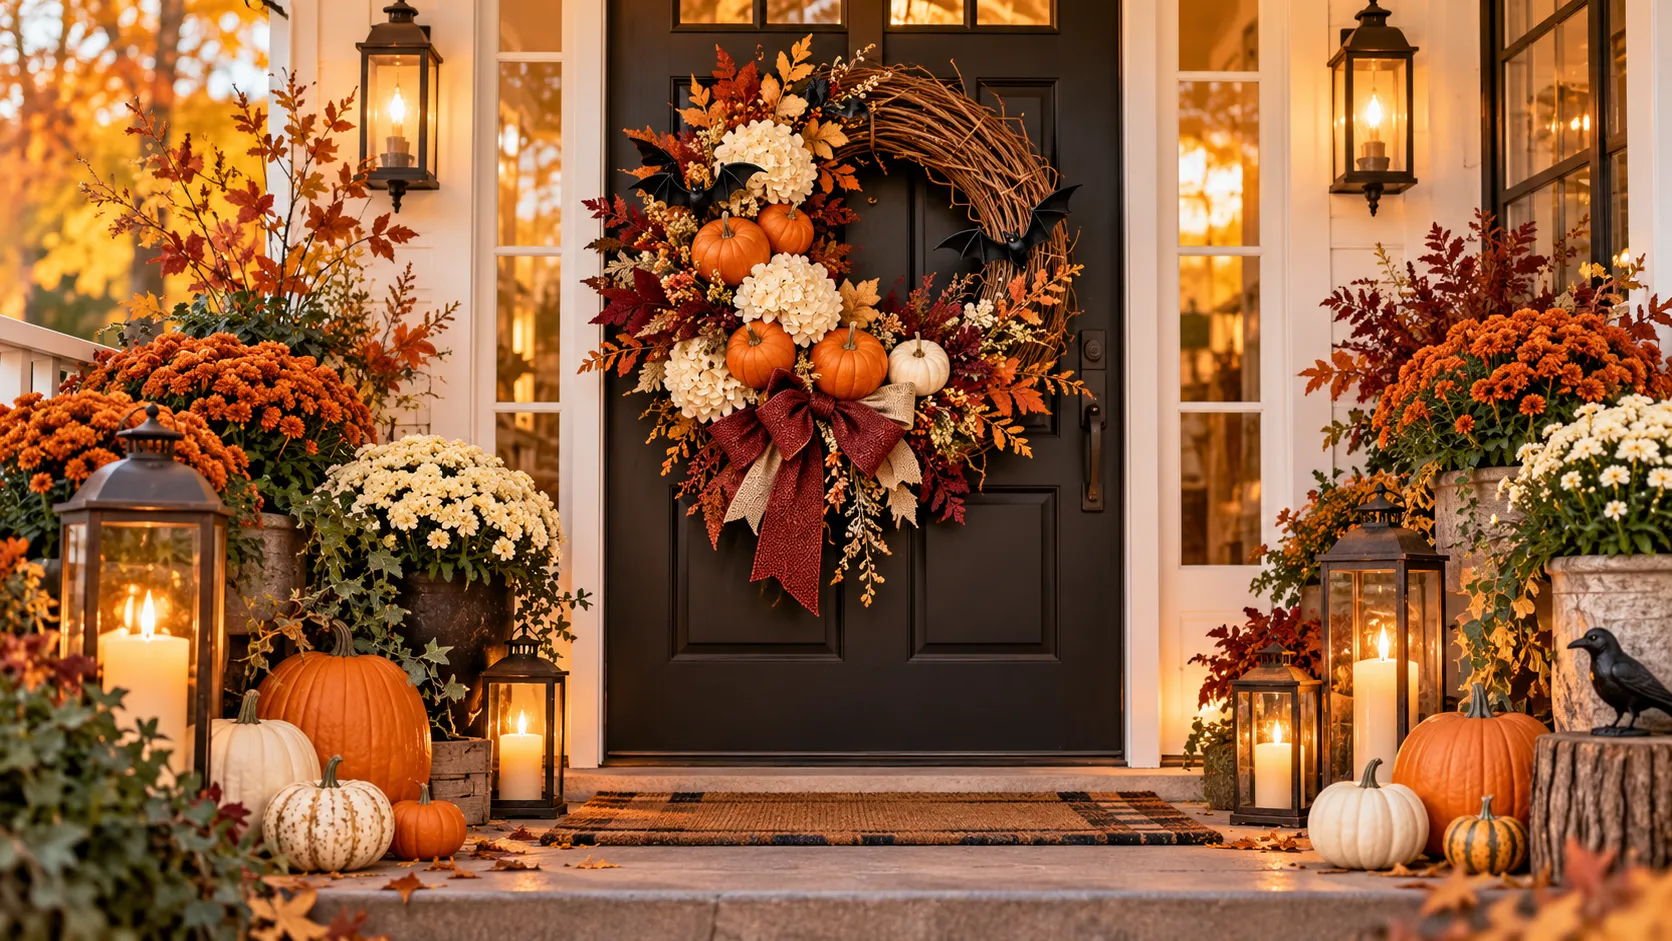
Beautiful Halloween Wreath Ideas for a Welcoming Door
Want a festive front door that feels welcoming without spending too much? A handmade Halloween wreath can add seasonal charm using simple materials, even if you are new to DIY decorating.
Choosing a wreath size, matching colors to your door, and securing decorations can feel confusing at first. I’ve noticed that a few well-placed pumpkins or flowers often look more polished than a crowded arrangement, especially on smaller entrances.
This guide walks you through choosing a style, preparing a wreath base, making ghost, bat, pumpkin, or farmhouse designs, and hanging your creation safely. By the end, you’ll have a practical plan for creating a beautiful doorway display that fits your budget and personal style.
1. Choosing Your Halloween Wreath Style
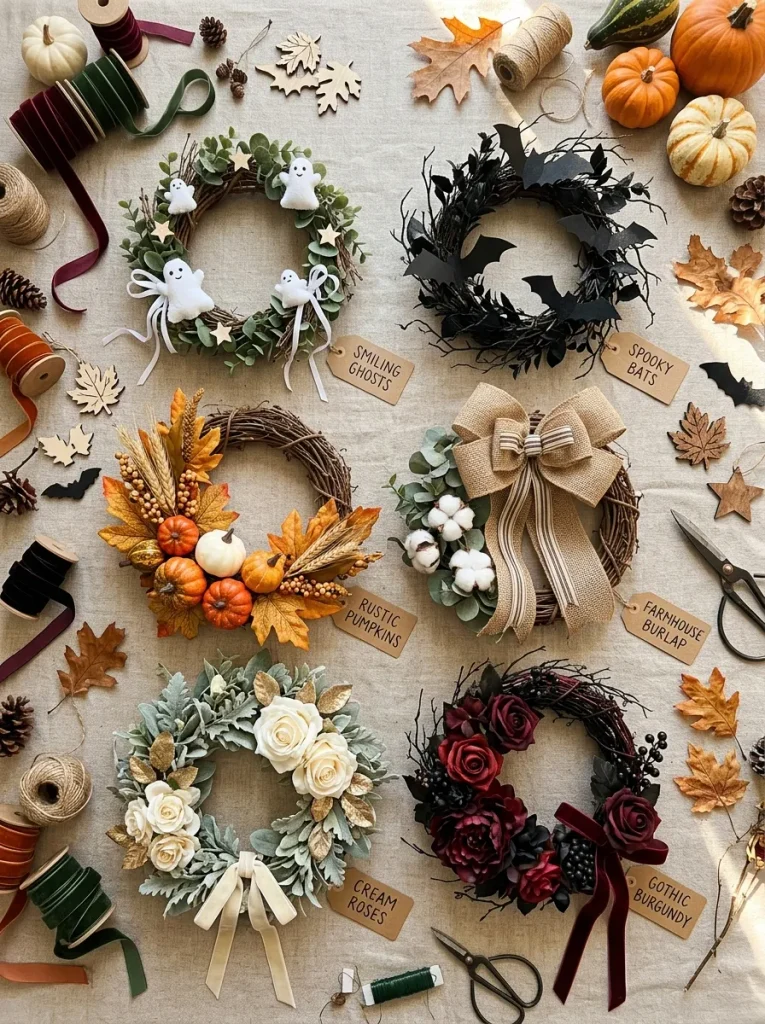
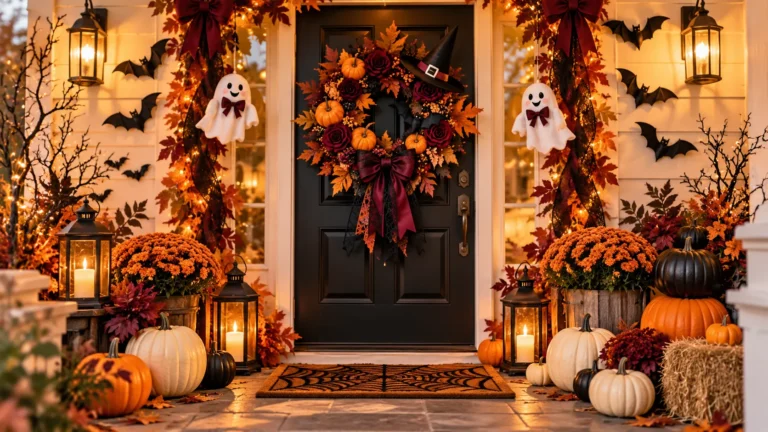
Your Halloween wreath creates the first impression of your seasonal decorations, so choosing a style that complements your front door is an important starting point. Cute ghost designs and cheerful pumpkins suit family-friendly homes, while black bats, dark foliage, and burgundy flowers create a mysterious gothic atmosphere.
For rustic farmhouse entrances, combine grapevine branches, burlap ribbons, and muted orange pumpkins. Elegant designs look beautiful with ivory flowers, velvet bows, and subtle gold accents. I’ve noticed that limiting decorations to one clear theme helps the wreath feel coordinated rather than crowded. Consider your door color before selecting materials.
2. Finding the Perfect Wreath Size
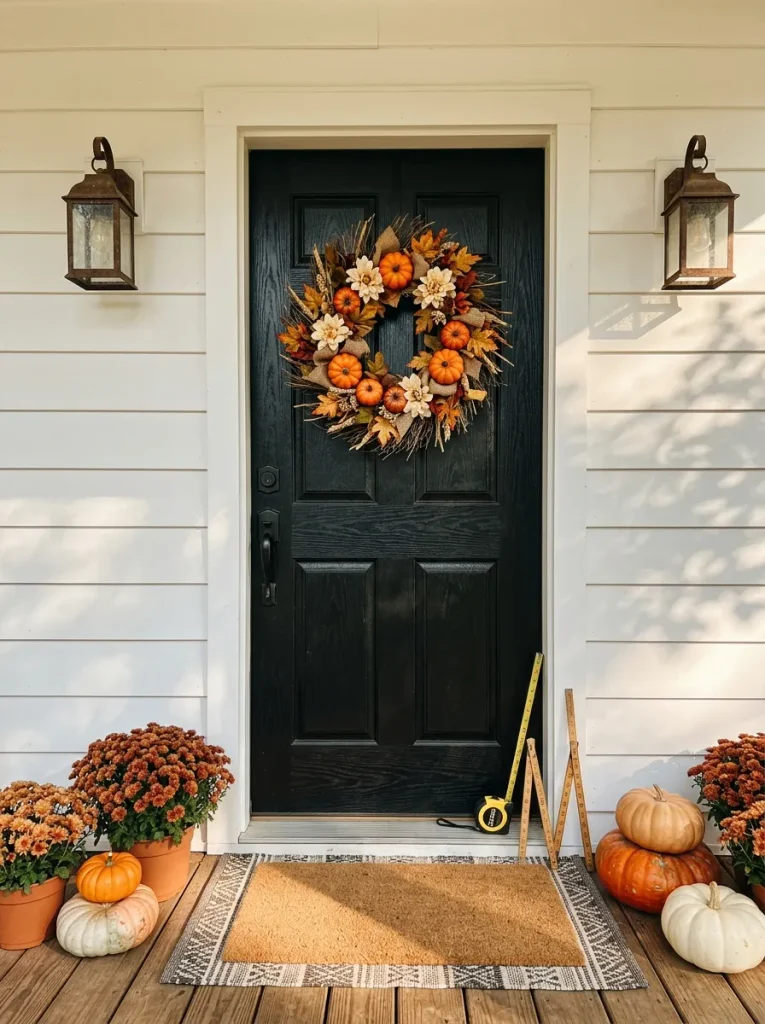
Choosing the correct wreath size helps your front door look balanced while allowing it to open and close comfortably. A decoration that is too small may disappear against a large door, while an oversized wreath can interfere with locks, handles, or nearby walls.
1. Measure your front door: Record its width and height before shopping for a wreath base or decorative supplies.
2. Choose a balanced diameter: For a standard 36-inch-wide door, consider a wreath approximately 18 to 24 inches across, including its outer decorations.
3. Check important fixtures: Make sure the finished wreath will not cover the door handle, lock, peephole, or house number.
4. Consider decoration thickness: Account for pumpkins, flowers, and bows that extend beyond the wreath base, especially if a storm door is installed.
5. Test the placement: Hold a cardboard circle against the door to visualize the finished size before purchasing materials.
Also Explore: Creative Halloween Garland Ideas for a Magical Look
3. Gathering Affordable Wreath Supplies
Quick Tip:
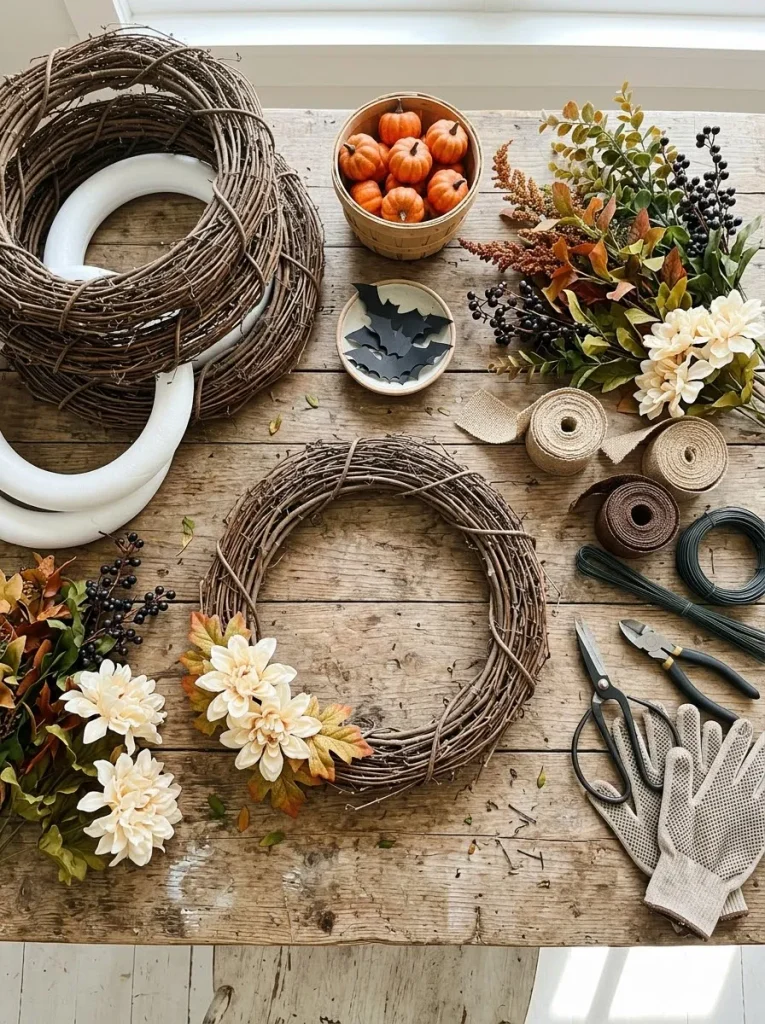
Check discount stores and your existing seasonal decorations before purchasing supplies. Old artificial flowers, ribbon scraps, and unused grapevine wreaths can often be refreshed for another Halloween season. Choose lightweight decorations that attach securely without making the finished wreath too heavy for your door.
Begin with a sturdy grapevine, foam, or wire wreath base that suits your design. Gather artificial greenery, seasonal flowers, ribbons, floral wire, and decorative ornaments. Use wire cutters for trimming stems and craft glue where appropriate. For outdoor displays, prioritize weather-resistant materials to help your decorations last throughout October.
4. Selecting Halloween Wreath Colors
Common Mistake:
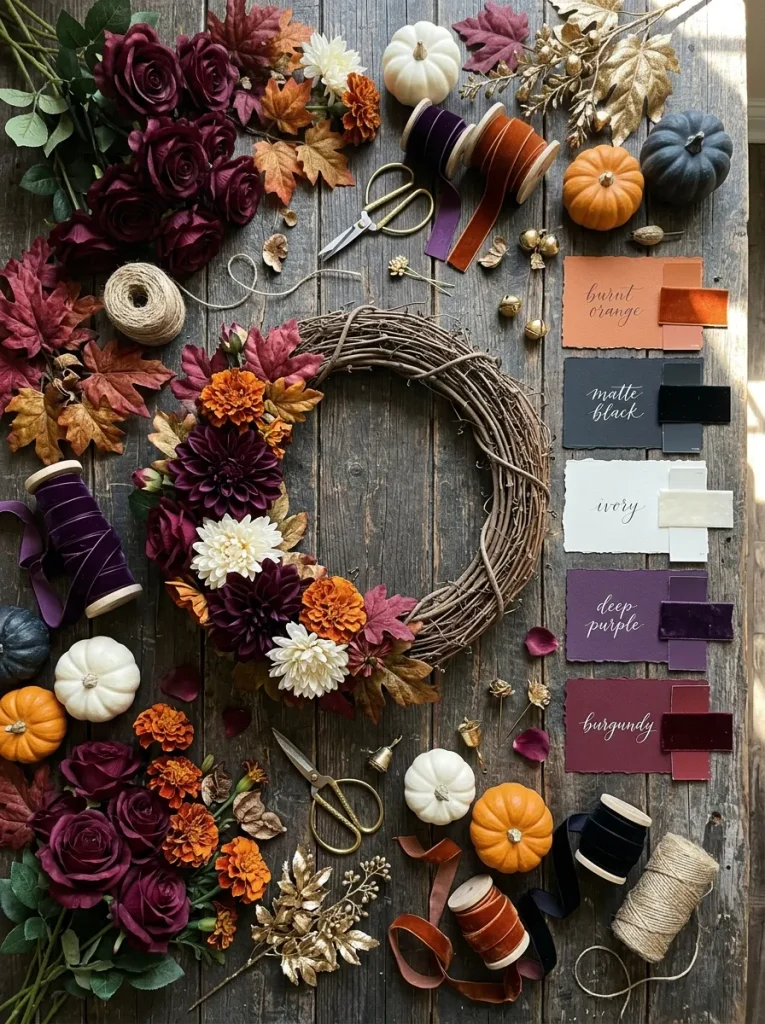
Choosing too many bright colors can make a Halloween wreath appear cluttered rather than welcoming. Mixing neon green, vivid purple, bright orange, and several metallic shades often creates a distracting design that clashes with the front door and surrounding porch decorations.
The Fix:
Select two main colors and one accent shade before purchasing decorative materials. Combine orange, black, and cream for a traditional Halloween appearance, or choose burgundy, ivory, and antique gold for an elegant seasonal look. Repeat these colors consistently across flowers, ribbons, and decorative ornaments.
Your front door color should influence the final palette. Cream flowers and orange pumpkins stand out beautifully against black doors, while dark purple foliage creates contrast against white entrances. Arrange your chosen decorations together before attaching anything. This simple preparation helps you identify mismatched colors and maintain a balanced appearance.
5. Preparing Your Wreath Base
What You Need:
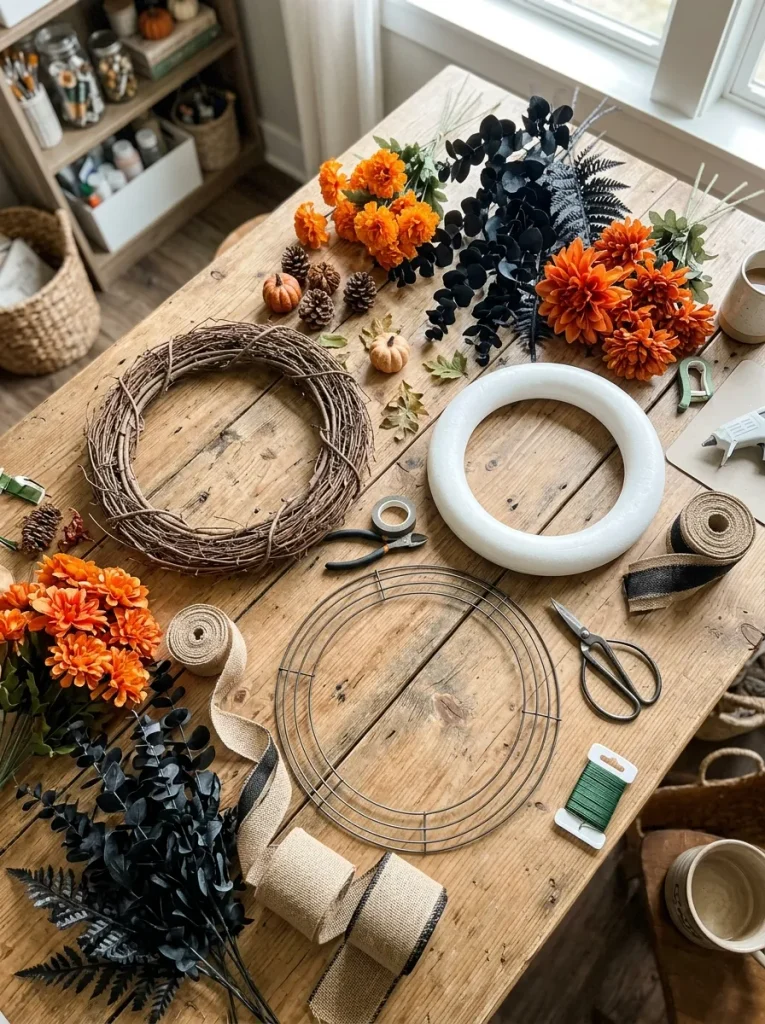
- Wreath base: Choose a grapevine, foam, or wire frame according to your decorating style and preferred materials.
- Soft cleaning brush: Remove dust and loose debris from a reusable wreath base before decorating.
- Floral wire: Secure artificial greenery, flowers, and lightweight ornaments to the frame.
- Wire cutters: Trim artificial flower stems and floral wire to manageable lengths.
- Burlap or ribbon: Wrap exposed sections of a foam or wire base when a covered background is needed.
- Protective work surface: Use a craft mat or thick paper to protect your table during assembly.
Preparing your base properly makes the decorating process easier and helps accessories stay secure. Inspect the frame for cracks, sharp edges, or loose branches before starting. Position your largest flowers or pumpkins without attaching them to test the arrangement. Once satisfied, begin securing the main decorations and fill smaller gaps afterward.
6. Creating a Charming Pumpkin Wreath
Before:
A plain grapevine wreath may look too simple for a festive Halloween entrance, especially without seasonal colors or recognizable decorative elements. Randomly attaching miniature pumpkins can also leave uneven gaps and make the arrangement feel unbalanced.
After:
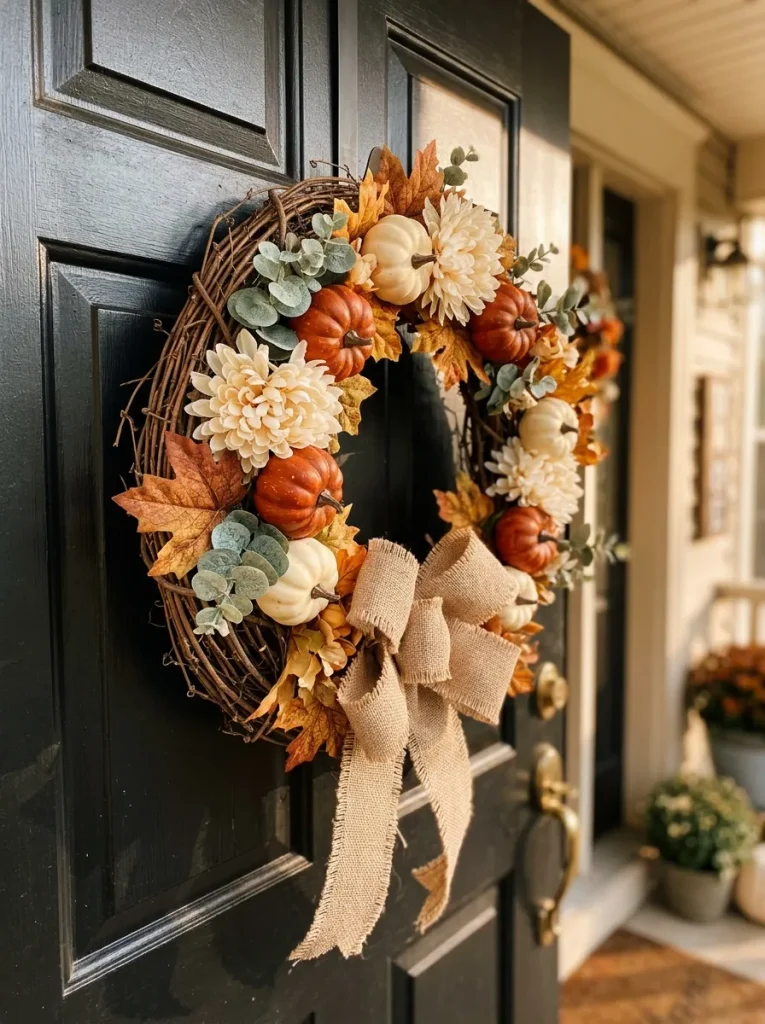
A coordinated pumpkin wreath creates a cheerful autumn welcome with warm orange and cream tones. Clustered miniature pumpkins, artificial maple leaves, and a soft burlap bow give the finished decoration depth, texture, and a charming farmhouse appearance.
Start by arranging three to five lightweight artificial pumpkins around the grapevine base. Secure them with floral wire or adhesive suitable for the materials, then fill the surrounding spaces with autumn leaves and greenery. Attach a burlap bow near the bottom or side. Check the wreath’s balance before hanging.
7. Making a Cute Ghost Halloween Wreath
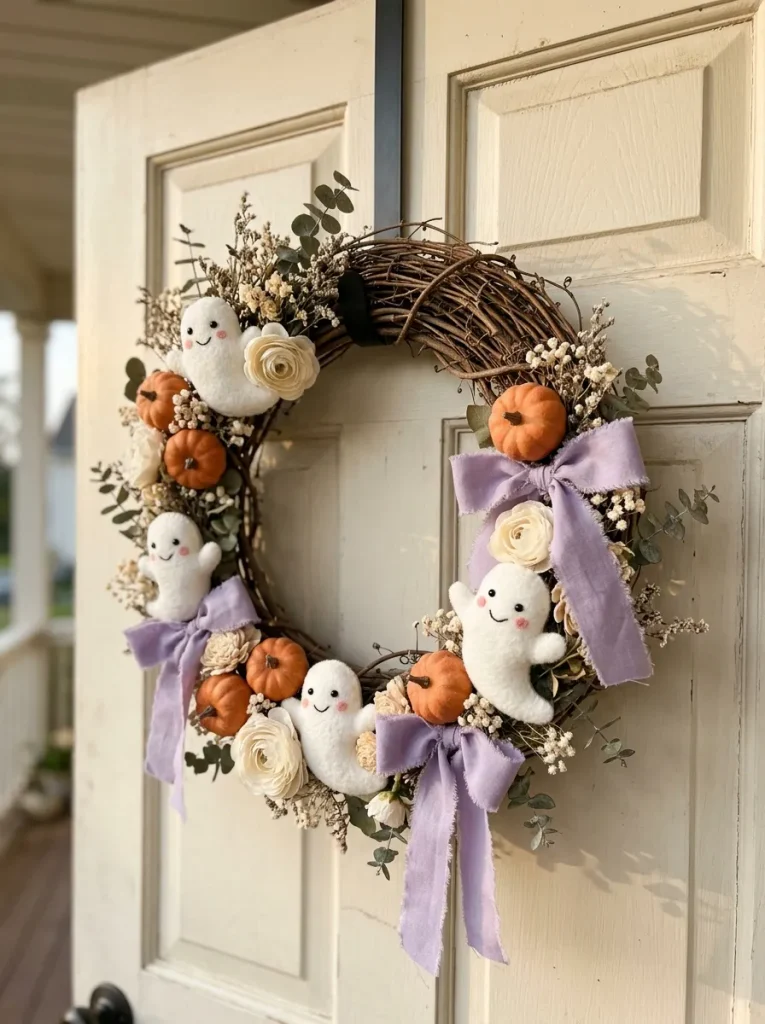
A friendly ghost wreath brings playful Halloween charm to your front door without creating a frightening atmosphere. Lightweight felt decorations and soft ribbon accents make this project especially suitable for beginners and family-friendly homes.
Do This:
- Cut five or six matching ghost shapes from sturdy white felt using a reusable paper template.
- Add black felt eyes and small smiling mouths to create cheerful ghost expressions.
- Arrange the ghosts evenly around a grapevine wreath base, leaving space for additional decorations.
- Secure the ghosts with floral wire attached to their backs or suitable craft adhesive, then add lavender ribbons.
Avoid This:
- Use thin paper ghosts that may bend or deteriorate when exposed to moisture.
- Attach oversized decorations that make the wreath too heavy for the hanging hook.
- Crowd the ghost shapes together until their individual expressions become difficult to see.
- Hang an unprotected felt wreath where heavy rain or strong winds can damage it.
Complete your ghost wreath with miniature pumpkins or ivory flowers tucked between the felt characters. Keep the decorations lightweight and repeat your chosen accent color for a coordinated appearance. Before hanging, gently test each attachment and check that the smiling ghosts remain visible from several feet away.
8. Designing a Spooky Black Bat Wreath
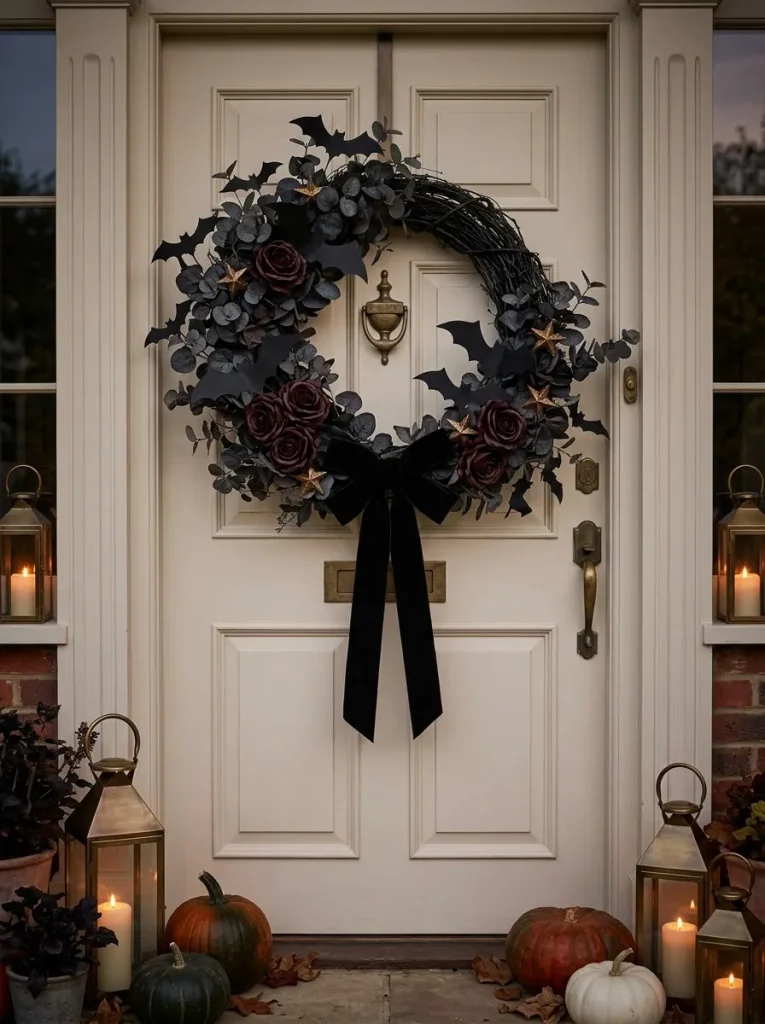
A black bat wreath creates a dramatic Halloween entrance while keeping the design elegant and visually balanced. Contrasting colors and carefully arranged silhouettes help each decorative element stand out.
Time Needed: Approximately 45 to 60 minutes, depending on the number of decorative bats.
Difficulty: Beginner-friendly, with basic cutting and attachment techniques.
Tools Required: Grapevine wreath base, black cardstock or craft foam, bat templates, artificial foliage, floral wire, and suitable adhesive.
Best For: Gothic entrances, modern front doors, and covered porches.
Begin by attaching dark artificial greenery around the wreath base, leaving some natural branches visible. Cut several bat silhouettes in different sizes and position them in small groups. Add burgundy flowers for contrast, then secure the bats with sturdy attachments. Finish with a velvet bow for a mysterious seasonal appearance.
9. Crafting a Rustic Farmhouse Halloween Wreath
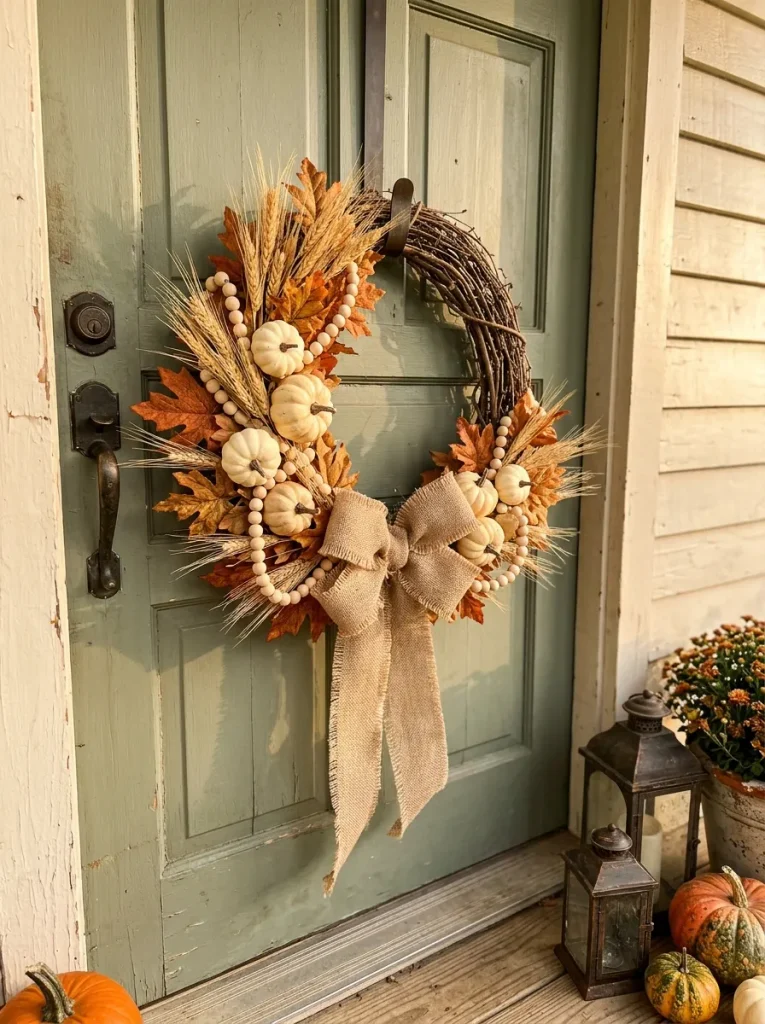
Rustic Halloween decorations bring natural warmth to your entrance through simple textures and muted autumn colors. Start with a grapevine wreath base and arrange dried-look wheat stems, artificial maple leaves, and cream greenery along one side. Secure the stems with floral wire, allowing some branches to remain visible for a relaxed farmhouse appearance.
Add a large burlap bow near the lower corner and position two or three lightweight wooden ornaments around the arrangement. Muted orange pumpkins provide seasonal color without overpowering the natural materials. Keep the opposite side slightly open for visual balance. This asymmetrical design creates a cozy, welcoming decoration that complements traditional farmhouse porches.
10. Adding Beautiful Wreath Finishing Touches
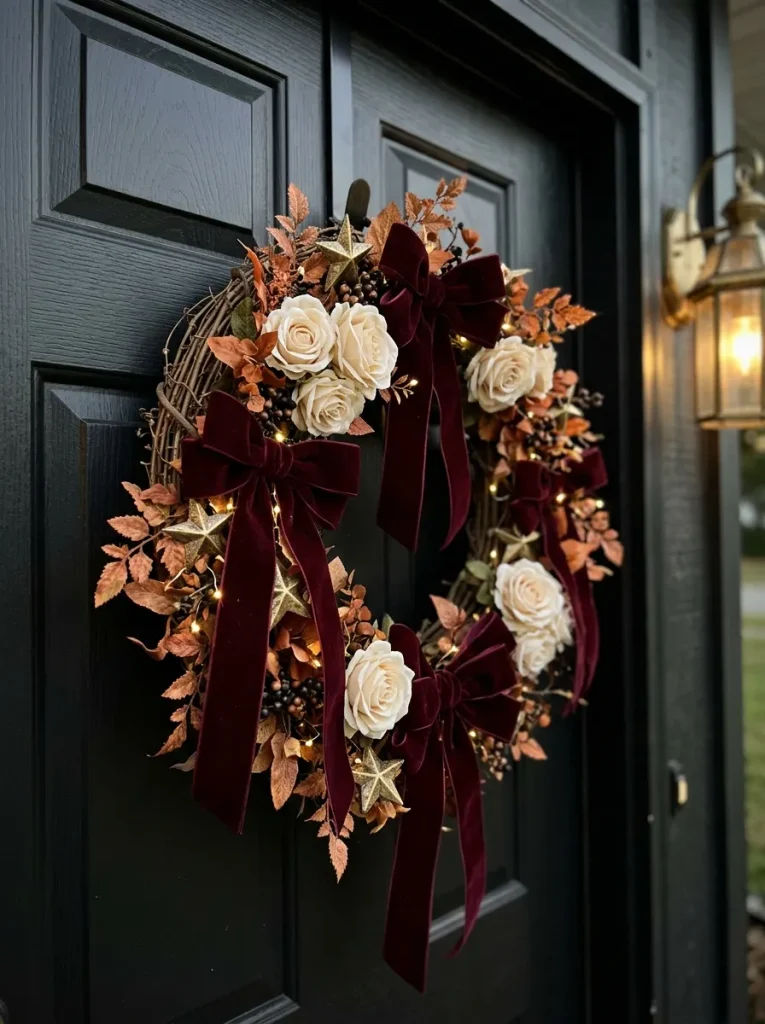
Small finishing touches can turn a simple handmade wreath into an eye-catching Halloween decoration. The key is adding accessories that complement your chosen theme without hiding the original design. Decorative ribbons, artificial flowers, miniature ornaments, and gentle lighting help create a welcoming arrangement with personality and seasonal charm.
1. Add a statement bow: Tie a burgundy velvet or rustic burlap bow and attach it near the bottom or side of the wreath using floral wire.
2. Arrange artificial flowers: Tuck small ivory roses, orange chrysanthemums, or dark purple blossoms into gaps between the larger decorations.
3. Include miniature ornaments: Attach lightweight pumpkins, golden stars, or decorative bats in small groups to create interesting details.
4. Introduce soft lighting: Wrap outdoor-rated battery-operated LED fairy lights loosely around the wreath, keeping the battery compartment accessible and protected from moisture.
5. Check the overall balance: Hold the wreath upright and adjust any decorations that appear crowded, uneven, or loosely attached.
11. Hanging and Protecting Your Halloween Wreath
Quick Tip:
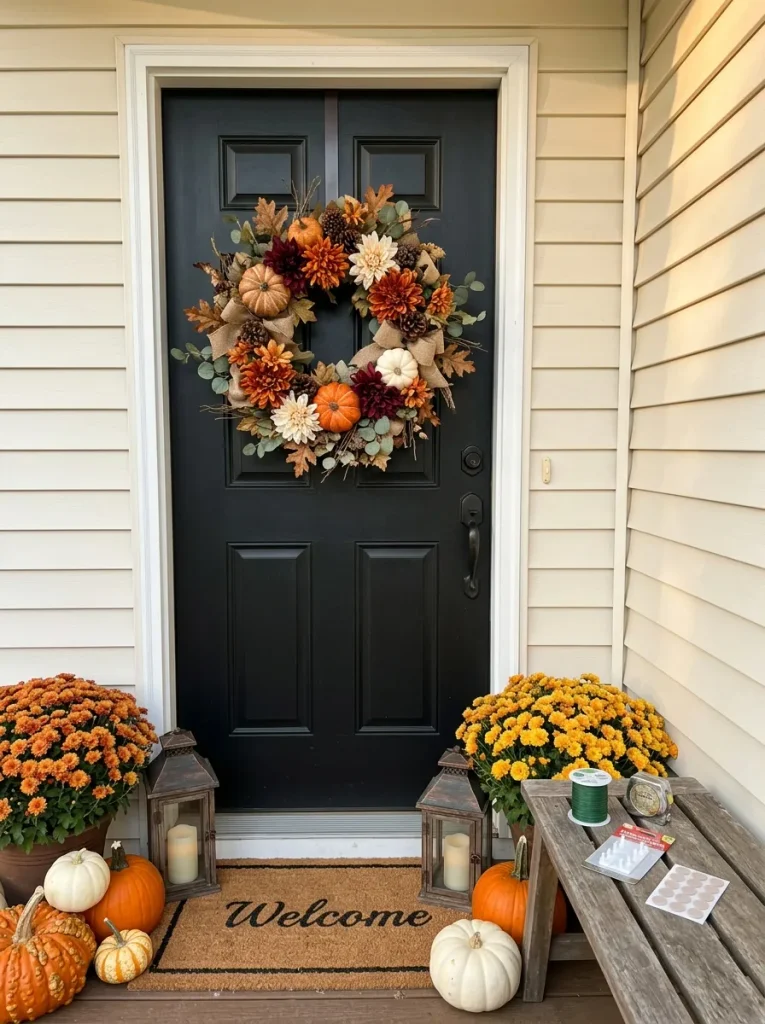
Weigh your completed wreath before choosing a hanging hook or door hanger. Select hardware rated for its weight and suitable for your door material. If your entrance is exposed to rain or strong sunlight, use weather-resistant decorations and consider moving delicate felt or paper designs to a sheltered location.
A secure hanging method protects both your wreath and front door. Position the decoration at a comfortable viewing height without covering locks or handles. Add soft protective pads behind the frame to prevent scratches. Check attachments regularly, especially after windy weather, and store delicate wreaths indoors during severe conditions.
12. Avoiding Common Halloween Wreath Mistakes
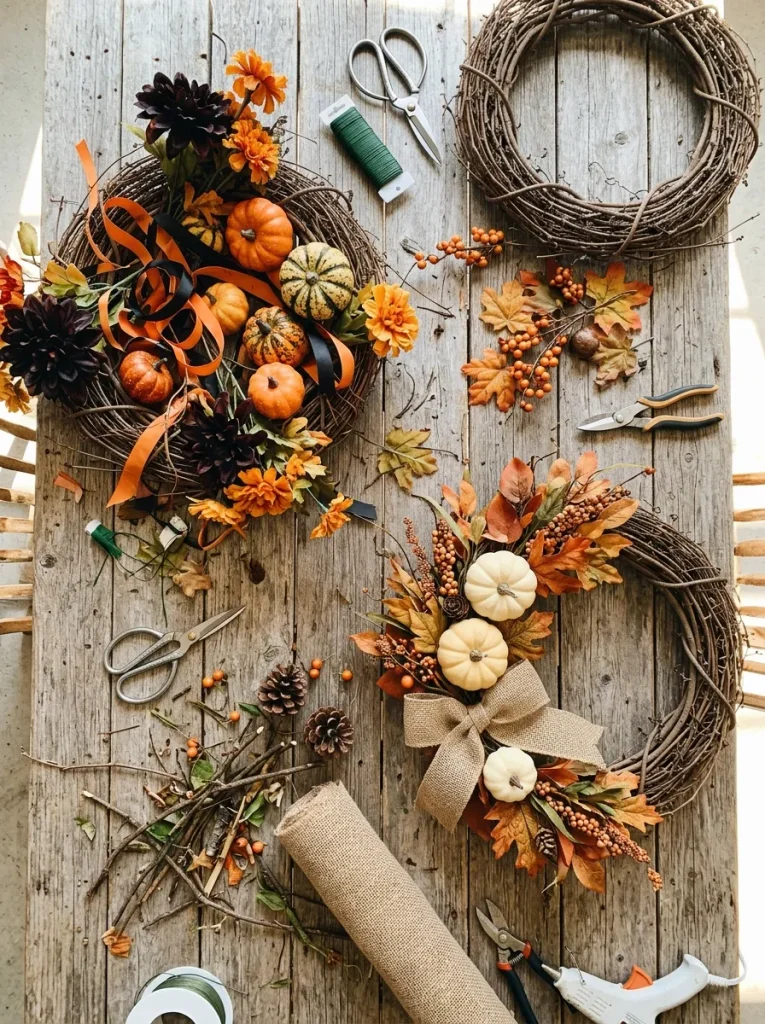
Common Mistake:
Adding too many pumpkins, flowers, ribbons, and decorative ornaments can make a wreath appear overcrowded. Unevenly distributed accessories may also cause the frame to hang crooked, while weak attachments can allow heavier decorations to fall when the door opens or closes.
The Fix:
Choose one focal point and arrange smaller accessories around it, leaving some of the wreath base visible. Distribute heavier decorations carefully and secure them with floral wire or suitable adhesive. Check that your colors complement one another and that every attachment remains stable.
A balanced Halloween wreath should look attractive from several feet away while remaining secure during everyday use. Before hanging, hold the wreath upright and inspect its shape, spacing, and overall weight. Remove unnecessary ornaments, reinforce loose decorations, and adjust the arrangement until the finished design feels coordinated and welcoming.
13. Styling Your Finished Halloween Front Door
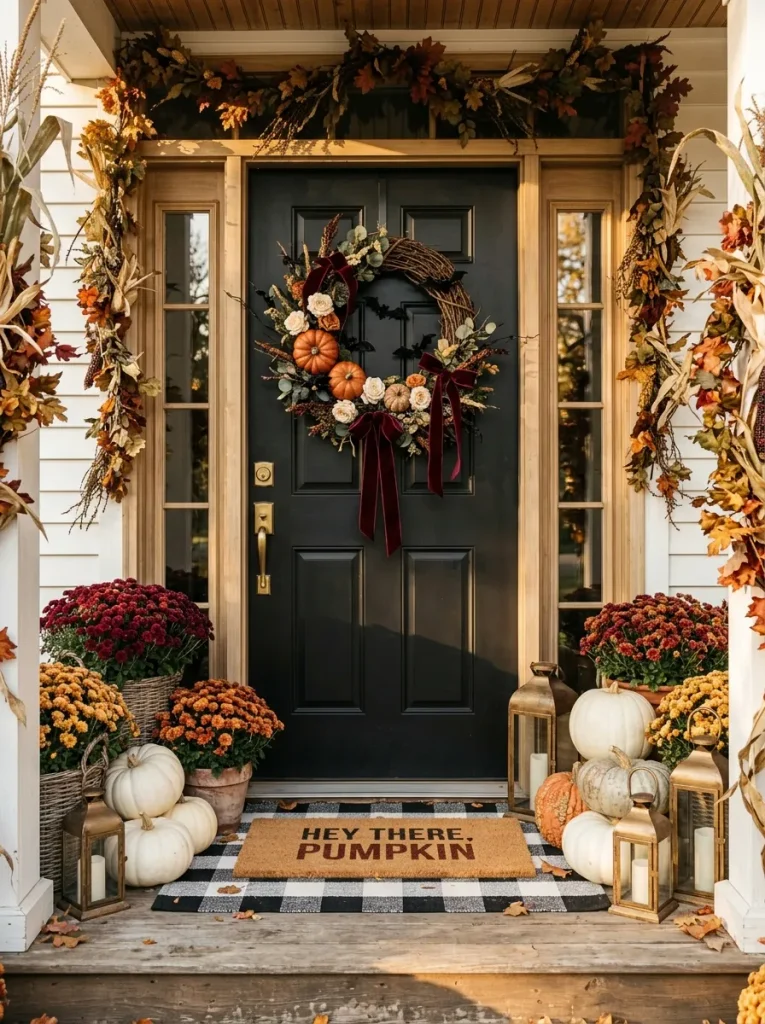
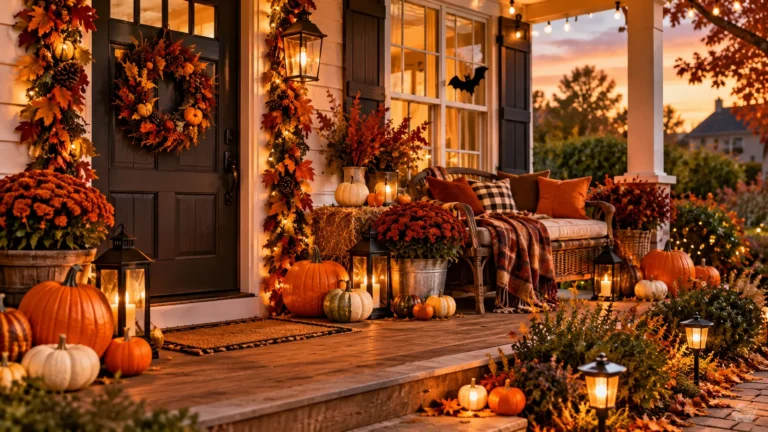
A beautifully styled front entrance brings your handmade wreath and surrounding Halloween decorations together into one welcoming display. The goal is to highlight your wreath while using pumpkins, flowers, lanterns, and seasonal accessories to create a coordinated appearance without overcrowding the doorway.
Do This:
- Make your finished wreath the main focal point by positioning it at a comfortable viewing height.
- Arrange pumpkins in two or three different sizes beside the front door for natural visual balance.
- Add autumn chrysanthemums in decorative planters that complement your wreath’s main colors.
- Place battery-operated LED lanterns near a seasonal doormat to create a warm evening atmosphere.
Avoid This:
- Crowd the entrance with oversized decorations that distract from your handmade wreath.
- Mix too many unrelated colors, textures, or decorative themes.
- Place lanterns, pumpkins, or flower pots where they block the doorway or walking path.
- Use real candles near wreaths, dried foliage, ribbons, or other flammable decorations.
A thoughtfully arranged Halloween entrance creates a cheerful first impression for family, friends, and trick-or-treaters. Step back to check the overall balance, then adjust the placement of pumpkins, lanterns, and flowers. Repeat your wreath’s main colors throughout the display for a polished, inviting seasonal welcome.
CONCLUSION
A welcoming Halloween entrance doesn’t require expensive supplies or advanced crafting skills. You now know how to choose a wreath size, coordinate colors, attach decorations securely, and style your front door with pumpkins, flowers, and lanterns. Your handmade Halloween wreath can reflect your personality while staying practical for everyday use.
I’ve noticed that leaving a little space between decorative pieces can make the finished design feel more balanced. Save this guide on Pinterest for future decorating inspiration, try your favorite wreath idea at home, and share it with a friend who wants a festive entrance. Gather your supplies and make your door shine this Halloween!
One Comment