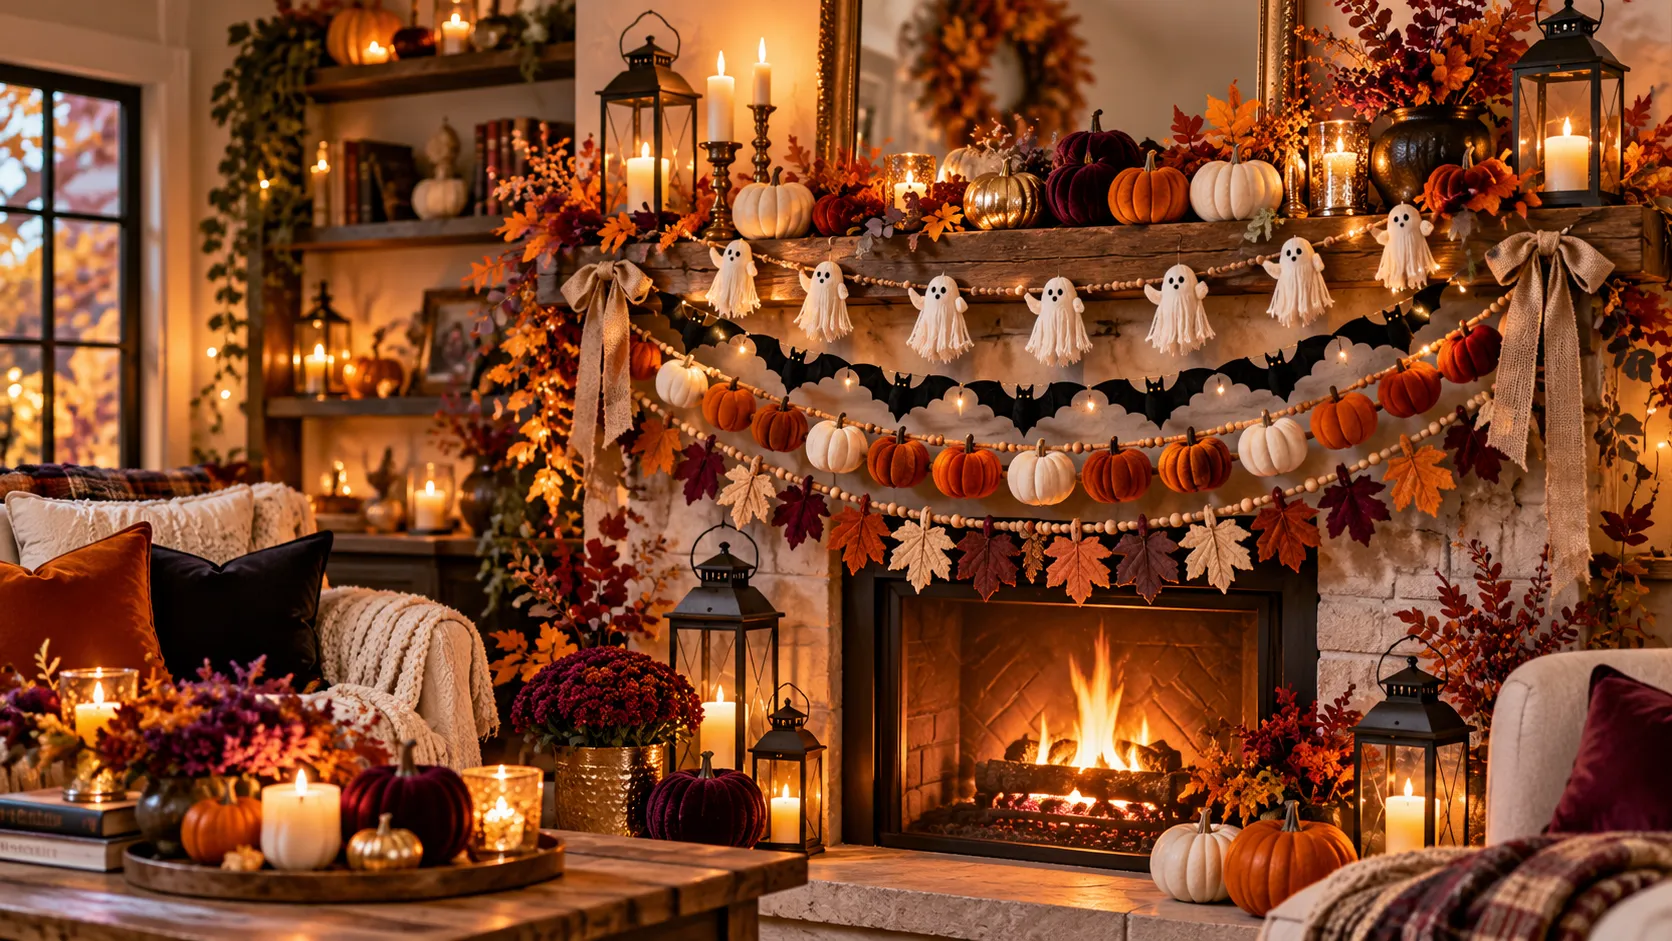
Creative Halloween Garland Ideas for a Magical Look
Want your home to feel magical for Halloween without buying expensive decorations? A handmade Halloween garland can turn a plain mantel, doorway, or shelf into a festive focal point with just a few affordable supplies.
Choosing a design is the fun part, but getting the length, spacing, and hanging method right can feel tricky. I’ve noticed that lightweight shapes and a limited color palette often create a prettier display than piling on extra ornaments.
This beginner-friendly guide walks you through choosing materials, making ghost, bat, pumpkin, and rustic leaf garlands, and adding finishing touches. By the end, you’ll be ready to hang a balanced, welcoming decoration that suits your home and can be reused next year.
1. Choosing Your Halloween Garland Style
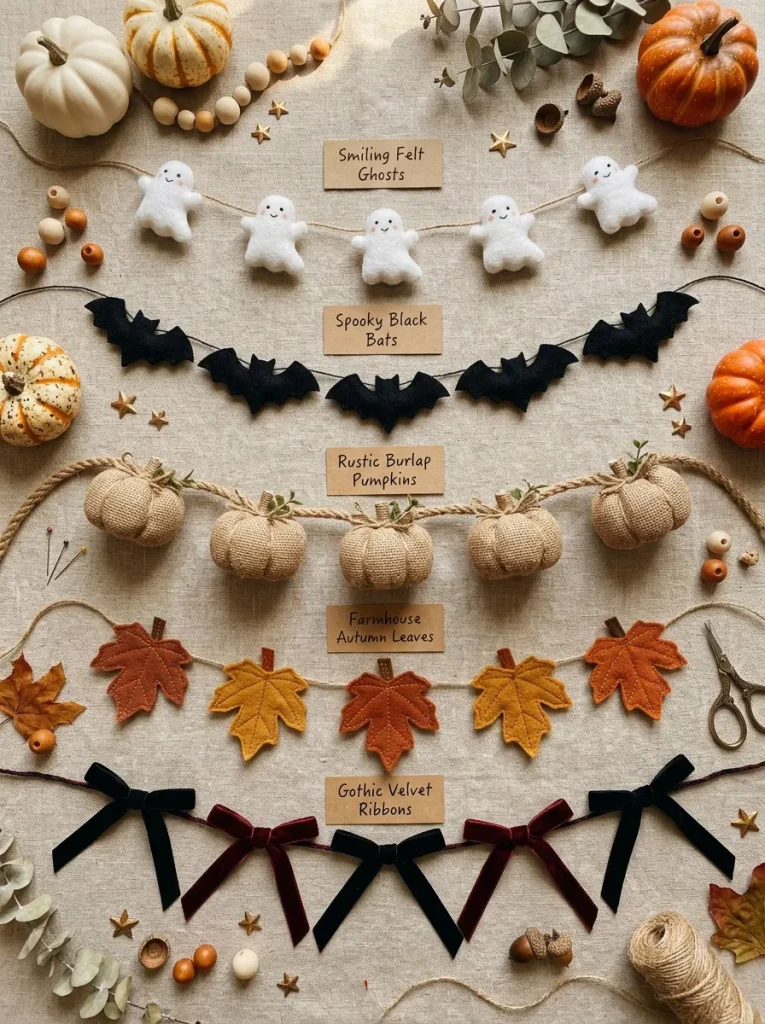
Your Halloween garland sets the mood for your seasonal decorations, so choosing a style first makes the entire decorating process easier. Cute ghost shapes and cheerful pumpkins create a playful atmosphere, while black bats and dark velvet ribbons suit a mysterious gothic theme. Consider your furniture, wall colors, and existing accessories.
For farmhouse interiors, combine cream felt, natural twine, burlap, and wooden beads. Modern spaces often look beautiful with simple black and white decorations accented by metallic gold. Keep your design focused on one theme and two or three main colors. This approach makes choosing materials easier and keeps your finished display visually balanced.
2. Finding the Perfect Garland Location
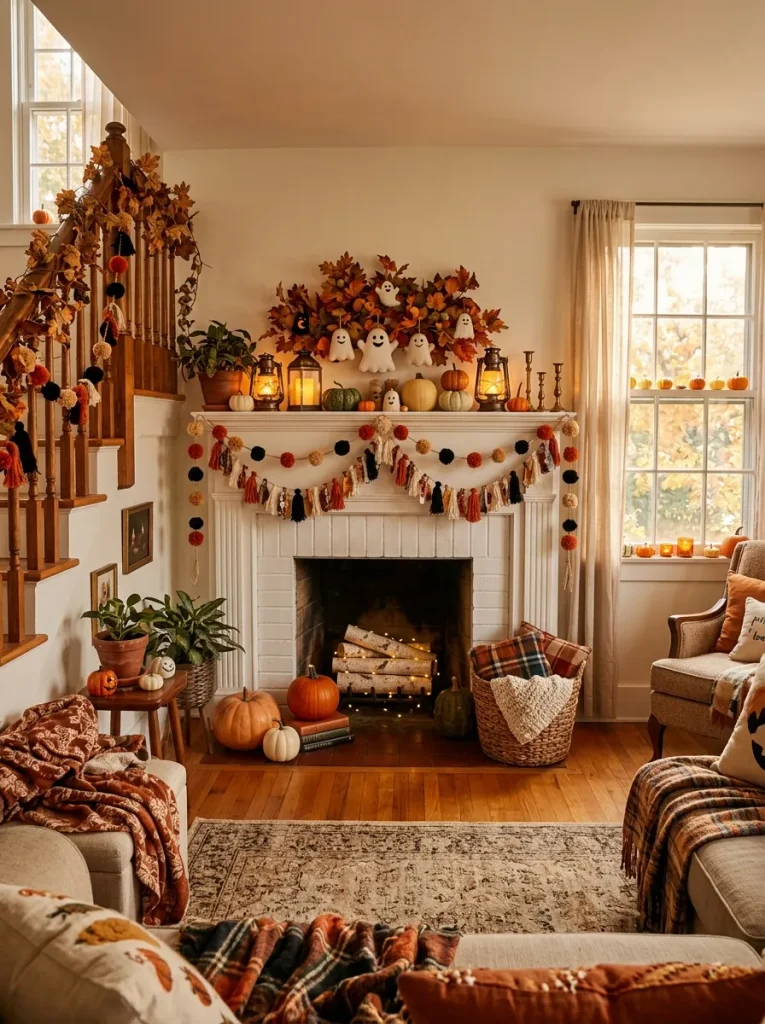
Choosing the right location helps your handmade garland become a beautiful seasonal focal point without overwhelming your room. Before buying supplies or cutting decorative shapes, check the available hanging space, nearby furniture, and lighting. The ideal position should be visible, easy to decorate, and safe for everyday use.
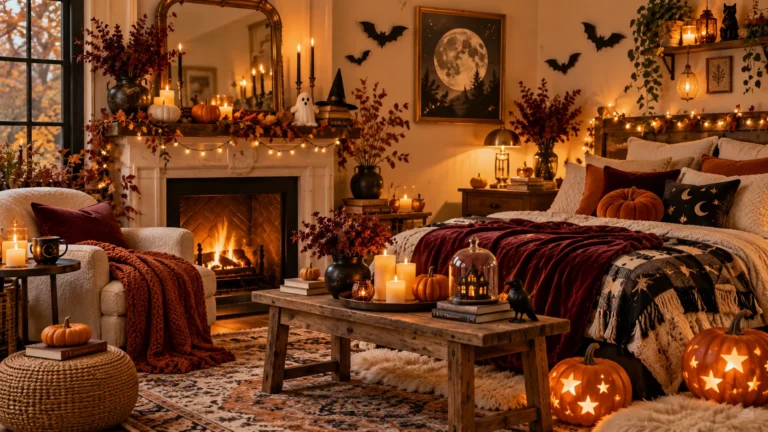
1. Decorate the fireplace mantel: Drape a lightweight garland across an unused fireplace mantel, keeping decorations away from heat, flames, and hot surfaces.
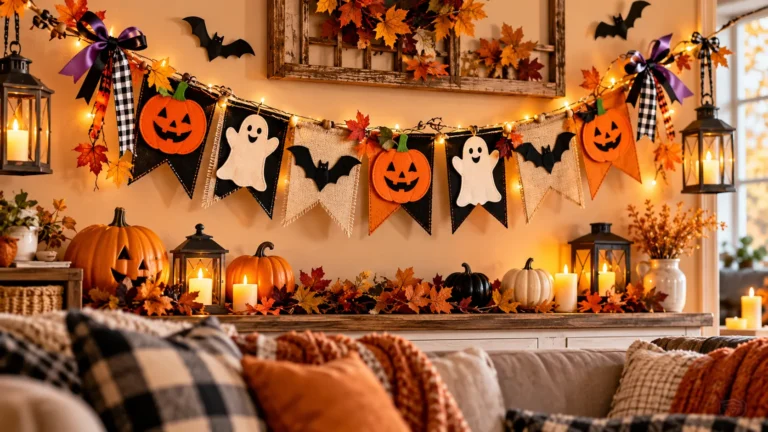
2. Brighten living room walls: Hang a colorful garland above a console table or sofa to create an eye-catching Halloween display.
3. Style your staircase: Secure lightweight decorations along the outer railing without covering handholds or creating tripping hazards.
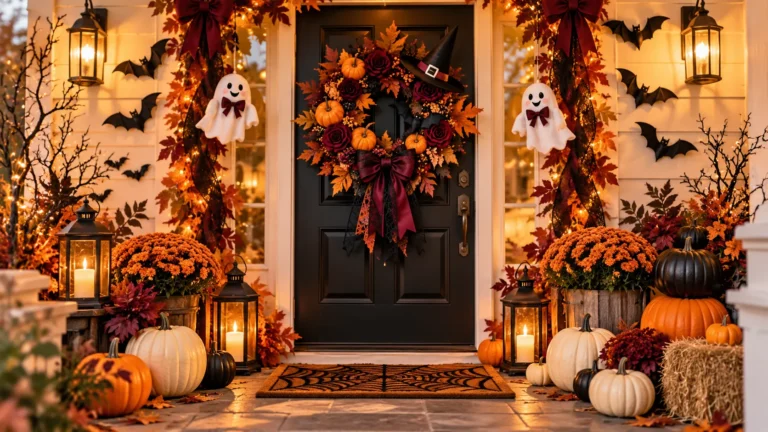
4. Highlight doorways and windows: Place small garlands above doorframes or windows using hooks suitable for the surface.
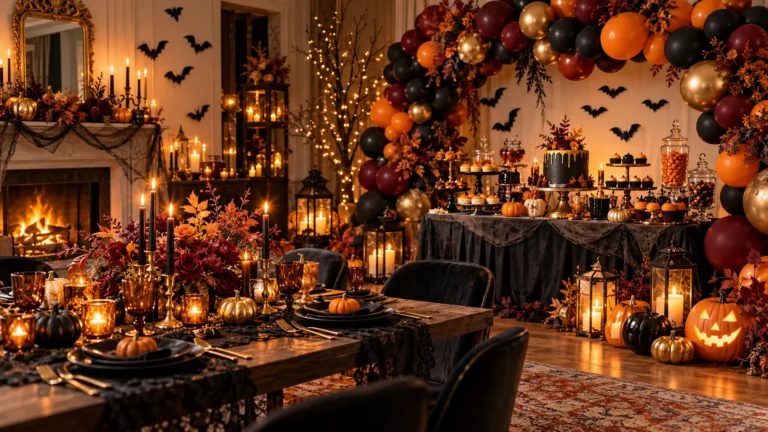
5. Create a party backdrop: Arrange decorative strands behind a dessert table or photography corner for a coordinated celebration.
Also Find: Easy Halloween Banner Decor for a Festive Display
3. Gathering Affordable Garland Supplies
Quick Tip:
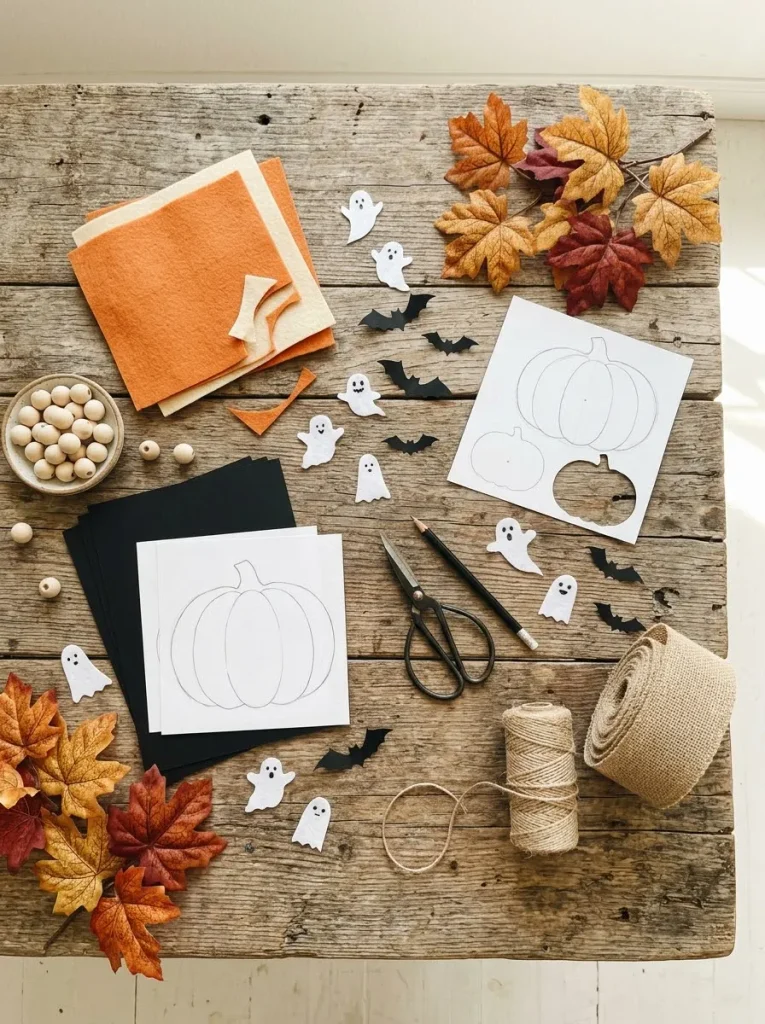
Check your existing craft supplies before purchasing new materials. Leftover felt, ribbon scraps, artificial leaves, and reusable paper templates can help you create beautiful seasonal decorations on a small budget. Choose lightweight materials that are easy to cut, attach, and store for future celebrations.
Start with felt or sturdy cardstock, cotton twine, scissors, a ruler, and suitable craft adhesive. Add burlap for farmhouse texture or satin ribbons for a softer finish. Keep a pencil and paper templates nearby for consistent shapes. Battery-operated LED lights can provide a gentle decorative glow when used safely.
4. Selecting Magical Halloween Colors
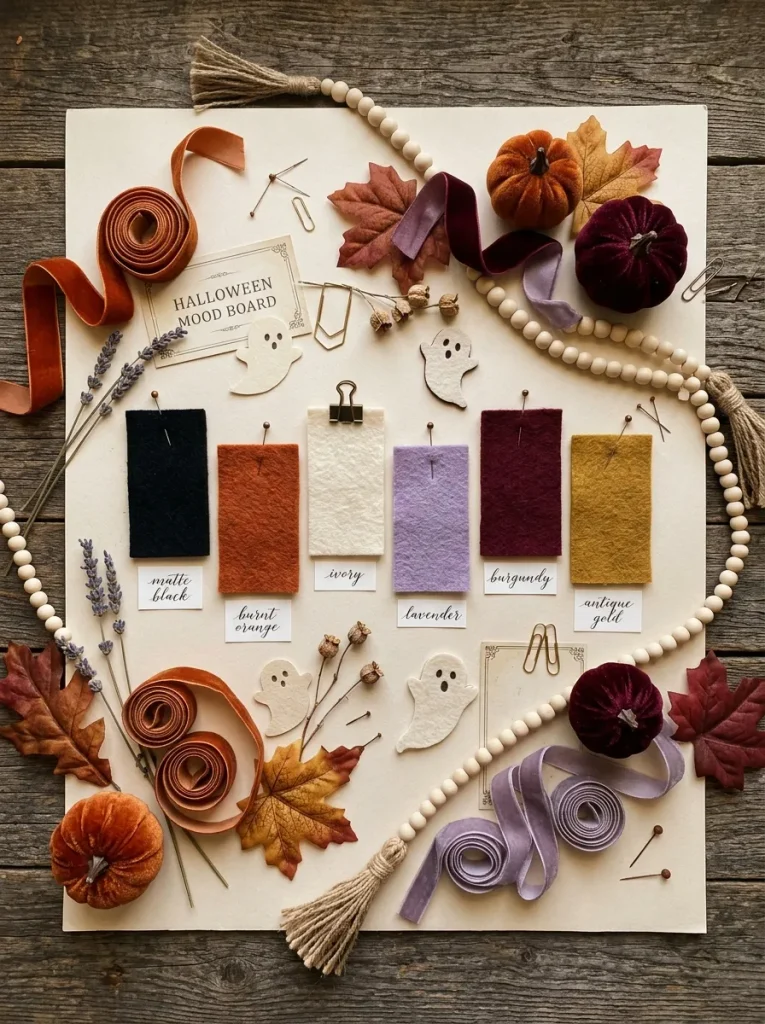
Common Mistake:
Mixing too many bright colors can make a handmade Halloween decoration look cluttered instead of magical. Combining neon green, bright purple, orange, red, and several metallic shades often creates a distracting appearance that clashes with the surrounding room.
The Fix:
Choose two main colors and one accent shade before preparing your materials. Pair black, orange, and cream for a traditional Halloween display, or combine lavender, ivory, and gold for a softer look. Repeat your chosen colors across the decorative shapes, ribbons, and hanging string.
A consistent color palette helps every piece of your garland feel connected. Place your materials beside the wall or furniture where the decoration will hang to check their appearance. Dark backgrounds benefit from cream or orange accents, while light interiors can handle deeper shades such as burgundy and charcoal.
5. Measuring and Planning Garland Length
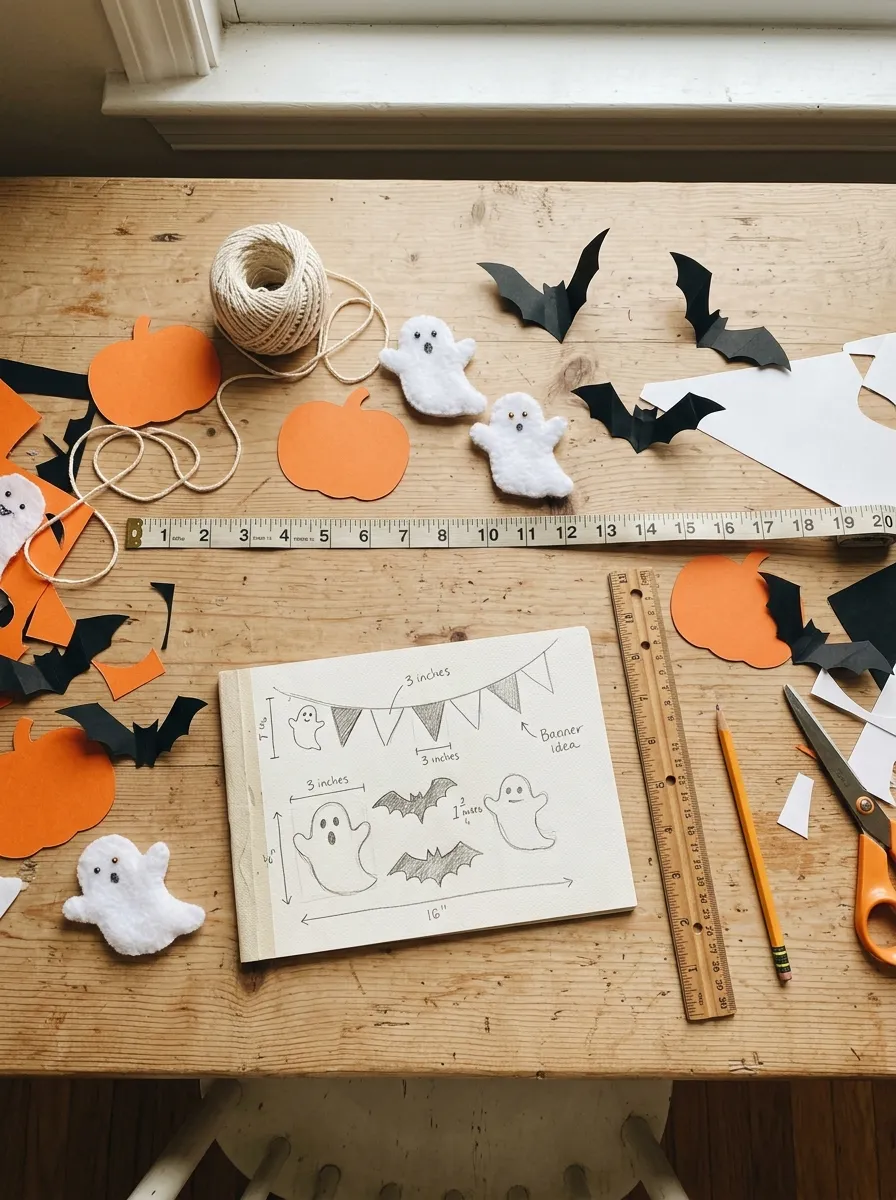
What You Need:
- Measuring tape: Measure the mantel, wall, or doorway where your finished decoration will hang.
- Cotton twine: Choose a sturdy string long enough to cover the display area with extra length for securing both ends.
- Ruler: Check the dimensions of your decorative shapes and maintain consistent spacing.
- Pencil and paper: Sketch your garland layout before cutting or attaching any pieces.
- Paper templates: Prepare matching shapes to help maintain consistent proportions.
- Painter’s tape: Temporarily mark hanging points and test the planned arrangement.
Accurate measurements help prevent sagging, uneven spacing, and wasted materials. For a four-foot mantel, prepare a string approximately five feet long to allow room for tying and gentle draping. Arrange your decorations along the measured string before attaching them. Adjust the gaps until the design looks balanced from end to end.
6. Creating Cute Ghost Garland
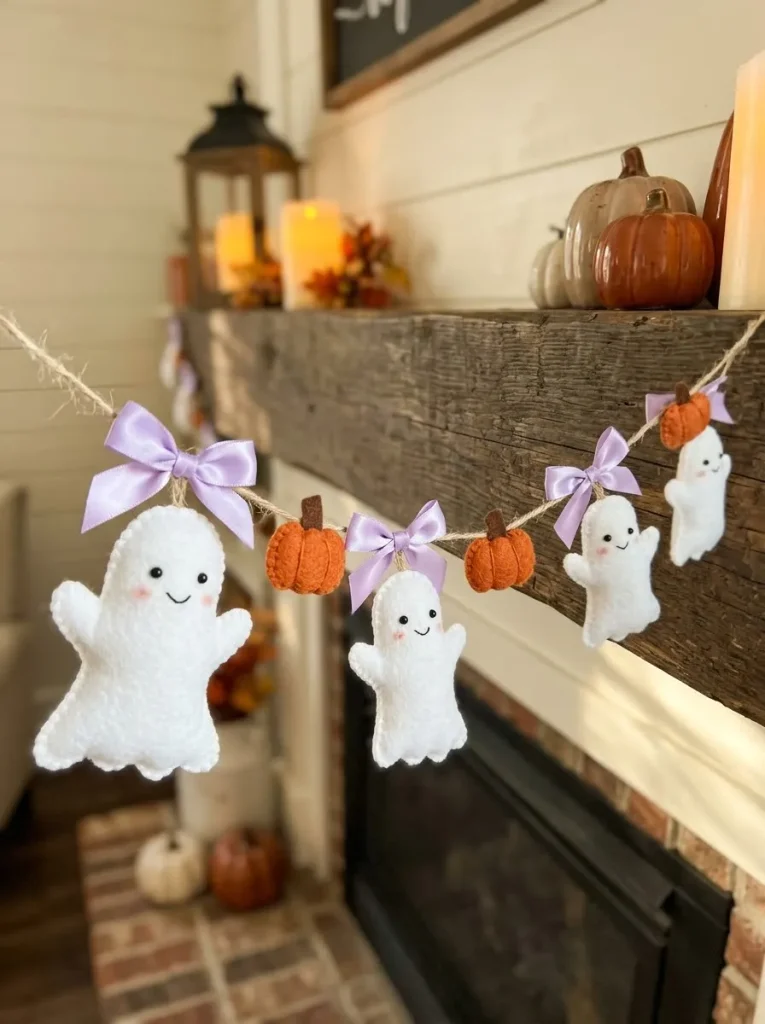
Before:
A plain wall or fireplace mantel can feel unfinished during Halloween celebrations, especially when the surrounding decorations lack a playful focal point. Store-bought garlands may also feel too expensive or overly spooky for a family-friendly home.
After:
A handmade strand of smiling white ghosts creates a cheerful seasonal display with very little expense. Soft felt shapes, rosy cheeks, and lavender ribbon accents introduce gentle color and texture, making the finished decoration welcoming rather than frightening.
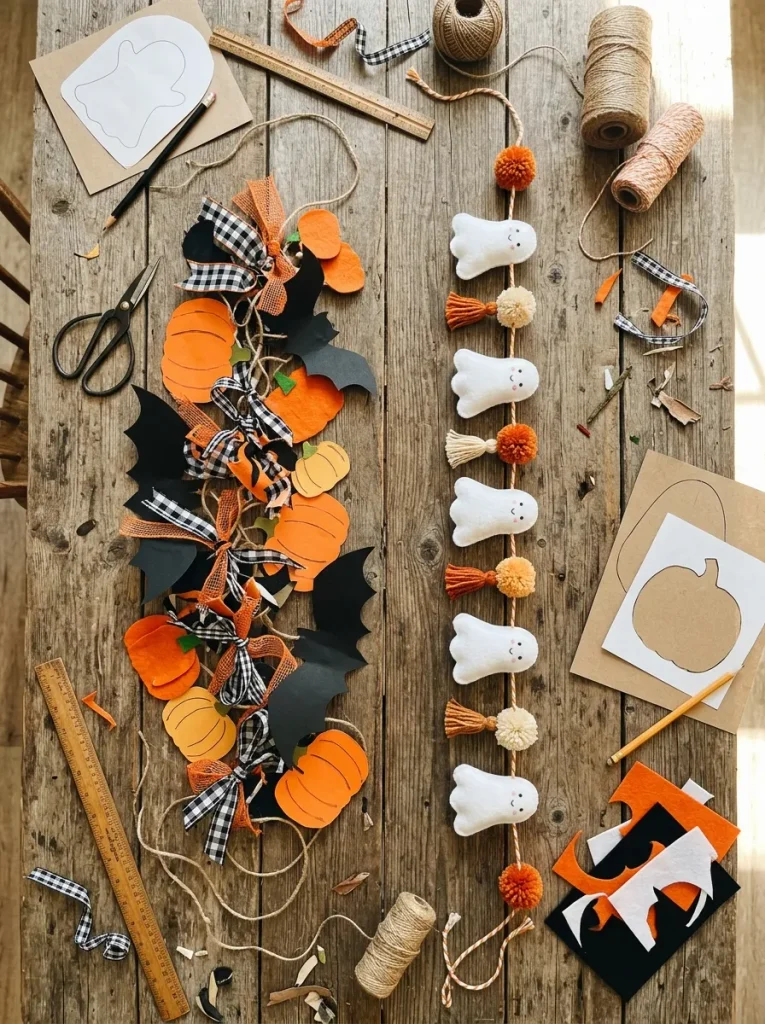
Draw a simple ghost shape on paper and use it to trace matching pieces onto white felt or cardstock. Cut each shape carefully, then add black eyes and smiling mouths with suitable markers. Attach the ghosts to cotton twine at equal intervals. Finish with small ribbon bows between selected shapes.
7. Making Spooky Bat Garland
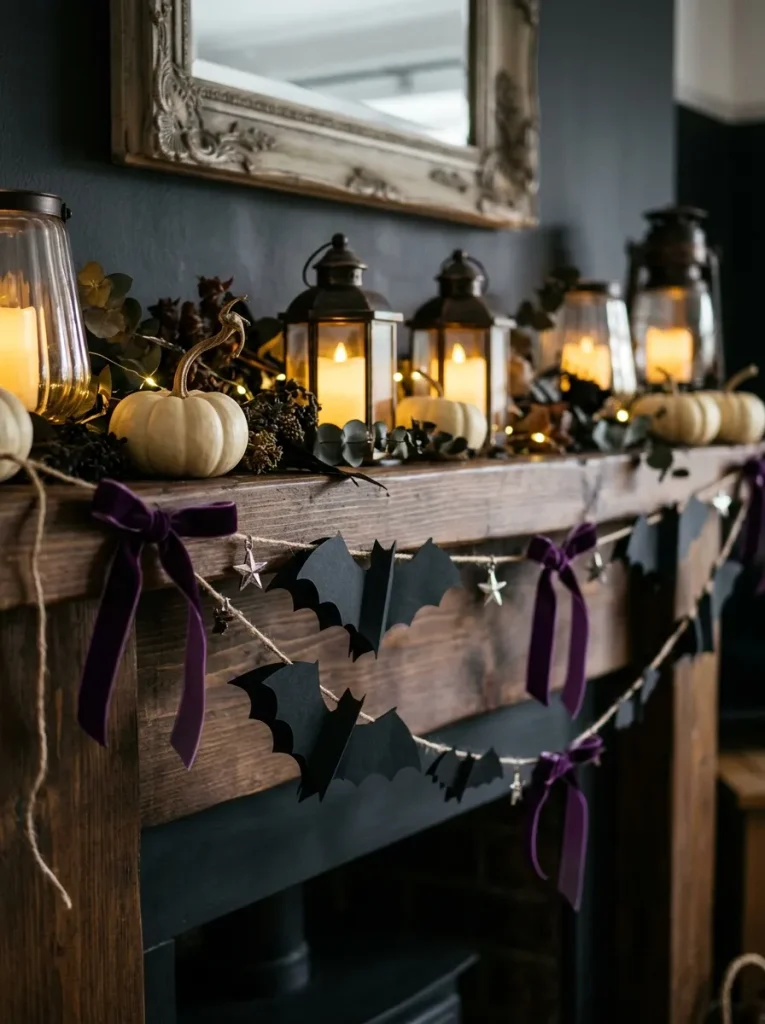
A spooky bat garland adds playful Halloween character to your home without requiring expensive supplies or advanced crafting skills. Using different bat sizes creates movement and makes the finished decoration more visually interesting.
Do This:
- Draw a simple bat silhouette on sturdy paper to create a reusable cutting template.
- Trace the template onto black cardstock and cut several bats in two or three sizes.
- Arrange the larger bats near the center and smaller shapes toward the ends.
- Attach each bat to cotton twine using small folded paper tabs or suitable craft adhesive.
Avoid This:
- Use extremely thin paper that curls or tears easily.
- Cut overly detailed wing shapes that are difficult to reproduce consistently.
- Place bats too close together, making their silhouettes difficult to recognize.
- Hang lightweight paper decorations near candles, fireplaces, or hot light fixtures.
Black bat silhouettes create striking contrast against cream walls and light furniture. For extra depth, gently fold the wings upward before attaching the shapes. Space the bats evenly, alternating their sizes for a playful arrangement. Finish with a few purple ribbon accents to complement the dark Halloween theme.
8. Designing Charming Pumpkin Garland
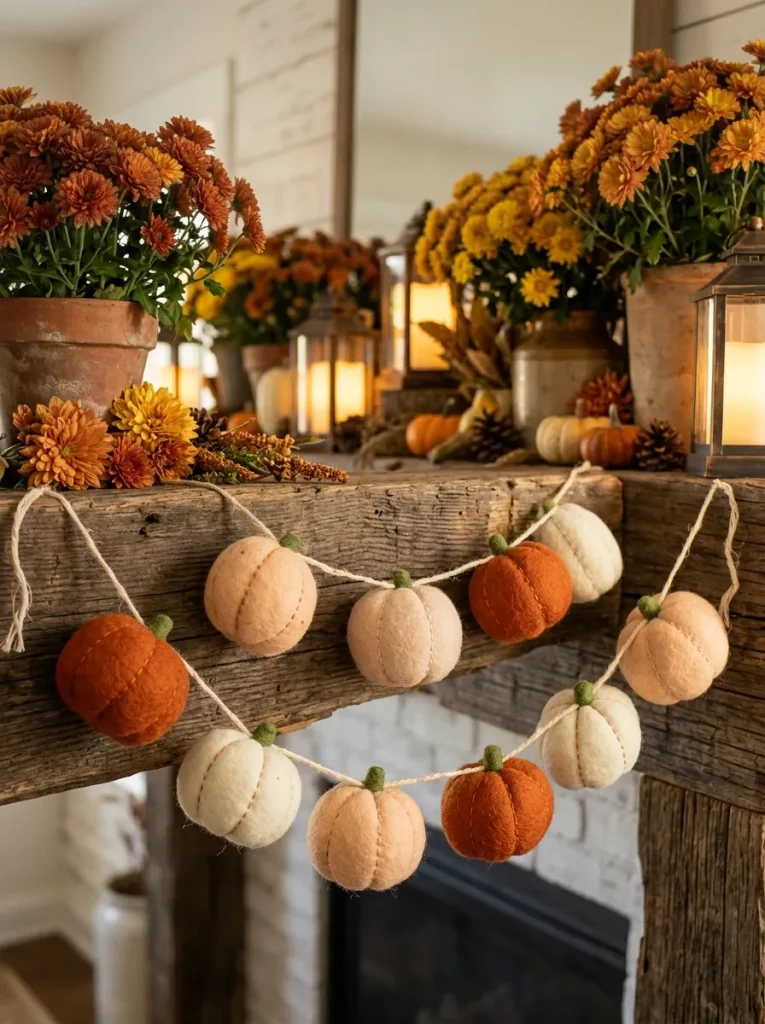
Pumpkin garlands bring cheerful autumn color into Halloween decorating while creating a cozy display that works beautifully throughout the fall season.
Time Needed: Approximately 45 to 60 minutes, depending on the number of pumpkins.
Difficulty: Beginner-friendly, with simple tracing, cutting, and assembly.
Tools Required: Orange and cream felt, pumpkin templates, scissors, cotton twine, and craft adhesive.
Best For: Fireplace mantels, living room shelves, entryways, and autumn party decorations.
Start by tracing a pumpkin template onto orange, ivory, and peach felt sheets. Cut matching shapes, then attach small green stems and curved decorative lines. Arrange the pumpkins in an alternating color pattern along cotton twine. Keep equal gaps between them for a balanced, charming seasonal display.
9. Crafting Rustic Autumn Garland
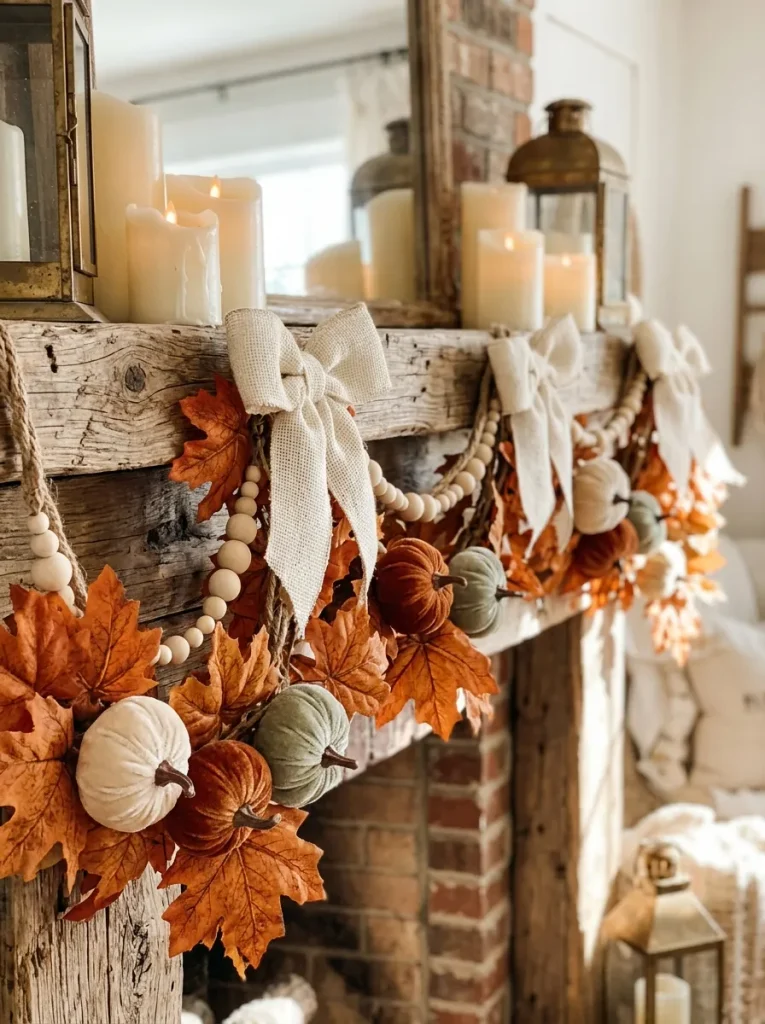
Rustic autumn decorations bring warmth and natural texture to Halloween interiors without relying on bright plastic ornaments. Begin with thick jute twine and arrange artificial maple leaves in burnt orange, golden yellow, and burgundy. Add small burlap bows between leaf clusters, then thread lightweight wooden beads along the string for extra texture.
Keep the arrangement slightly relaxed rather than perfectly symmetrical to create a natural farmhouse appearance. I’ve noticed that combining two or three textures often looks more attractive than adding too many different materials. Finish with miniature velvet pumpkins or cream ribbons, then drape the completed garland across a mantel or wooden shelf.
10. Adding Magical Garland Details
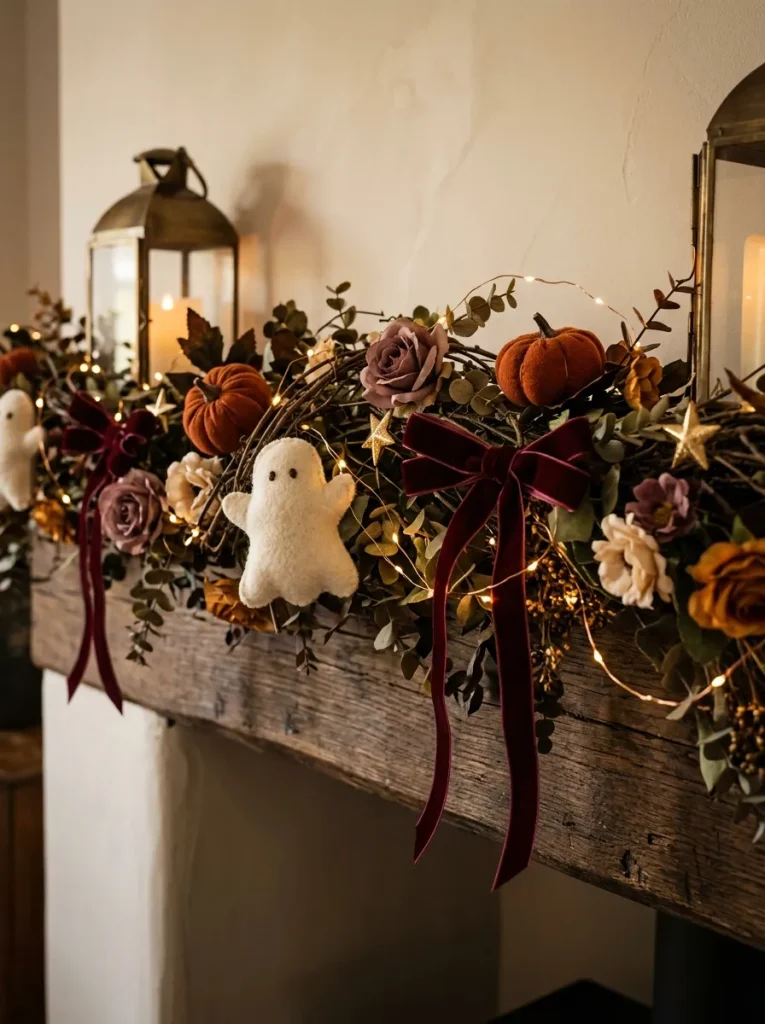
Small finishing touches can transform a basic Halloween garland into a charming seasonal decoration. The secret is choosing lightweight accessories that complement your existing colors without hiding the original shapes. Use these simple techniques to add texture, warmth, and personality while keeping your handmade display balanced.
1. Attach velvet bows: Tie small burgundy or lavender bows between selected ornaments to introduce soft texture and color.
2. Add miniature stars: Glue lightweight golden paper stars onto pumpkin or ghost shapes for a subtle magical effect.
3. Include artificial flowers: Position small cream roses or autumn blossoms near the ends of the garland for a delicate decorative finish.
4. Introduce gentle lighting: Weave battery-operated LED fairy lights loosely along the strand, following the manufacturer’s instructions and keeping the battery pack accessible.
5. Check the final balance: Lift the garland by both ends and adjust decorations that cause uneven hanging or excessive sagging.
11. Hanging and Securing Your Garland
Quick Tip:
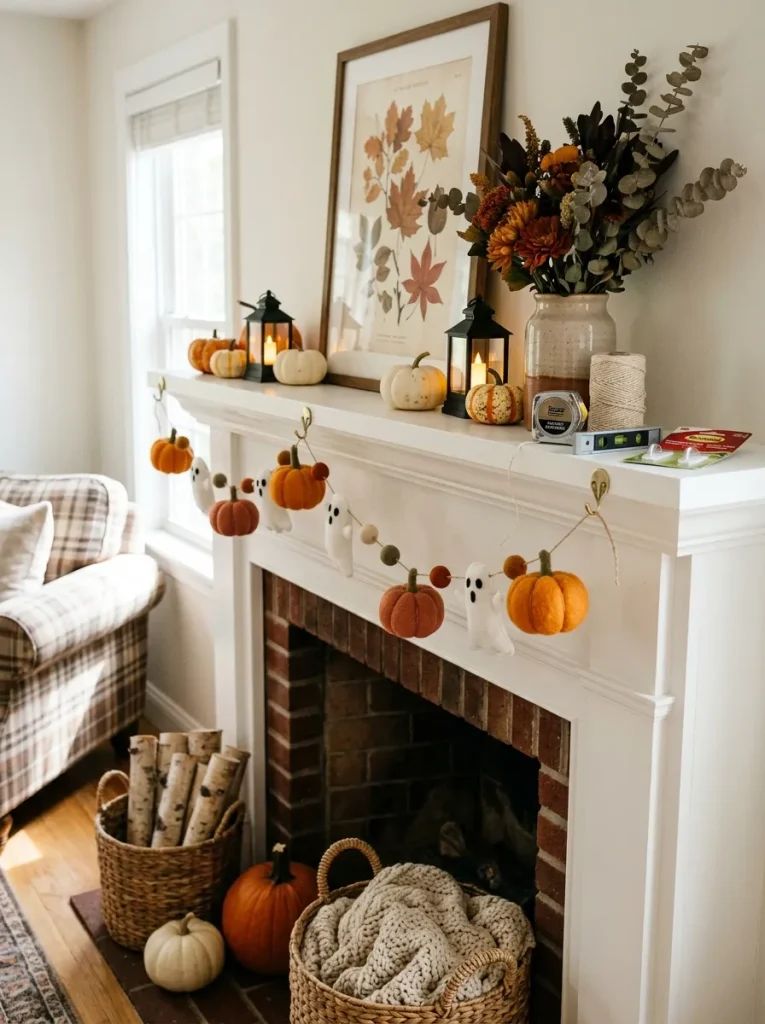
Choose hanging hooks according to the combined weight of your garland and decorations, not just the string. Check that removable hooks are suitable for your wall surface and follow their installation instructions. Keep garlands away from heat sources, open flames, and areas where people might accidentally pull them down.
A secure installation helps your handmade decoration maintain its shape throughout the Halloween season. Measure both hanging points before attaching the twine, and leave a gentle curve for natural draping. For longer garlands, add a center support to reduce sagging. Check all attachments after installation, especially around doorways and staircases.
12. Avoiding Common Garland Decorating Mistakes
Common Mistake:
Adding too many ornaments, mixing unrelated colors, and ignoring spacing can make a Halloween decoration appear messy. Heavy accessories may cause the string to sag, while weak glue connections can allow decorative pieces to fall during the celebration.
The Fix:
Choose one main theme and distribute lightweight ornaments evenly along the string. Reinforce loose attachments with suitable craft adhesive or secure knots, and use additional hanging support when necessary. Leave visible gaps between shapes to maintain a balanced appearance.
A well-planned garland should look attractive from across the room and remain secure throughout the season. Before hanging, lay it flat and examine the spacing, color arrangement, and attachments. Remove decorations that feel excessive, replace damaged pieces, and check that the finished strand hangs naturally without twisting or pulling.
13. Styling Your Finished Halloween Display
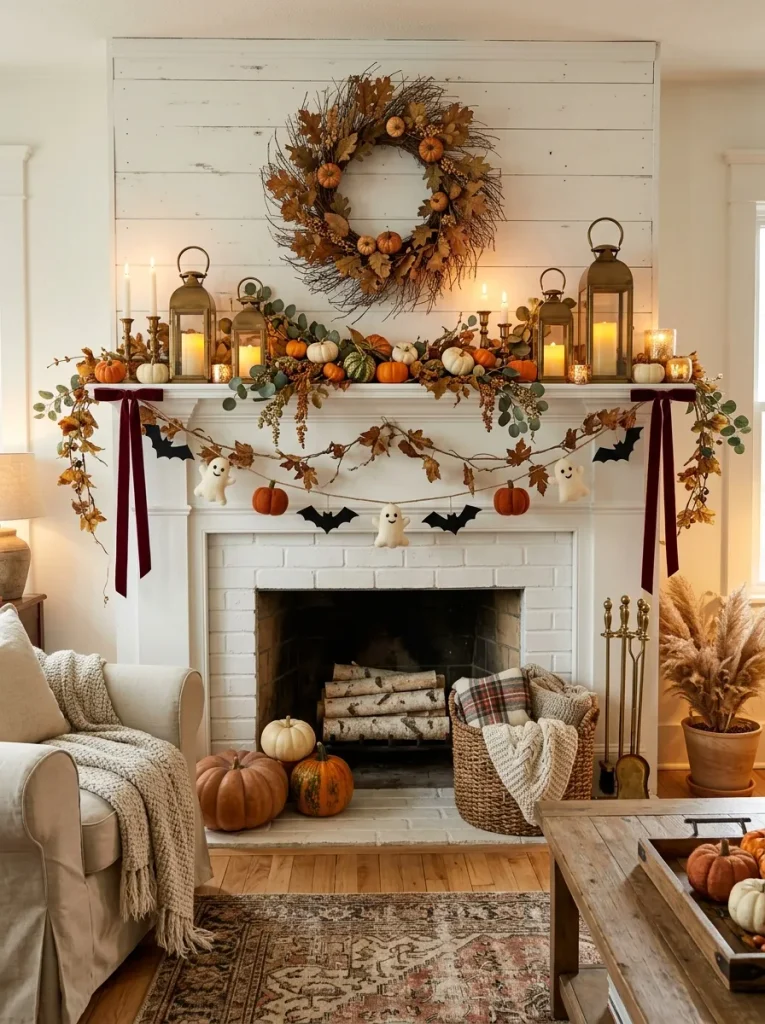
Your finished Halloween garland deserves a beautiful setting that highlights its handmade details. A thoughtfully arranged display can transform an ordinary mantel, shelf, or entryway into a festive focal point. The key is balancing decorative accessories without overwhelming the garland itself.
Do This:
- Make your handmade garland the main focal point of the display.
- Arrange miniature pumpkins in different sizes beneath the hanging decorations.
- Add battery-operated LED lanterns for a warm, welcoming glow.
- Repeat the garland’s main colors in nearby wreaths, flowers, and seasonal accessories.
Avoid This:
- Crowd the display with oversized decorations that hide the garland.
- Mix too many unrelated colors or competing decorative themes.
- Place paper, felt, or fabric decorations near open flames or hot surfaces.
- Block doorways, walkways, or frequently used household items.
A balanced Halloween display feels festive, cozy, and welcoming without requiring expensive decorations. Step back and examine the arrangement from across the room, adjusting pumpkins, lanterns, and accessories as needed. Keep the central garland clearly visible, allowing its handmade details to shine and create a charming seasonal atmosphere.
CONCLUSION
A magical Halloween display starts with a few thoughtful choices, not a big budget. You now know how to select colors, measure your space, craft playful shapes, and hang a finished Halloween garland securely. Add ribbons, autumn leaves, or warm LED lights to make it your own.
I’ve seen how improving the spacing between ornaments can completely change the finished look. Save this article on Pinterest for your next decorating session, try one project using supplies you already have, and share it with a friend who loves seasonal crafts. Gather your materials and create a little Halloween magic today!
One Comment